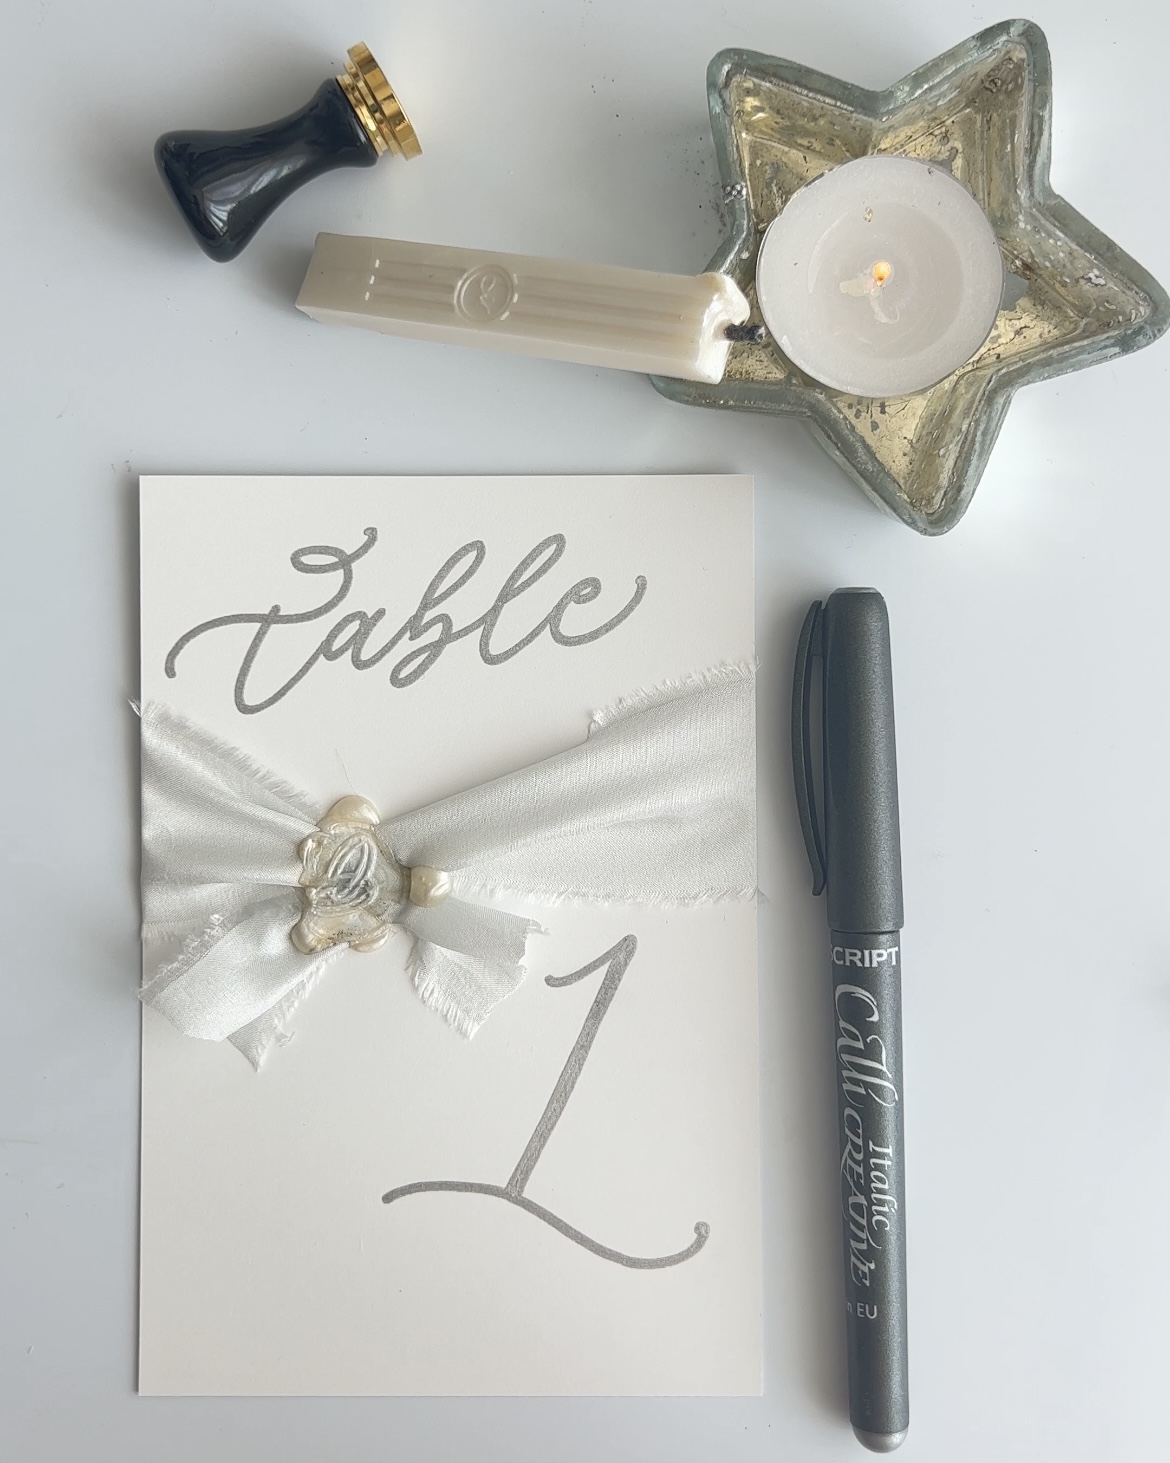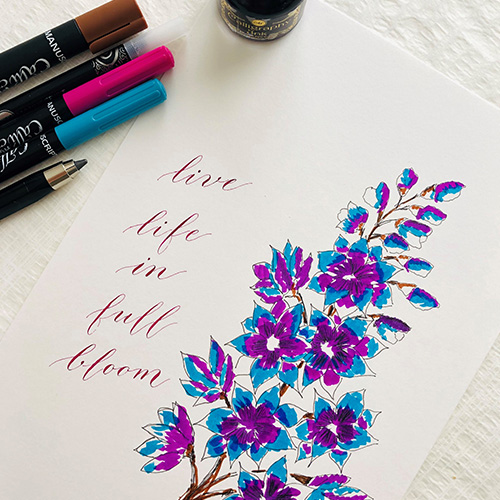
We asked our Artist of the Month Gabriela Gomez to create a new step-by-step watercolour and lettering tutorial for you all and she did not disappoint! She has put together this fun tutorial which uses two different artistic mediums, calligraphy and watercolour blending.
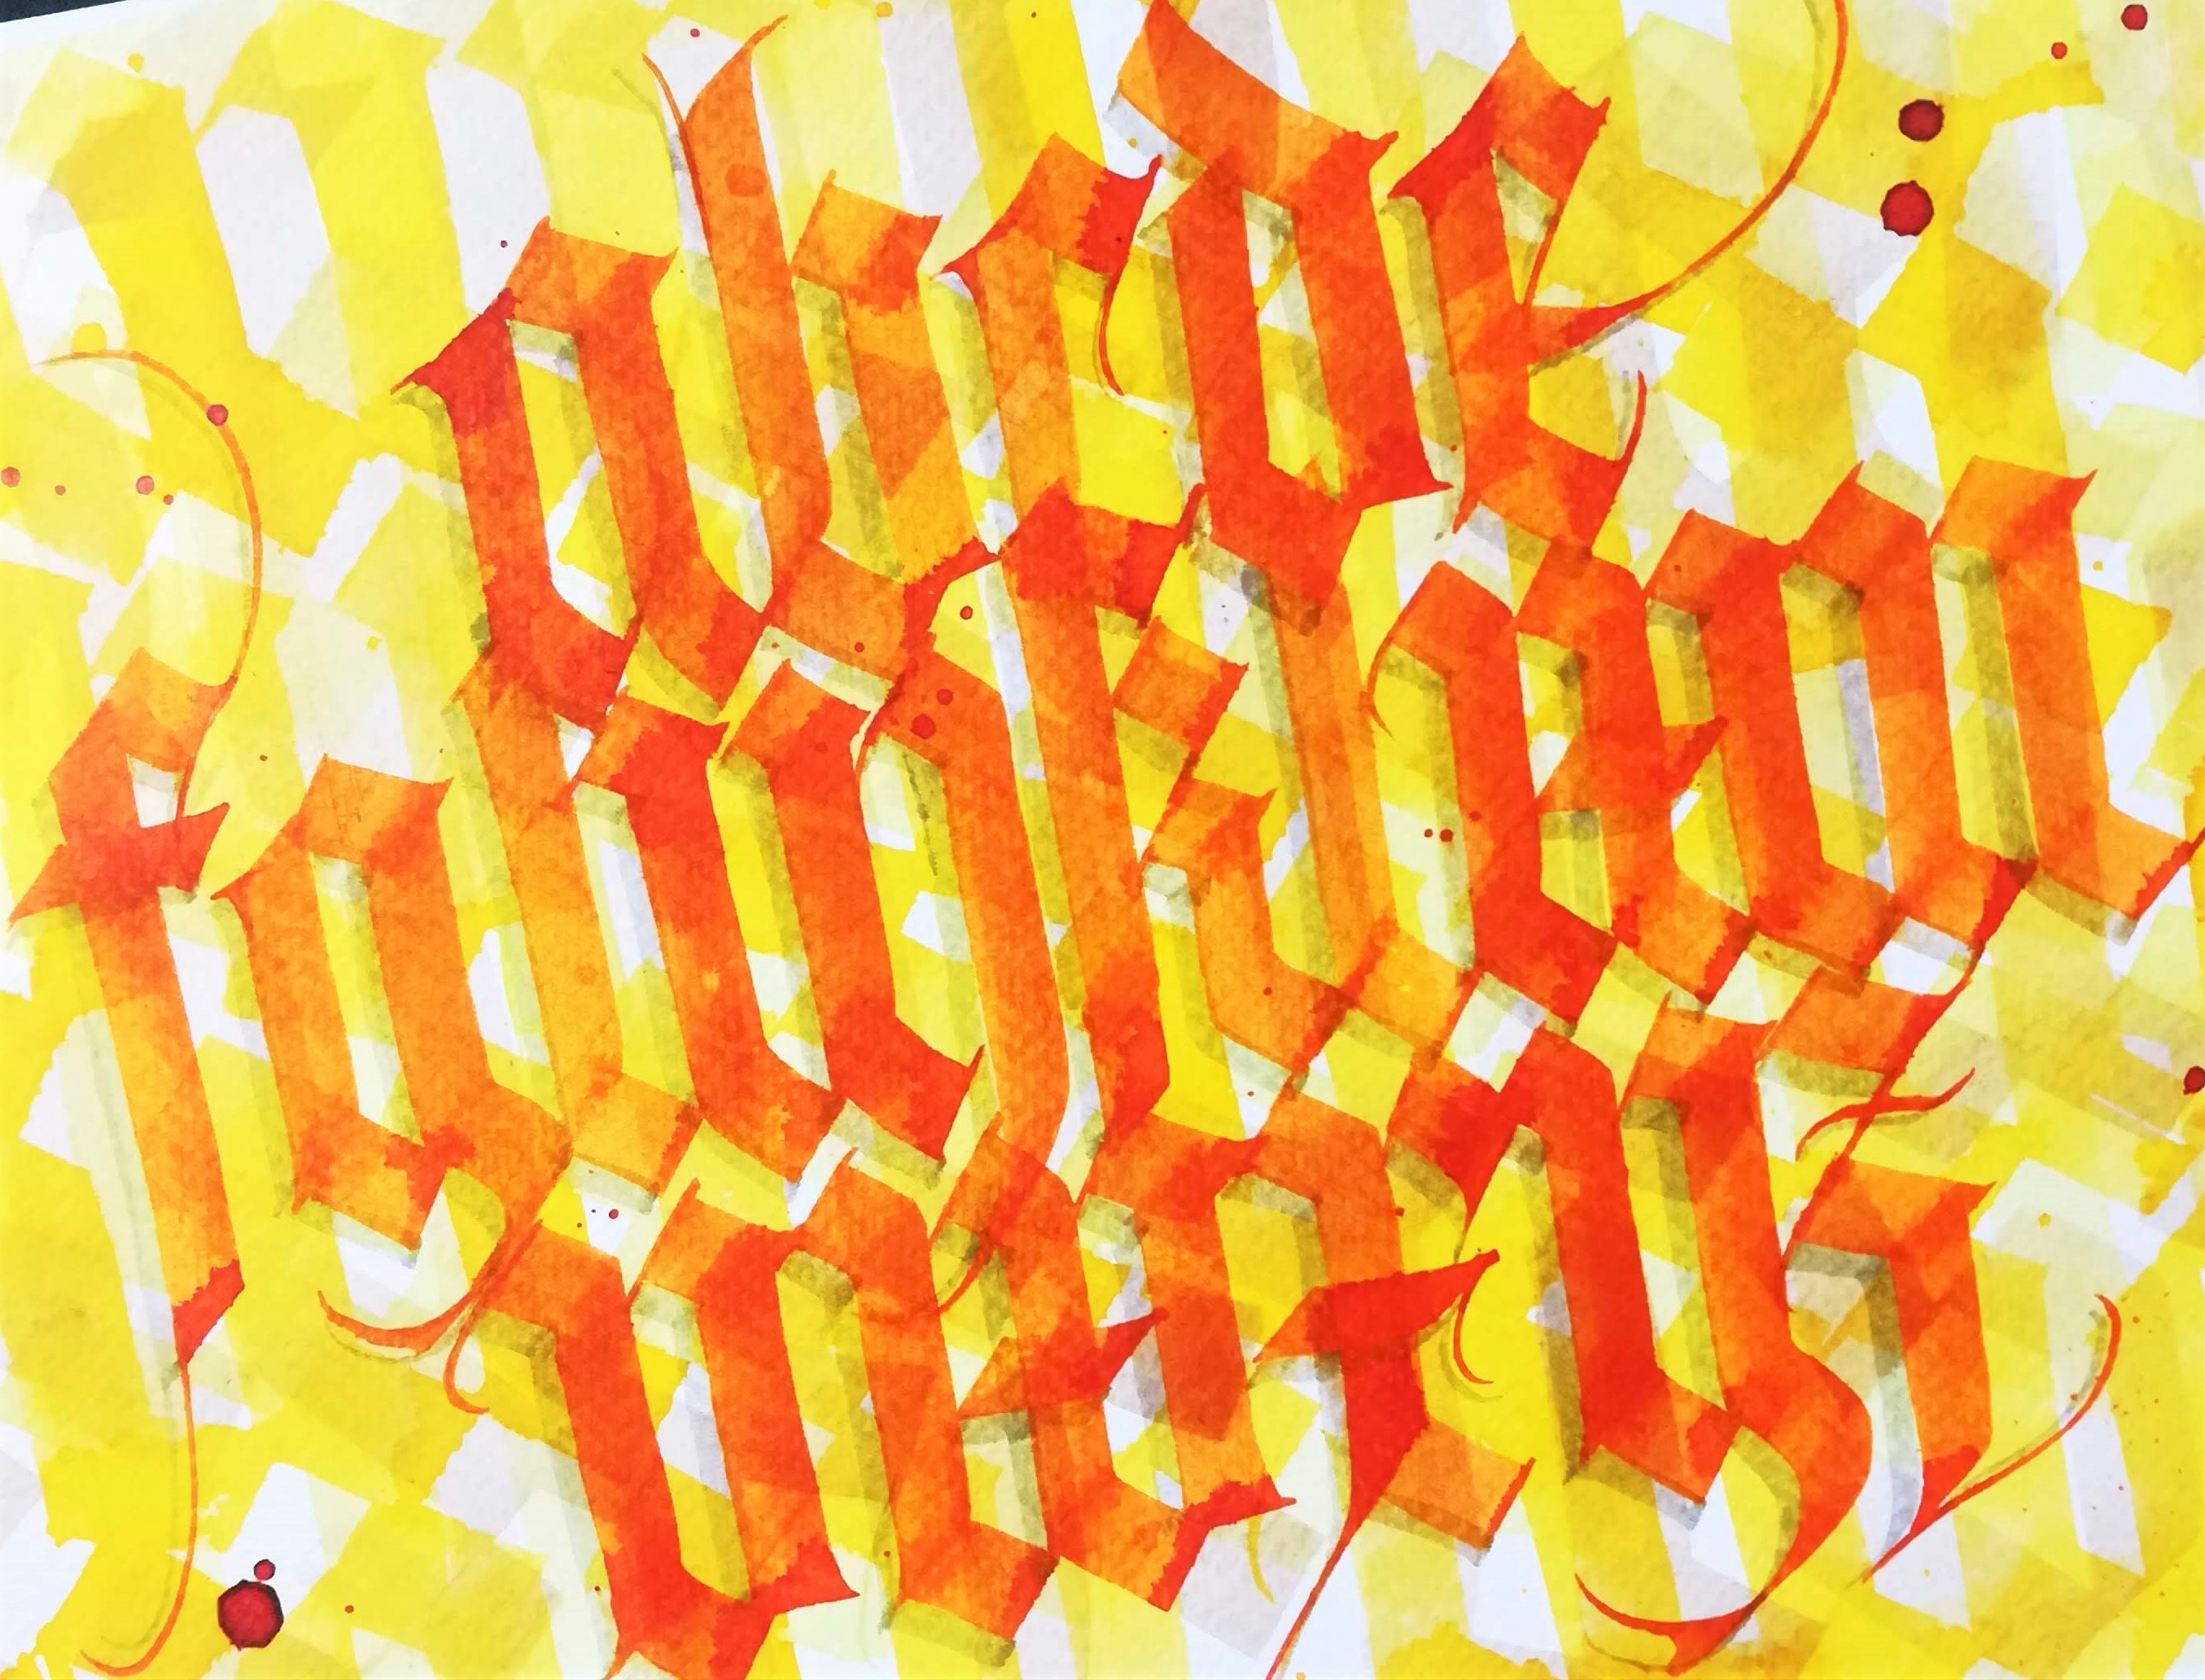
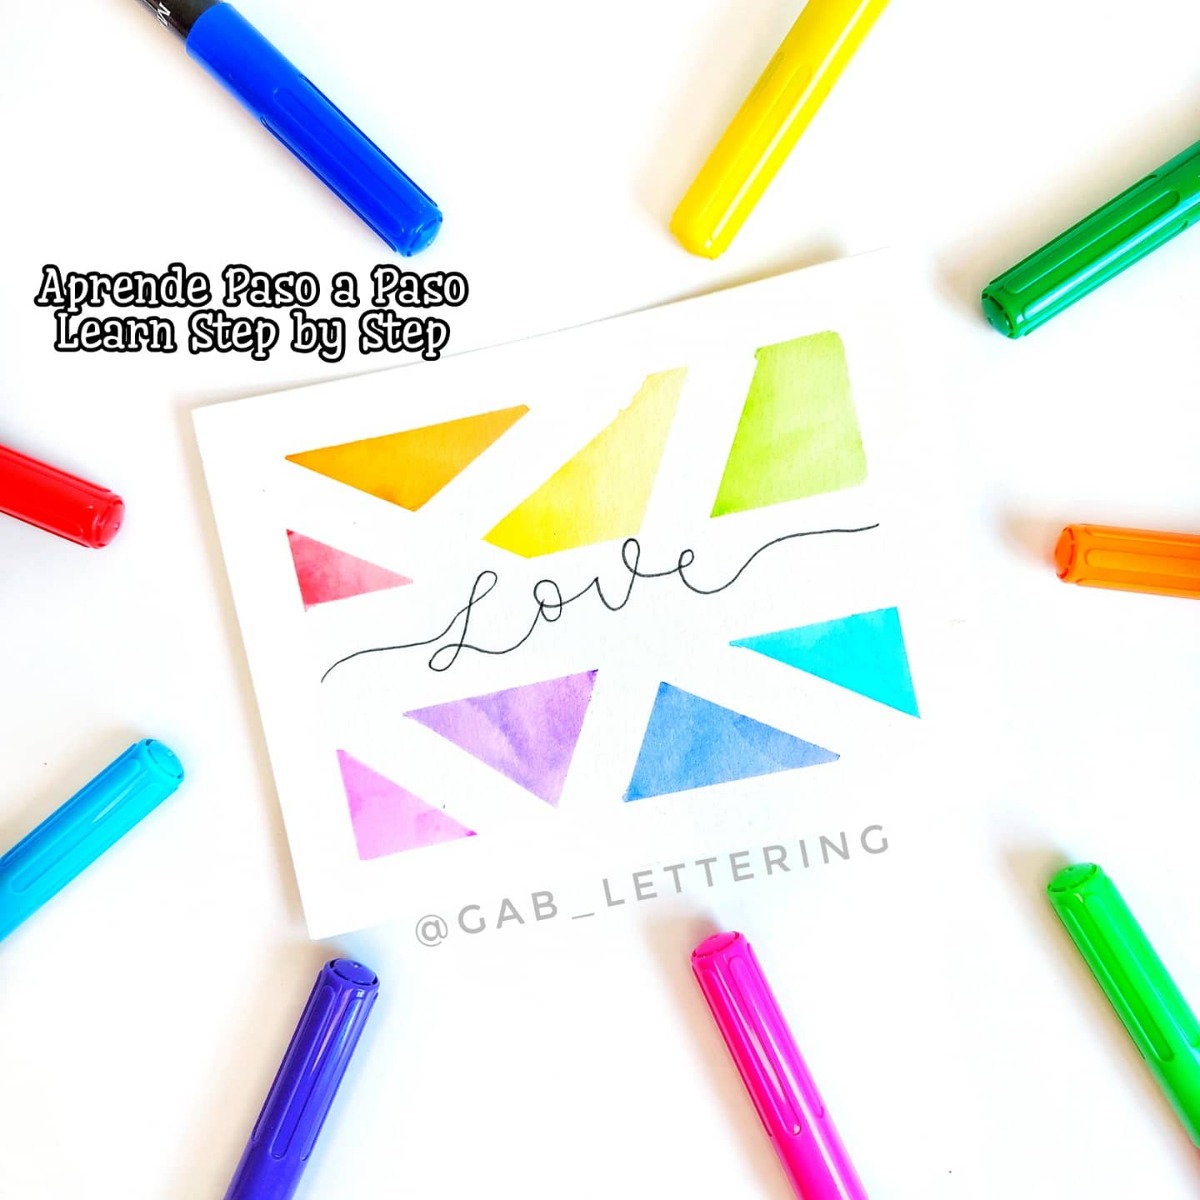
Follow her steps below and create your very own masterpiece! Choose your own colours of choice and you can use this technique for creating any wording to your piece of artwork. We went with 'Love' because we there is never too much to go around!
So, what are you waiting for? Get your brush pens ready and lets go!
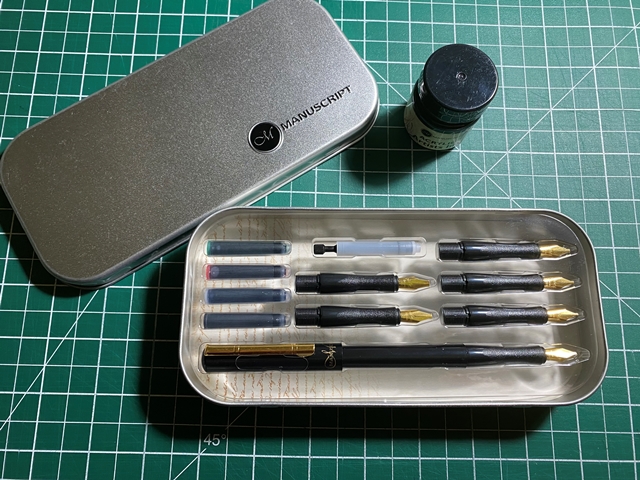
The Tools
To get started you will need the following tools:
- Aquabrush Markers - Colours of your choice
- Duotip Marker - Colour of your choice
- Water Colour Paper
- Washi-Tape
- Waterbrush - Optional
- Paint brush - This comes with our Aquabrush Markers!

Step 1
Apply your washi tape to the areas you don't want to apply your watercolours to. Remember to apply some to the middle as this is where we will be adding our writing.
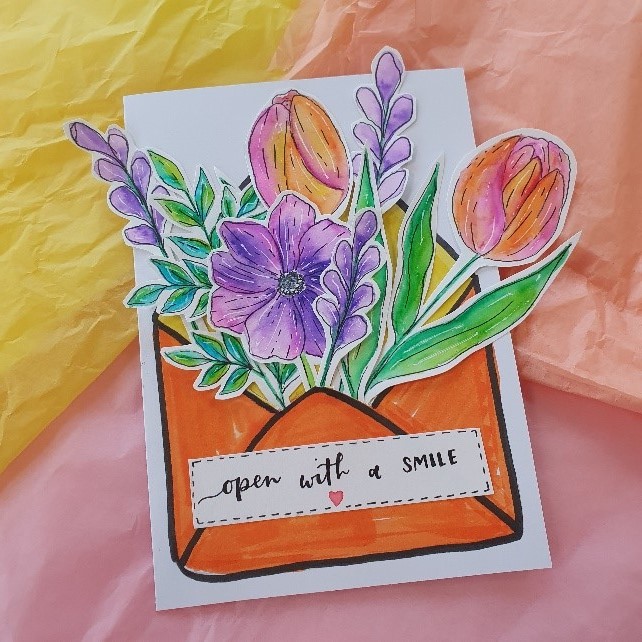
Take this time to be creative and creative a fun design for your final finished piece of artwork. You can theme it around certain holidays such as Christmas or Easter, or even for specific events such as birthdays or wedding cards!

Step 2
Apply your watercolours to your design! If you don't have a water brush, there are two simple ways to do this as detailed below:
- Take your Aquabrush Marker and dip the tip directly into a small pot of water. Then laydown straight onto your paper to create your watercolour effect. Don't worry about the ink, it will come back to its original intensity after a few strokes creating a great watercolour finish!
- Apply your colour to the area with your Aquabrush Marker and then take the paint brush provided, dip into some water and apply over your solid colour to create your desired watercolour effect.
Both options are suitable for beginners!

Step 3
Remove your washi-tape from the centre and get ready to start writing!

Step 4
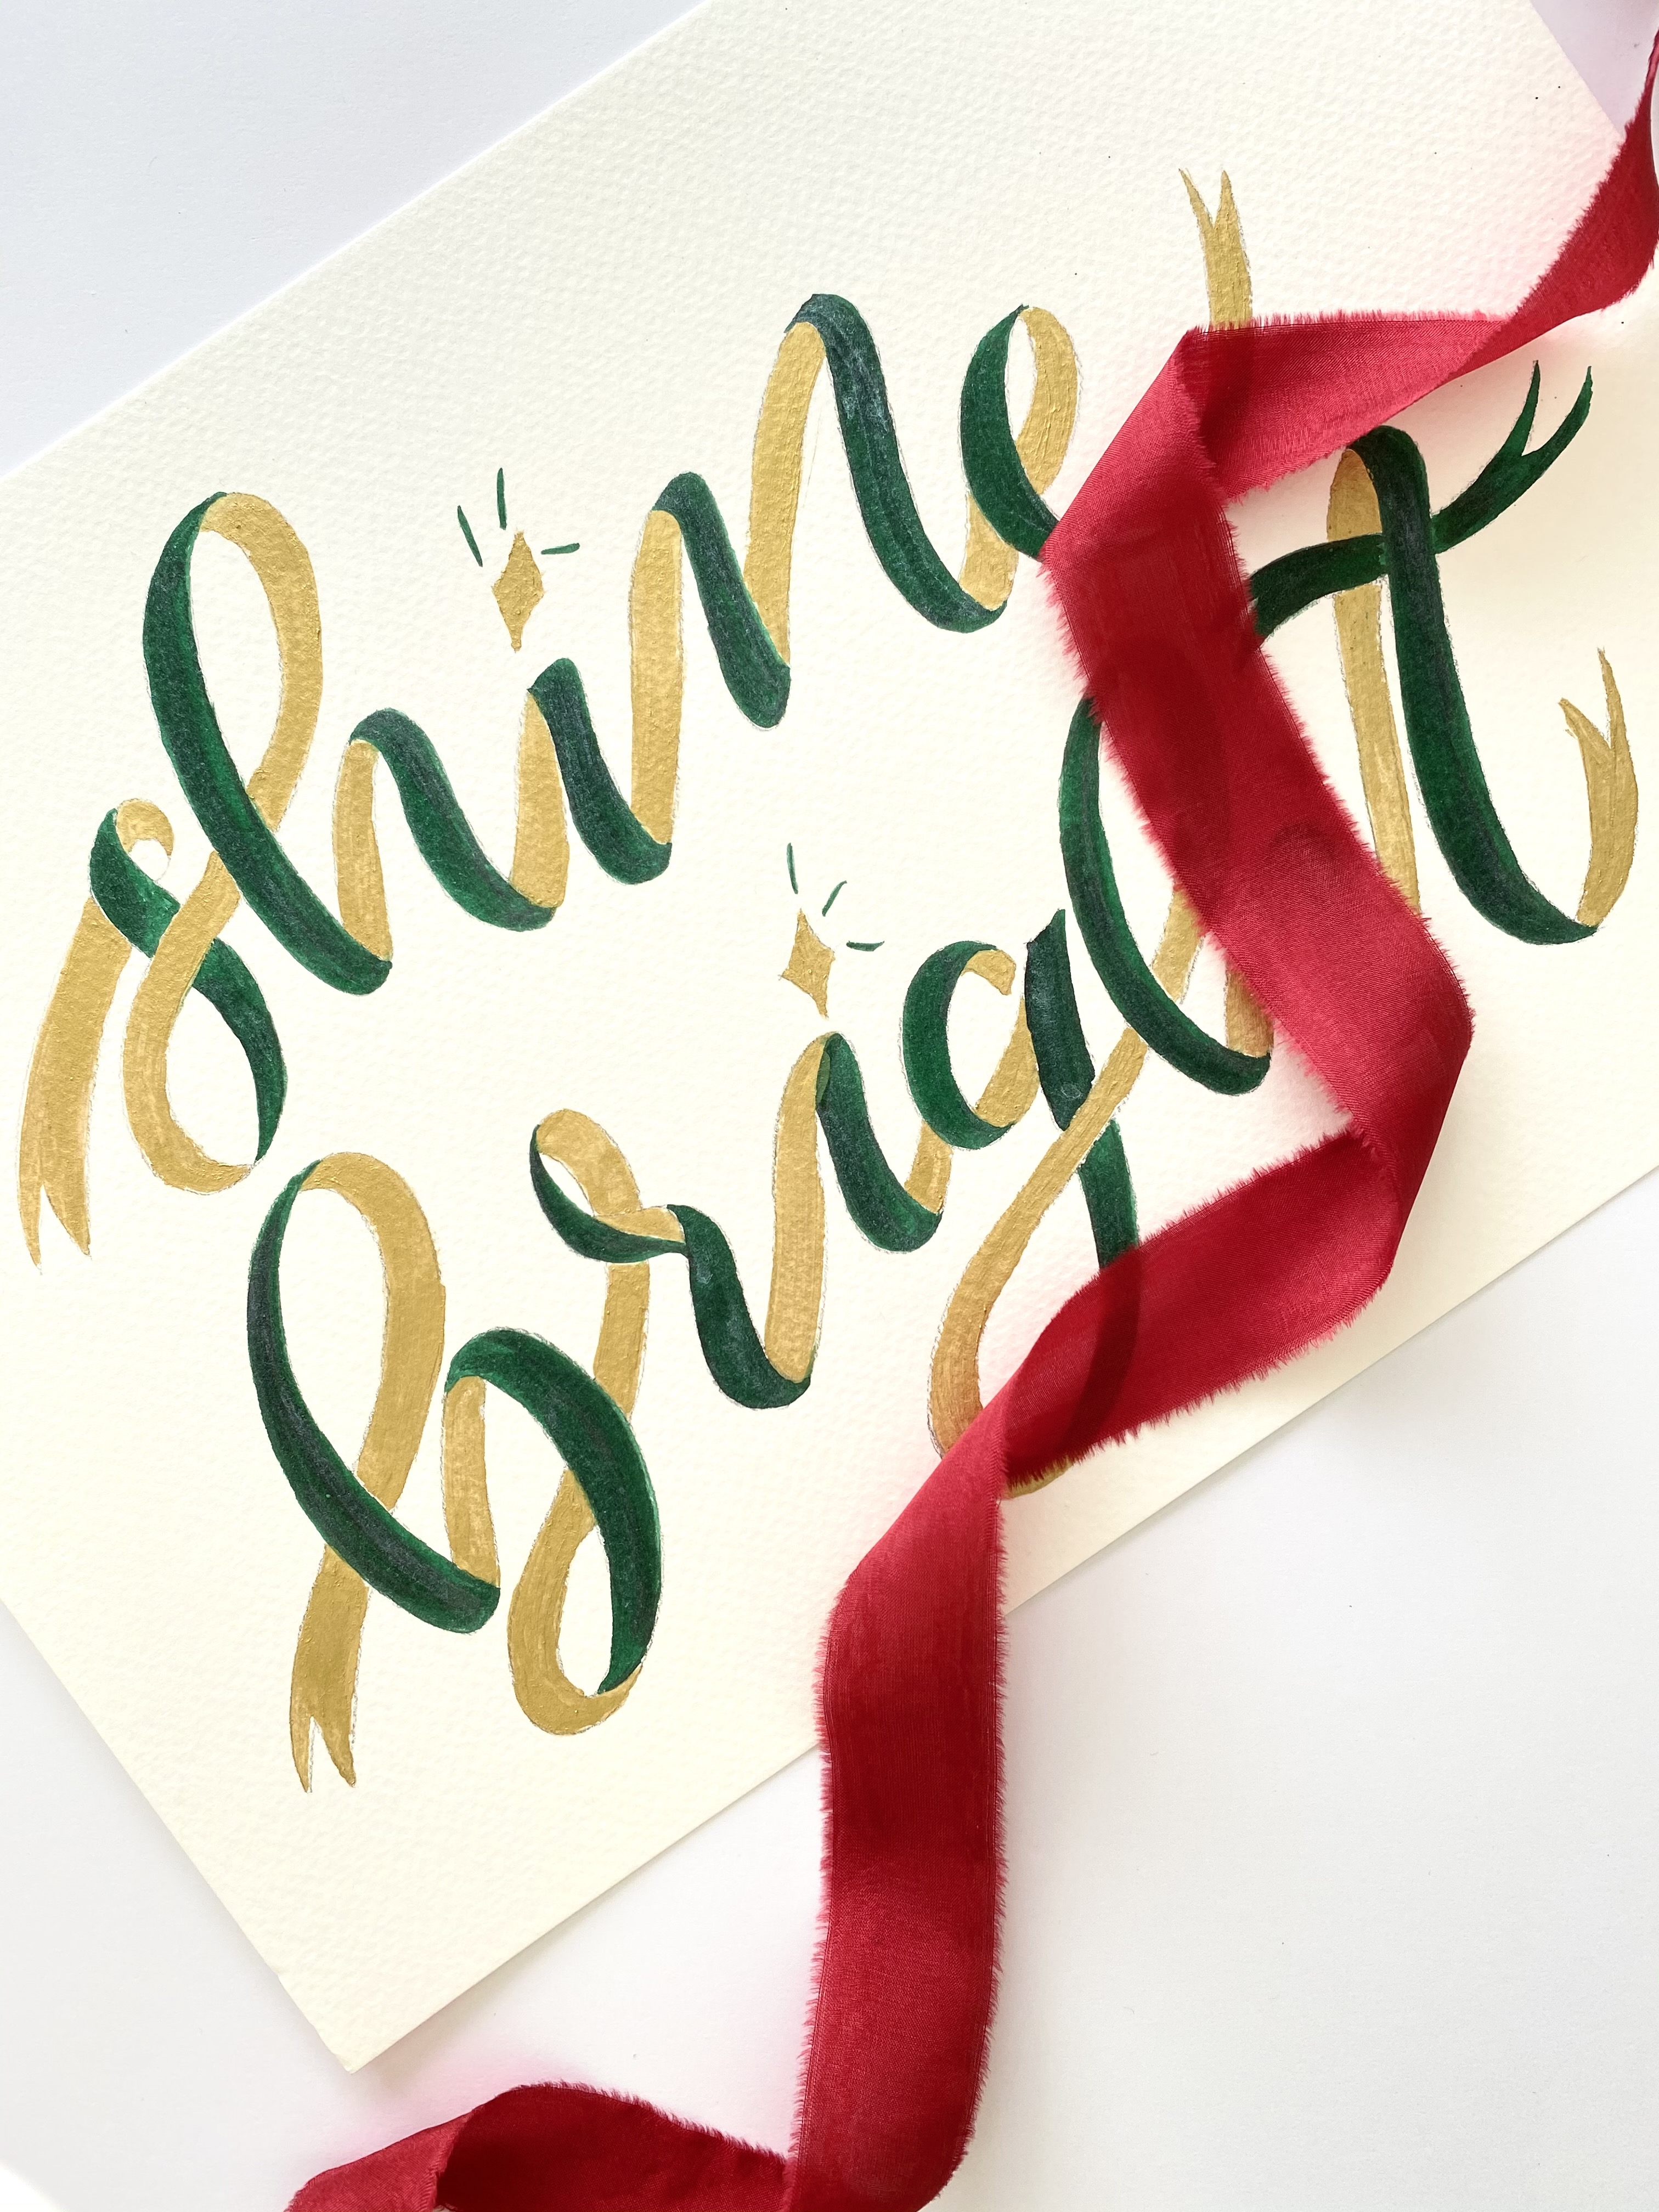
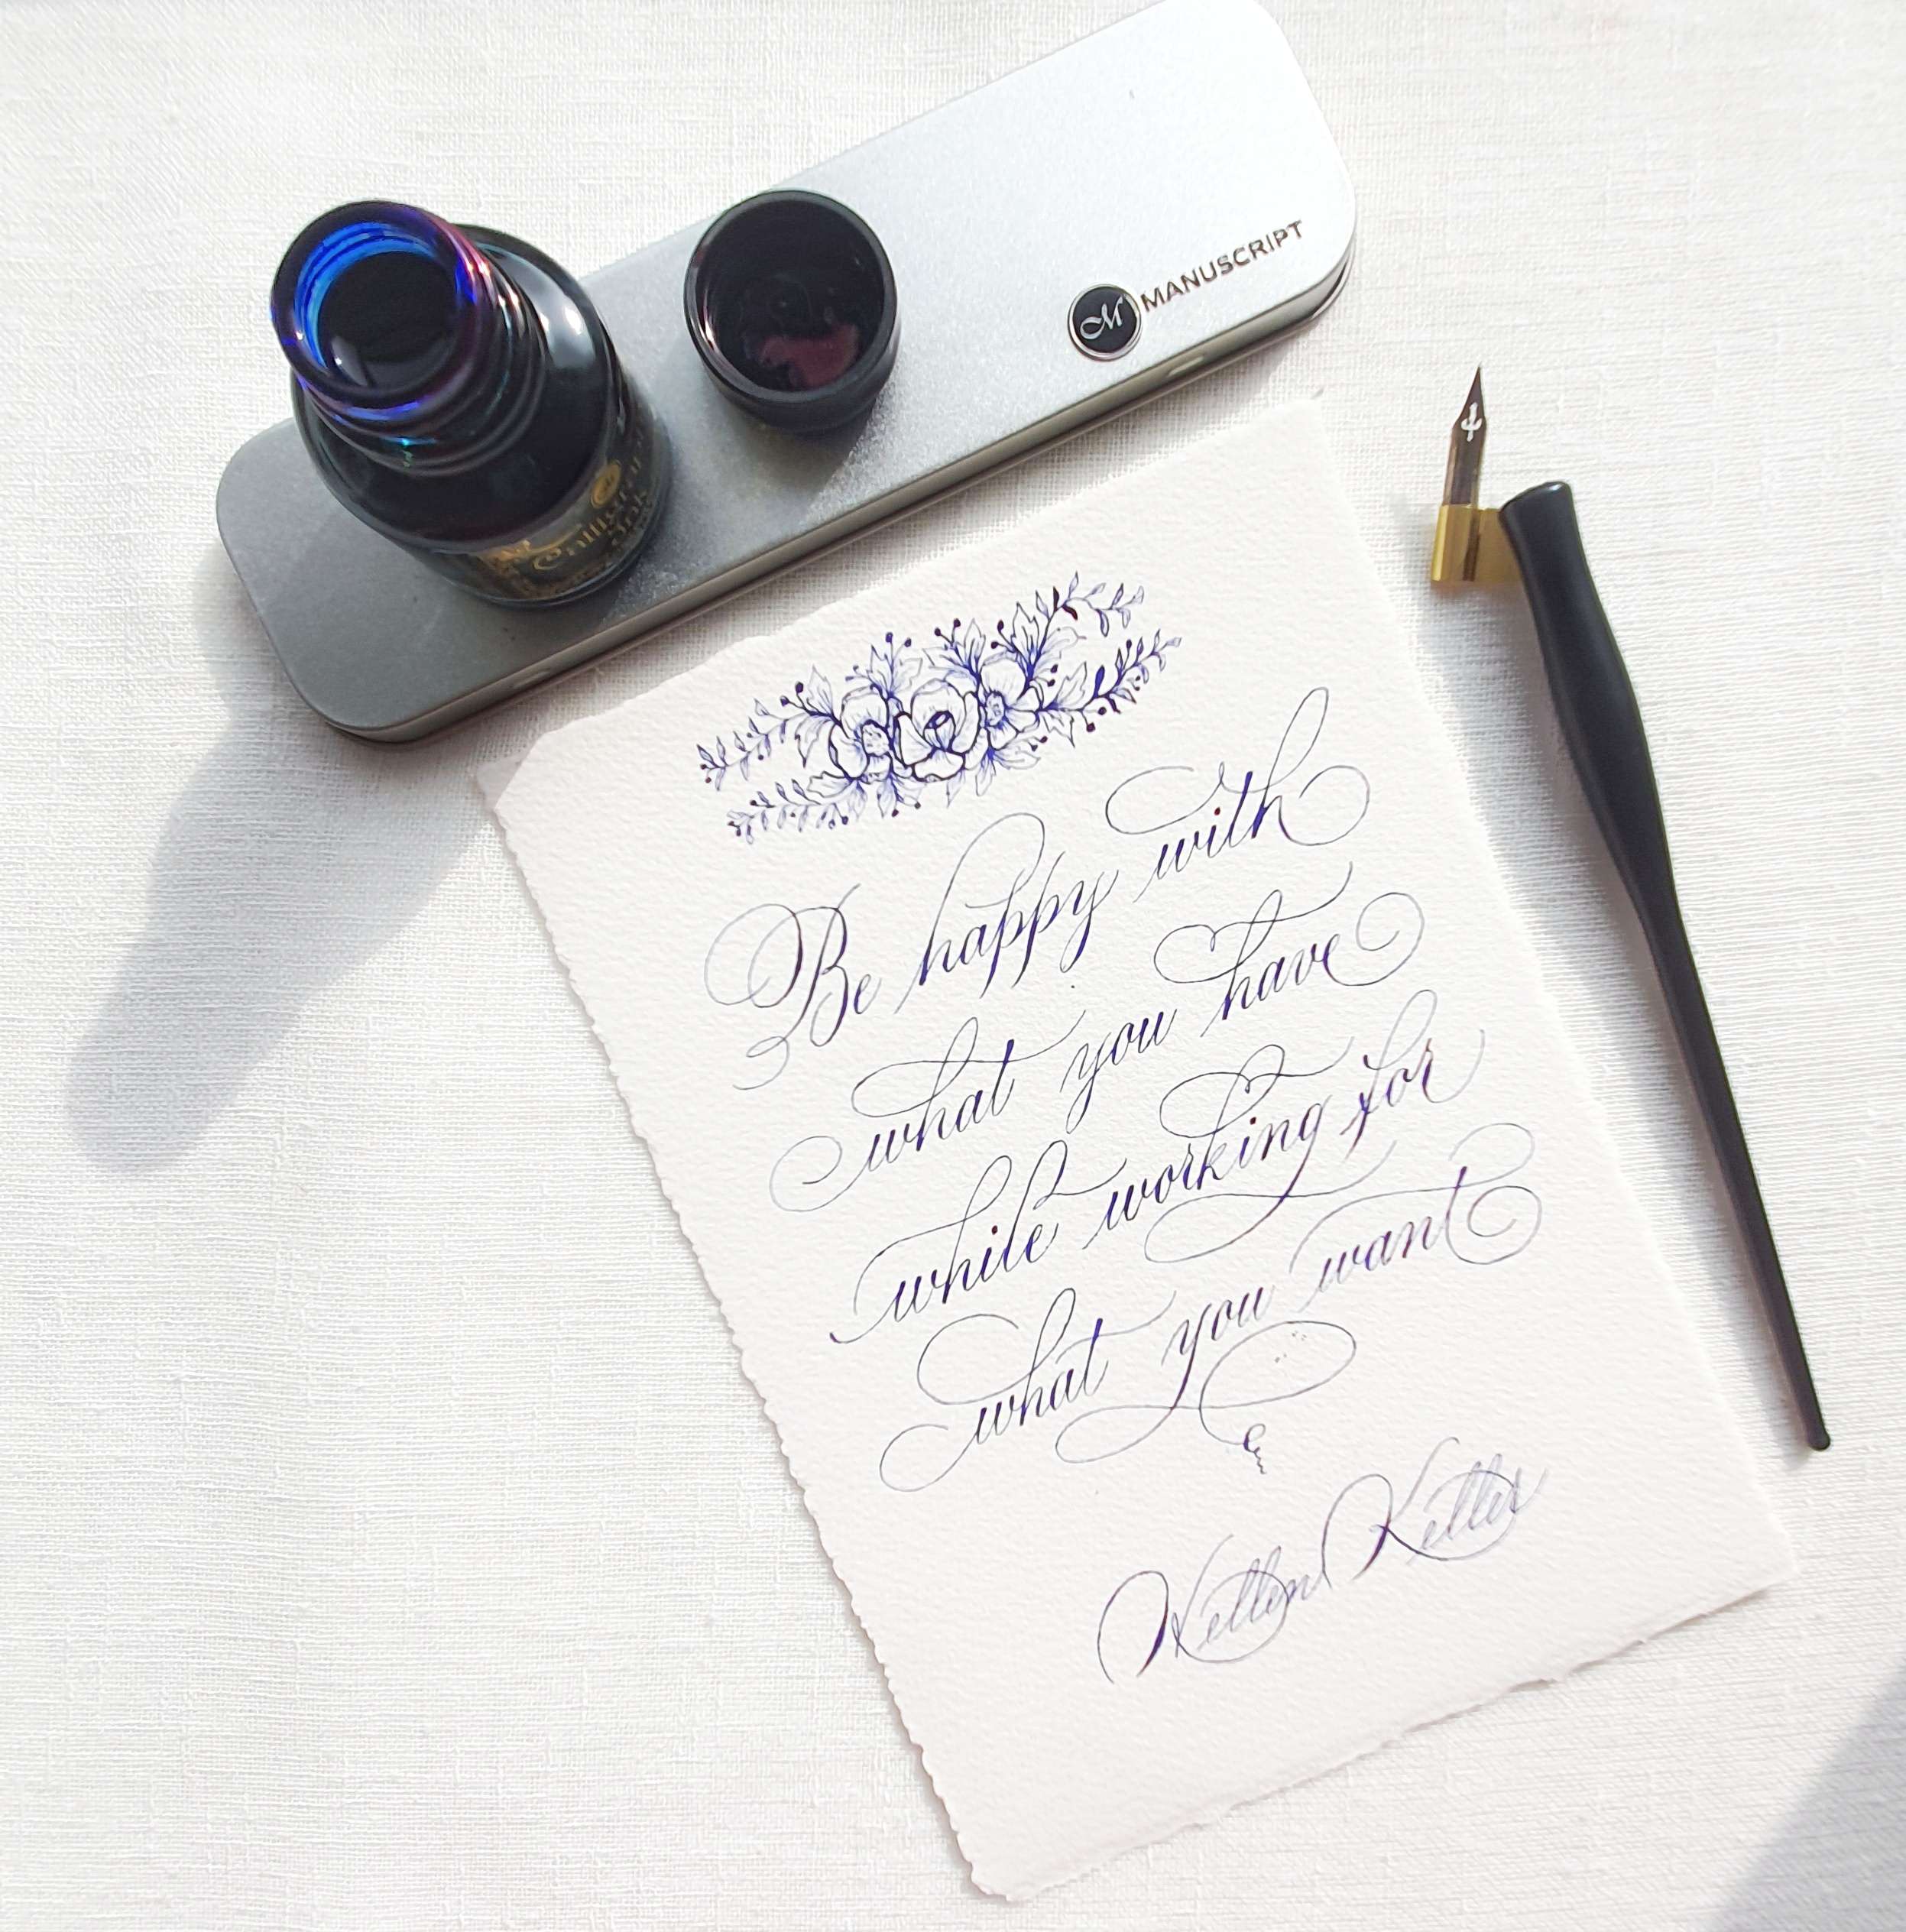
Take your Duotip Marker and use the Fine Tip to write down your word or phrase. We put our faux calligraphy skills to practice and created the word 'Love' in a Modern Calligraphy style.
You can create your lettering according to the theme of your card.

Finally, remove the remaining washi-tape and admire your finished design! You can now put it on display, or gift it to someone for a special occasion!

Tag @gab_lettering and @manuscriptpenco when you attempt this design and use #manuscriptpens. We would love to see and share what you create.
For more help and guidance with calligraphy and lettering, CLICK HERE for free downloads and help sheets!
To see more of Gabriela's work you can follow her on Instagram and remember to follow @manuscriptpenco on Social Media where we will be showcasing Gab's work throughout the month.