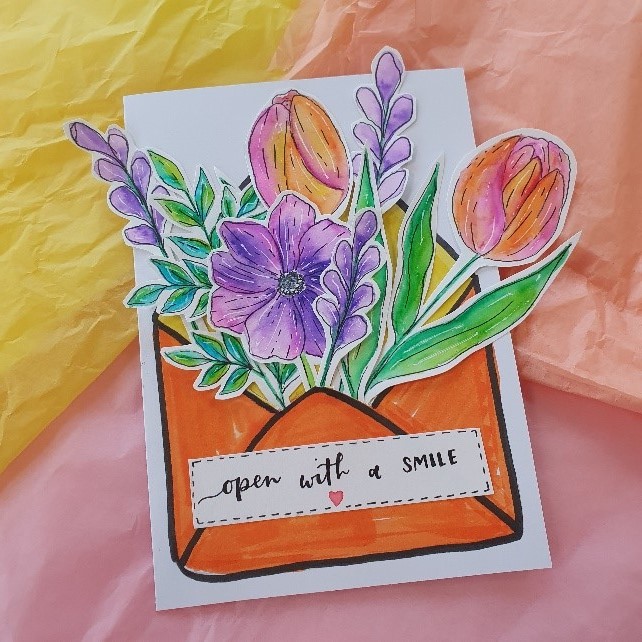
We asked our Artist of the Month Mubeenah to create a new DIY tutorial for you all and she did not disappoint! She has created a great flower bouquet card project that is perfect for getting creative, especially for those special occasions like Mother's Day. Follow our step-by-step instructions below and create your very own masterpiece.
So, what are you waiting for? Get your tools ready and lets go!
The Tools you need to get started:
- Callicreative Aquabrush Markers
- Callicreative Lettering Pencil
- Black Fineliner
- Card
- Water colour paper
- Scissors
- Craft knife
- White gel pen / ink
- Paintbrush
- Water
- Glue

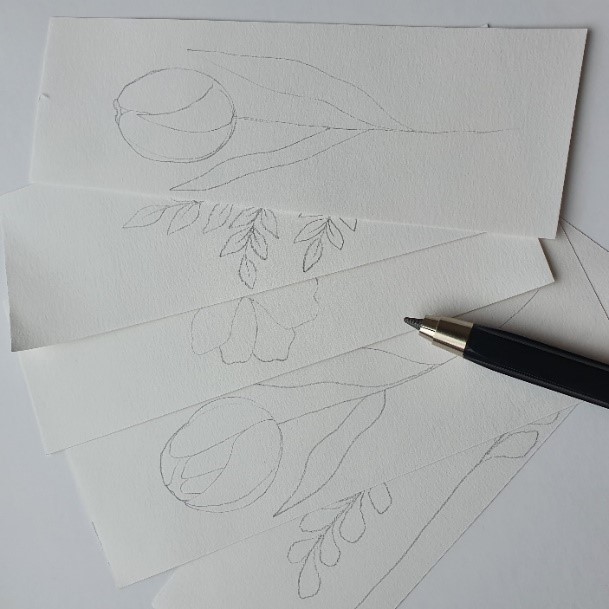
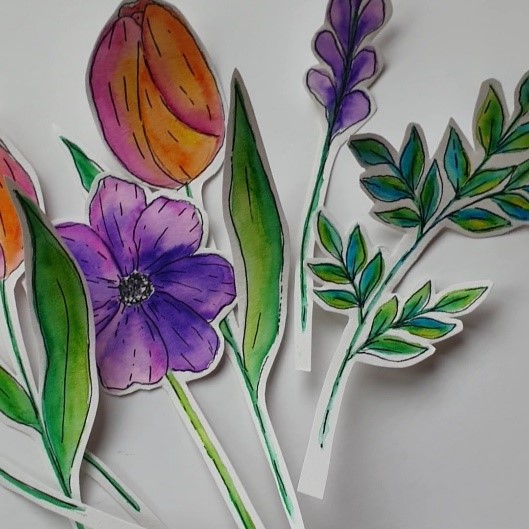
Step 1 - Sketch a selection of flowers and leaves
Use the pencil to sketch outlines of your favourite flowers and florals for your bouquet. You will be cutting around these so make sure to leave space between them.
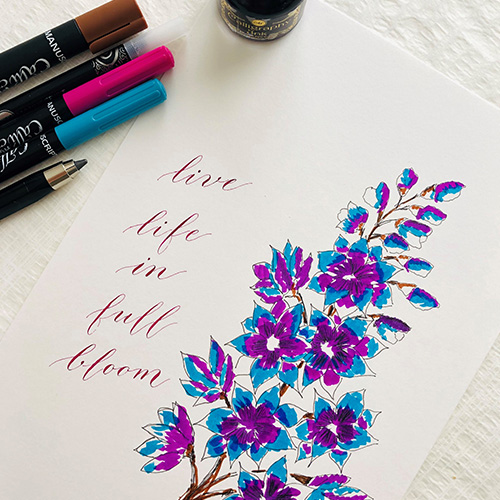
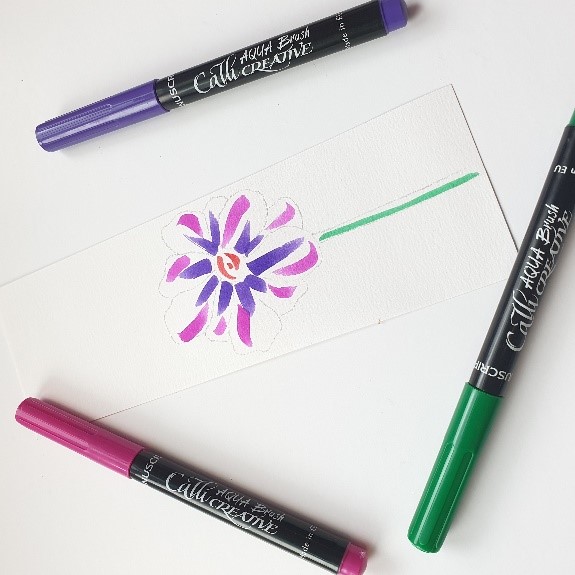
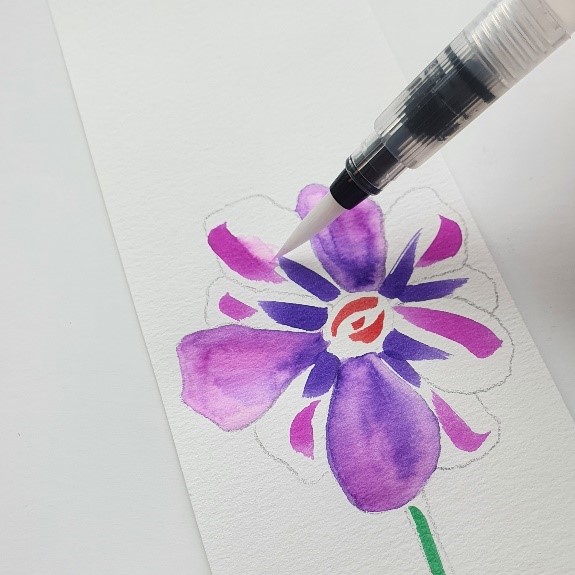
Step 2 - Painting your flowers
Use the Aquabrush markers to add colour to the petals. You only need to add a few, little strokes to the petals. Then, use water and a paint brush to blend the colours together. The markers are very pigmented so a little will surely go a long way.
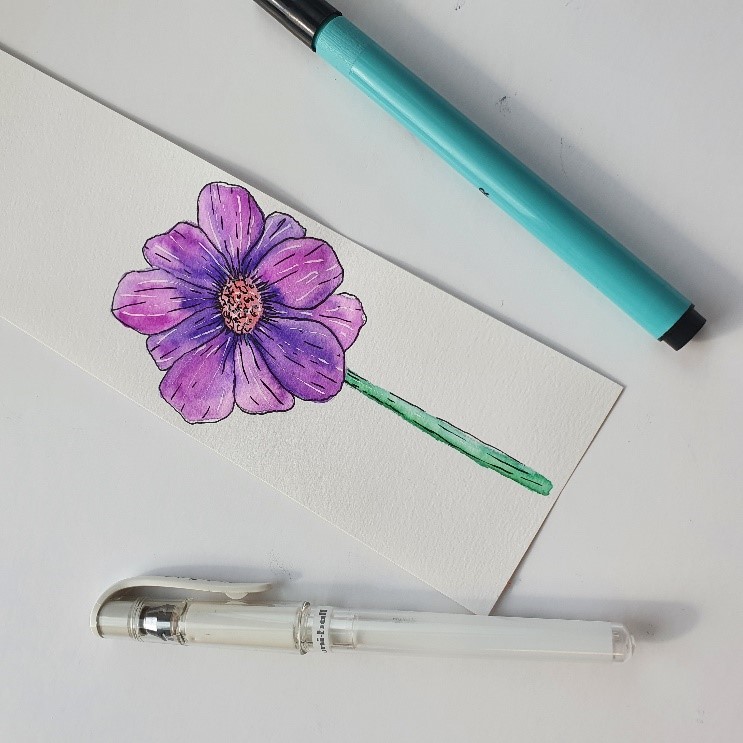
Step 3 - Adding your details
Lightly go over your illustrations using the black fineliner to add lines and dots in the petals. Just make sure to check the paint has dried so here is no ink bleeding! Similarly, use the white ink to add fine details until you are happy with your illustrations.
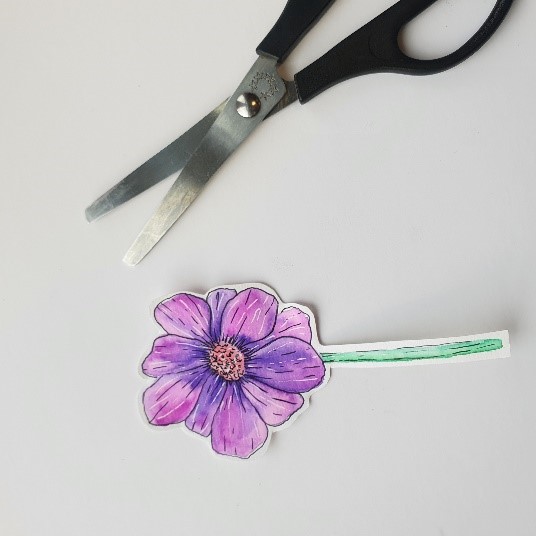
Step 4 - Cut out your flowers
Using scissors, cut around your flowers. Try to leave excess paper at the end of the stalk so you can play around with the arrangement when putting the card together. If need be, then you may cut them shorter once you are happy with the lengths.
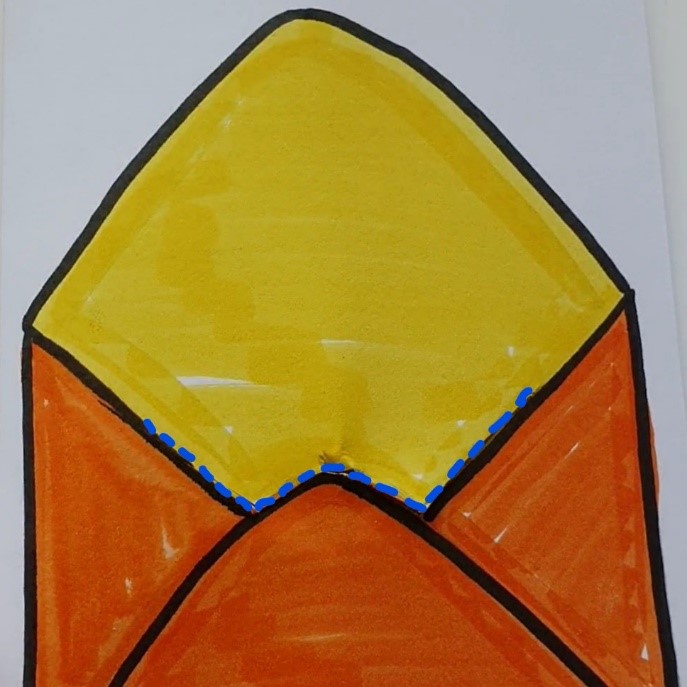
Step 4 - Creating the card
On the front of a blank white card, sketch, and colour in an envelope. This needs to be large as your flowers need to fit inside the envelope. Next, using your craft knife or scissors, cut through the opening of the envelope to make a hole to fit the flowers through. This has been indicated by the dotted blue line on the image. Depending on how may flowers you have, the size of the hole may vary.
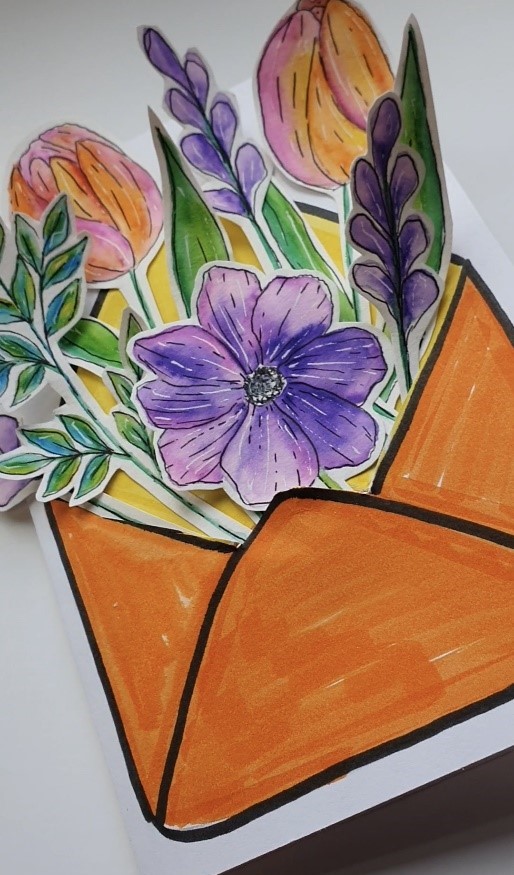
Step 5 - Arranging your Flowers
Slot you flowers through the hole you made in any arrangement you like. Some can be made to appear shorter or longer than others. Stick down the stalk on the inside of the card. Finally, use a sheet of paper or card to cover the stalks that have been stuck down and add any additional details you want at the front. I added a little message!
To see more of Mubeenah's work you can follow her on Instagram. Remember to follow @manuscriptpenco on Social Media where we will be showcasing her work throughout the month.