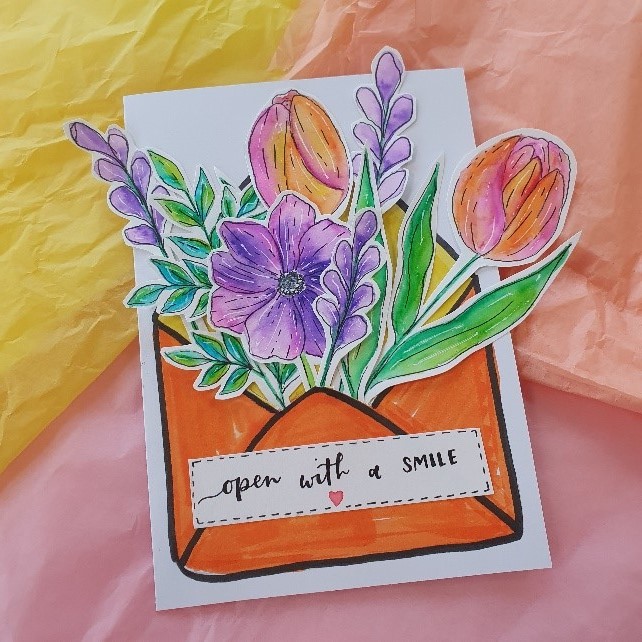
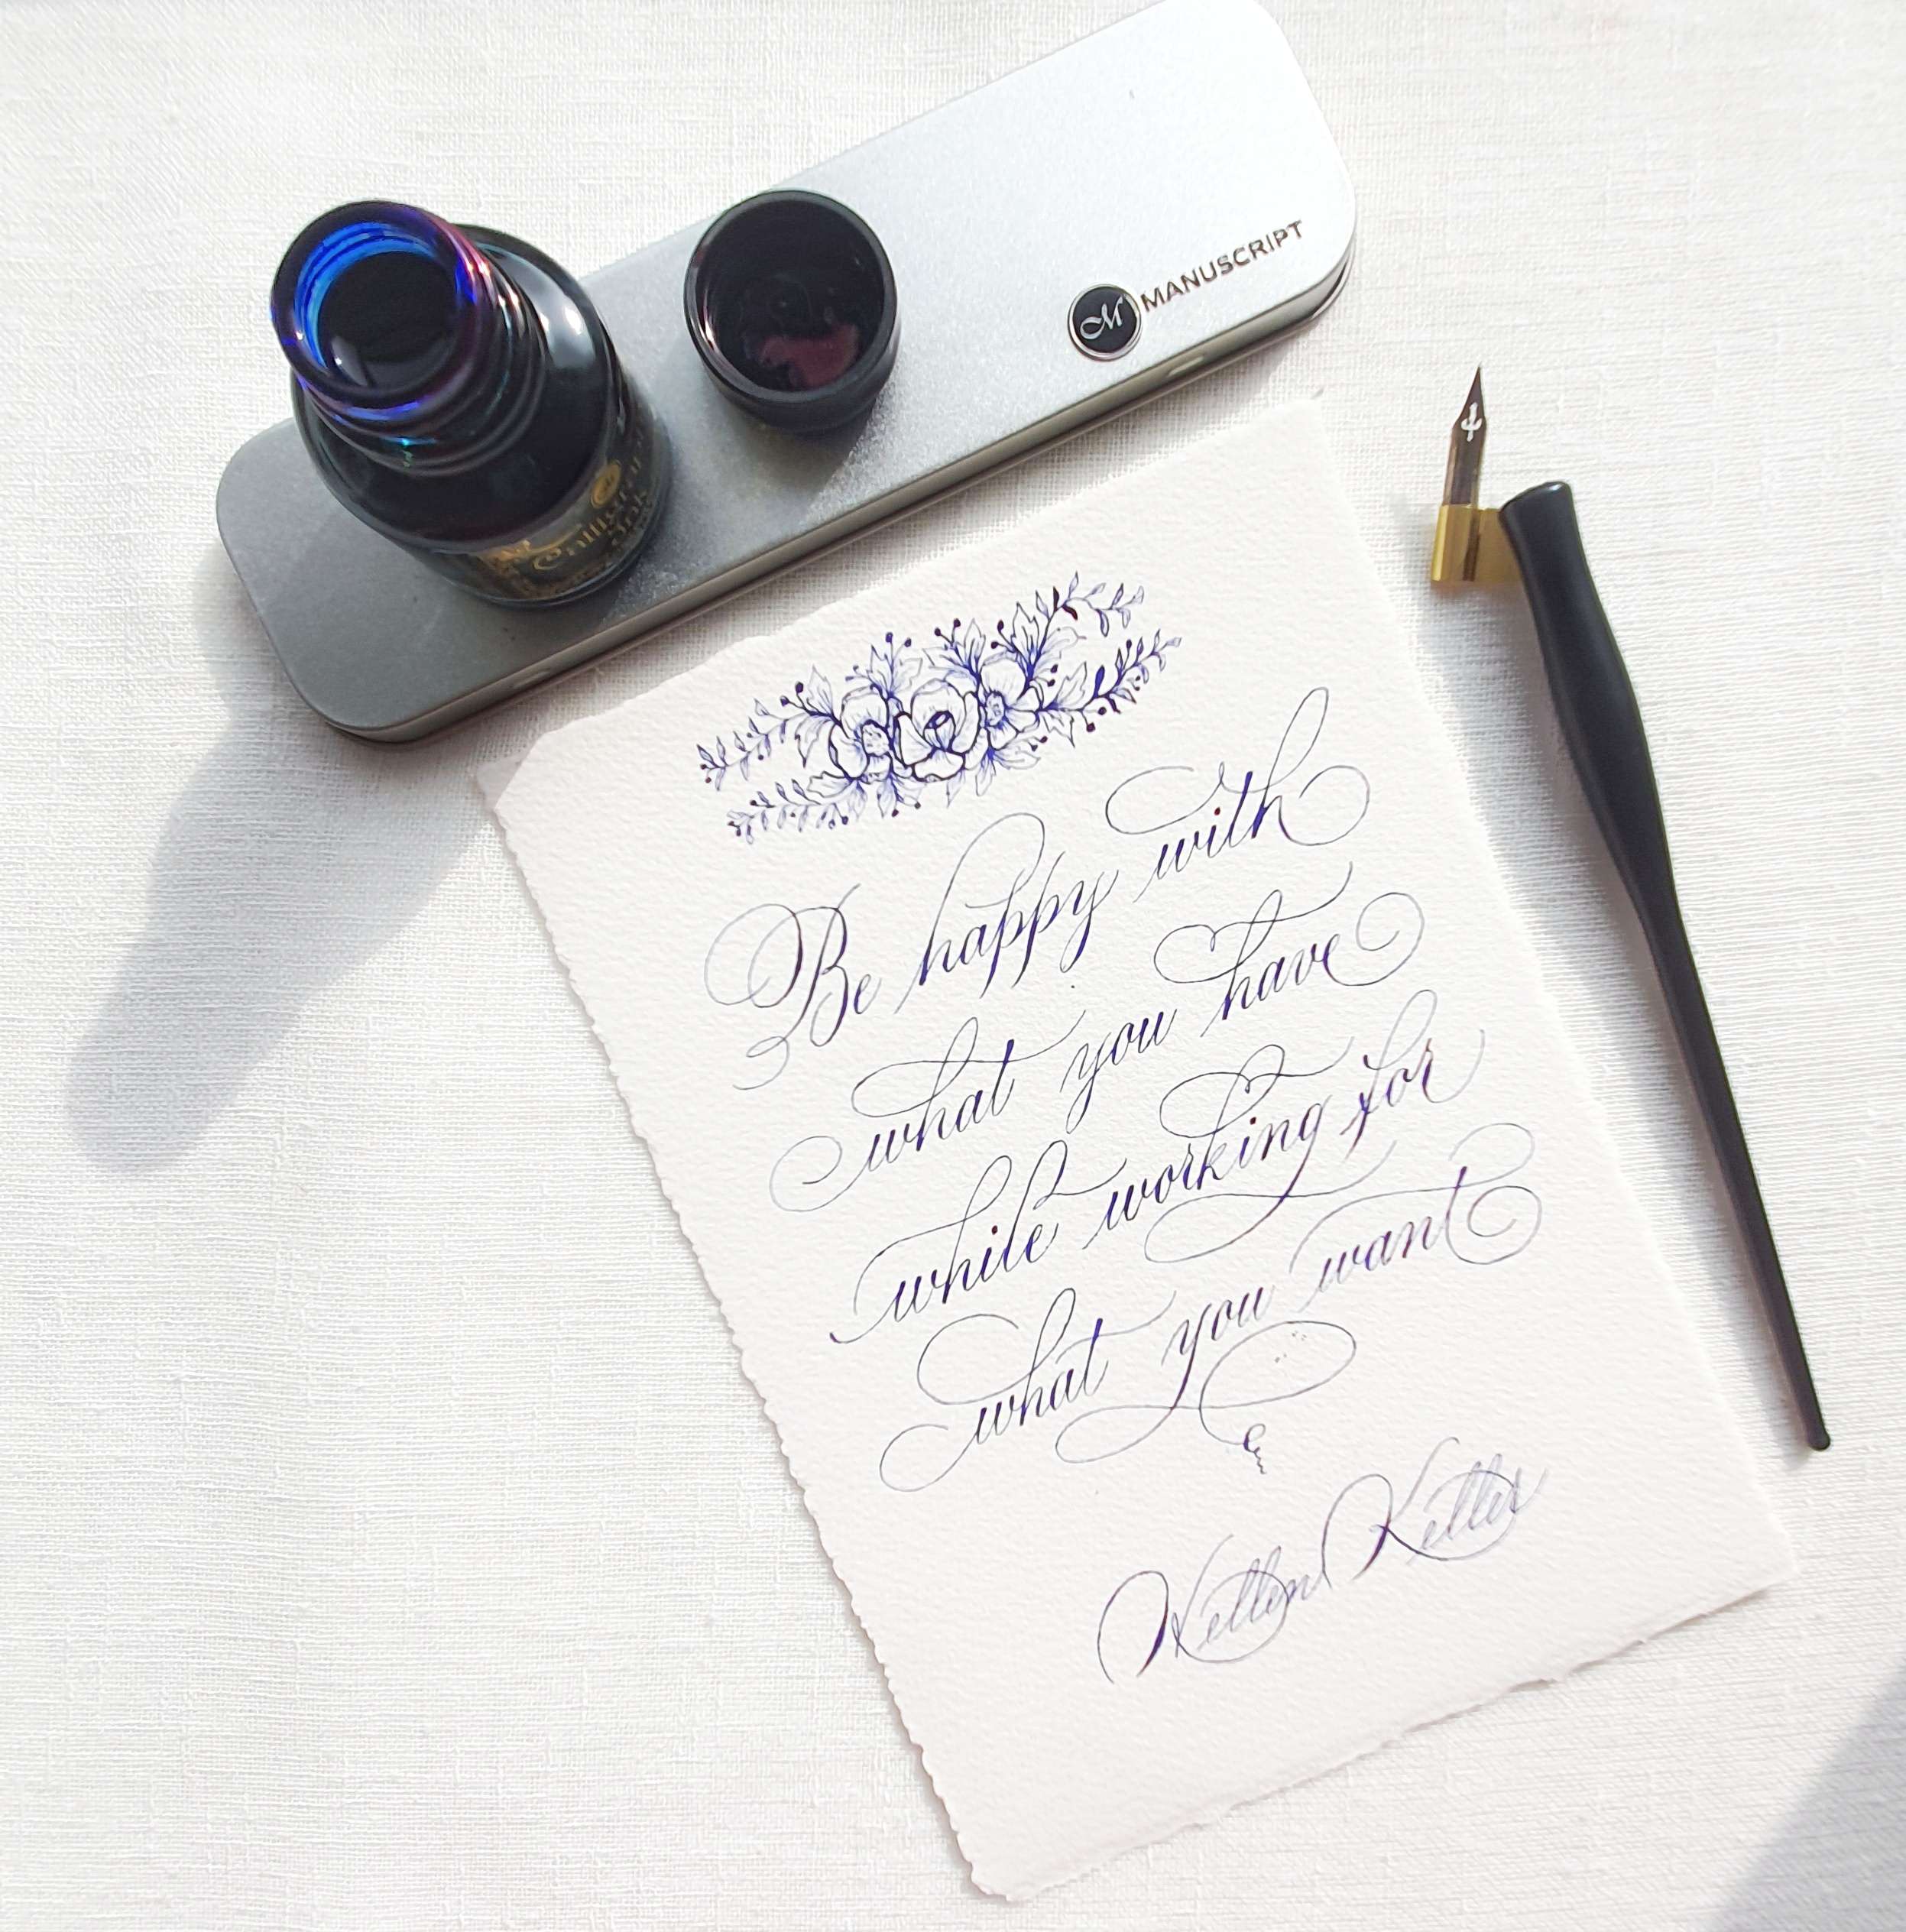
We asked our Artist of the Month Angenise to create a new DIY tutorial for you all and she did not disappoint! She has created a great scrapbook card project that is perfect for getting creative. Follow our step-by-step instructions below and create your very own masterpiece.
So, what are you waiting for? Get your tools ready and lets go!
The Tools you need to get started:
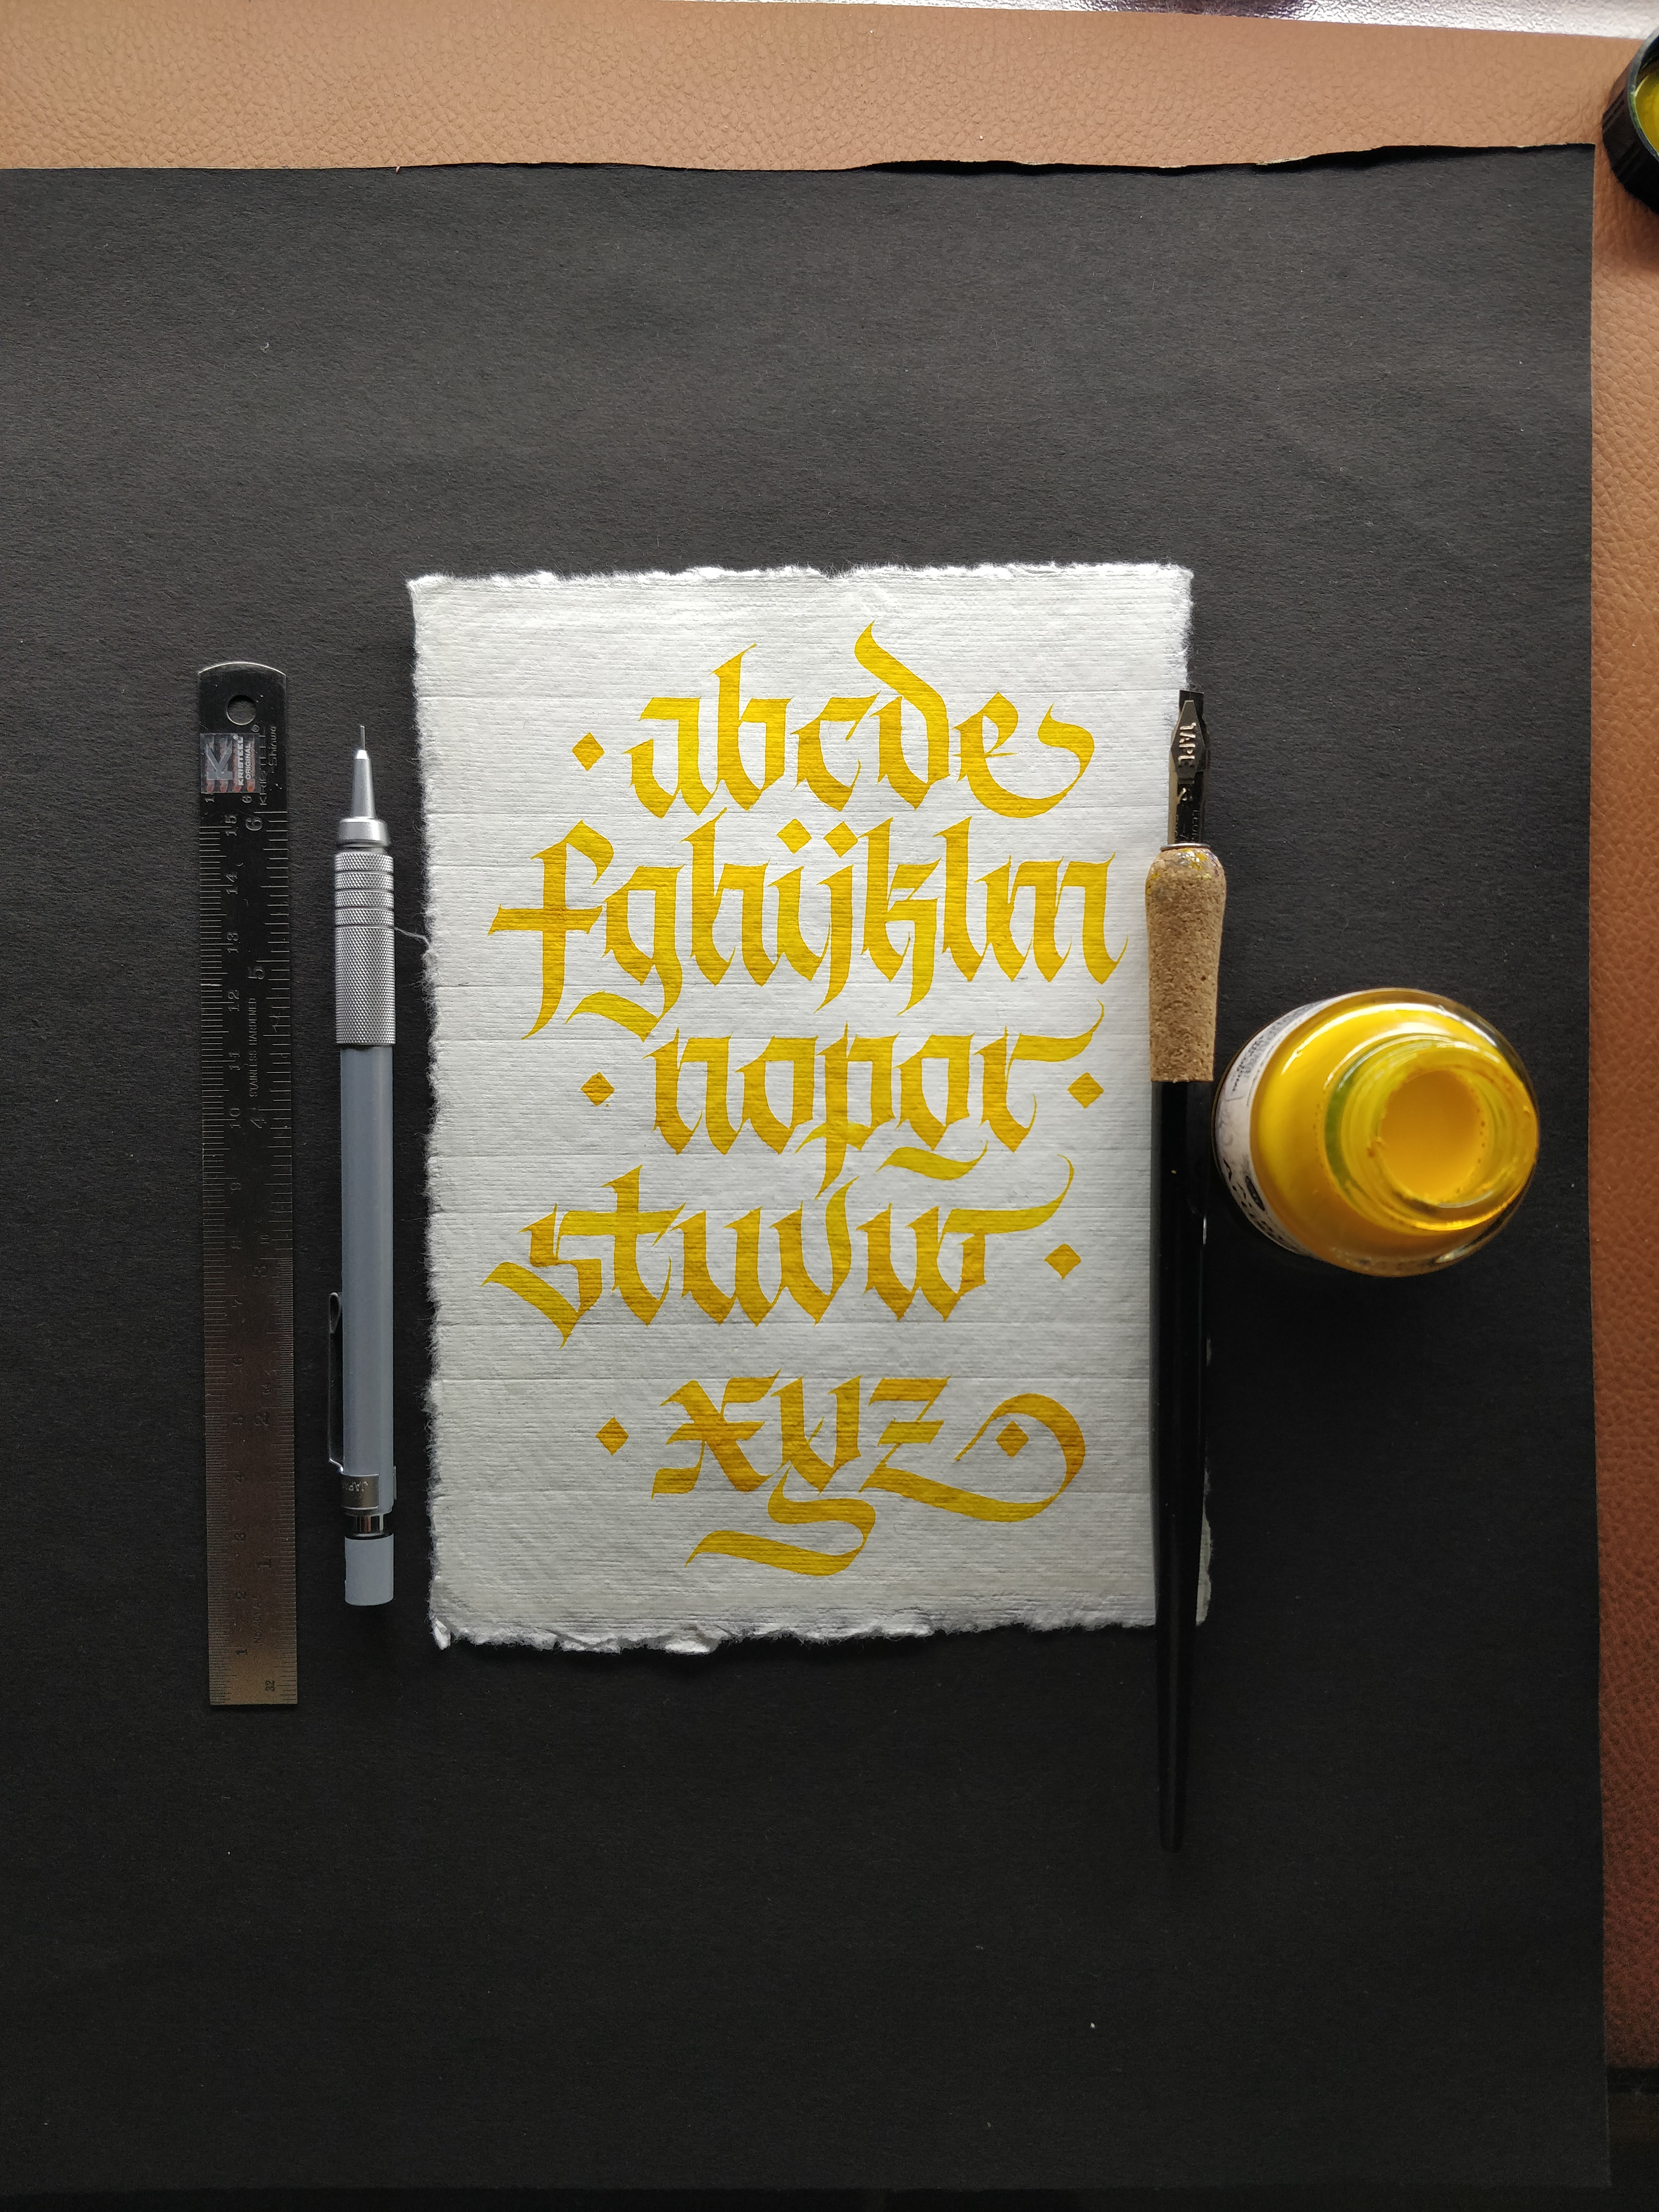
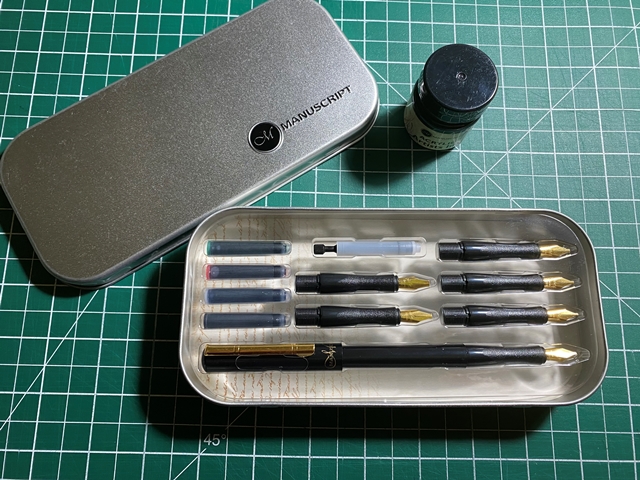
- Your choice of calligraphy ink, nib or pen
-
3 sheets of coordinating solid colors 8.5x11 (A4) cardstock 80# cover weight / 216 gsm
-
2 sheets of 8.5x11 (A4) patterned scrapbooking paper 65# cover / 176 gsm
-
Craft foam tape
-
Permanent tape runner or double sided tape
-
Paper trimmer
-
Scoring board (optional)
-
Bone folder
-
Scissors
-
Pencil
-
Ribbon of choice
-
A coordinating A7 envelope
Step 1
Trim one of the solid colour cardstock to 10 X 7 inches / 25cm X 17.5cm and be sure to save the smaller strips that are left over. Score at 5” / 12.7 cm or simply fold at the middle. Next, trim the coordinating solid colour card stock to 6.75 X 4.75 inches / 12.07 X 16.51 cm. Then trim a sheet of the patterned scrapbooking paper to 6.75 X 3.5 inches / 17.15 X 8.89 centimeters. Cut a piece of ribbon at least 8 inches / 20.32 centimeters in length. Next, trim one of the solid colour leftover strips to 4 X 1.75 inches / 10.16 X 4.45 cm and the other solid colour slightly smaller to 3.75 X 1.5 / 9.53 X 3.81 cm.
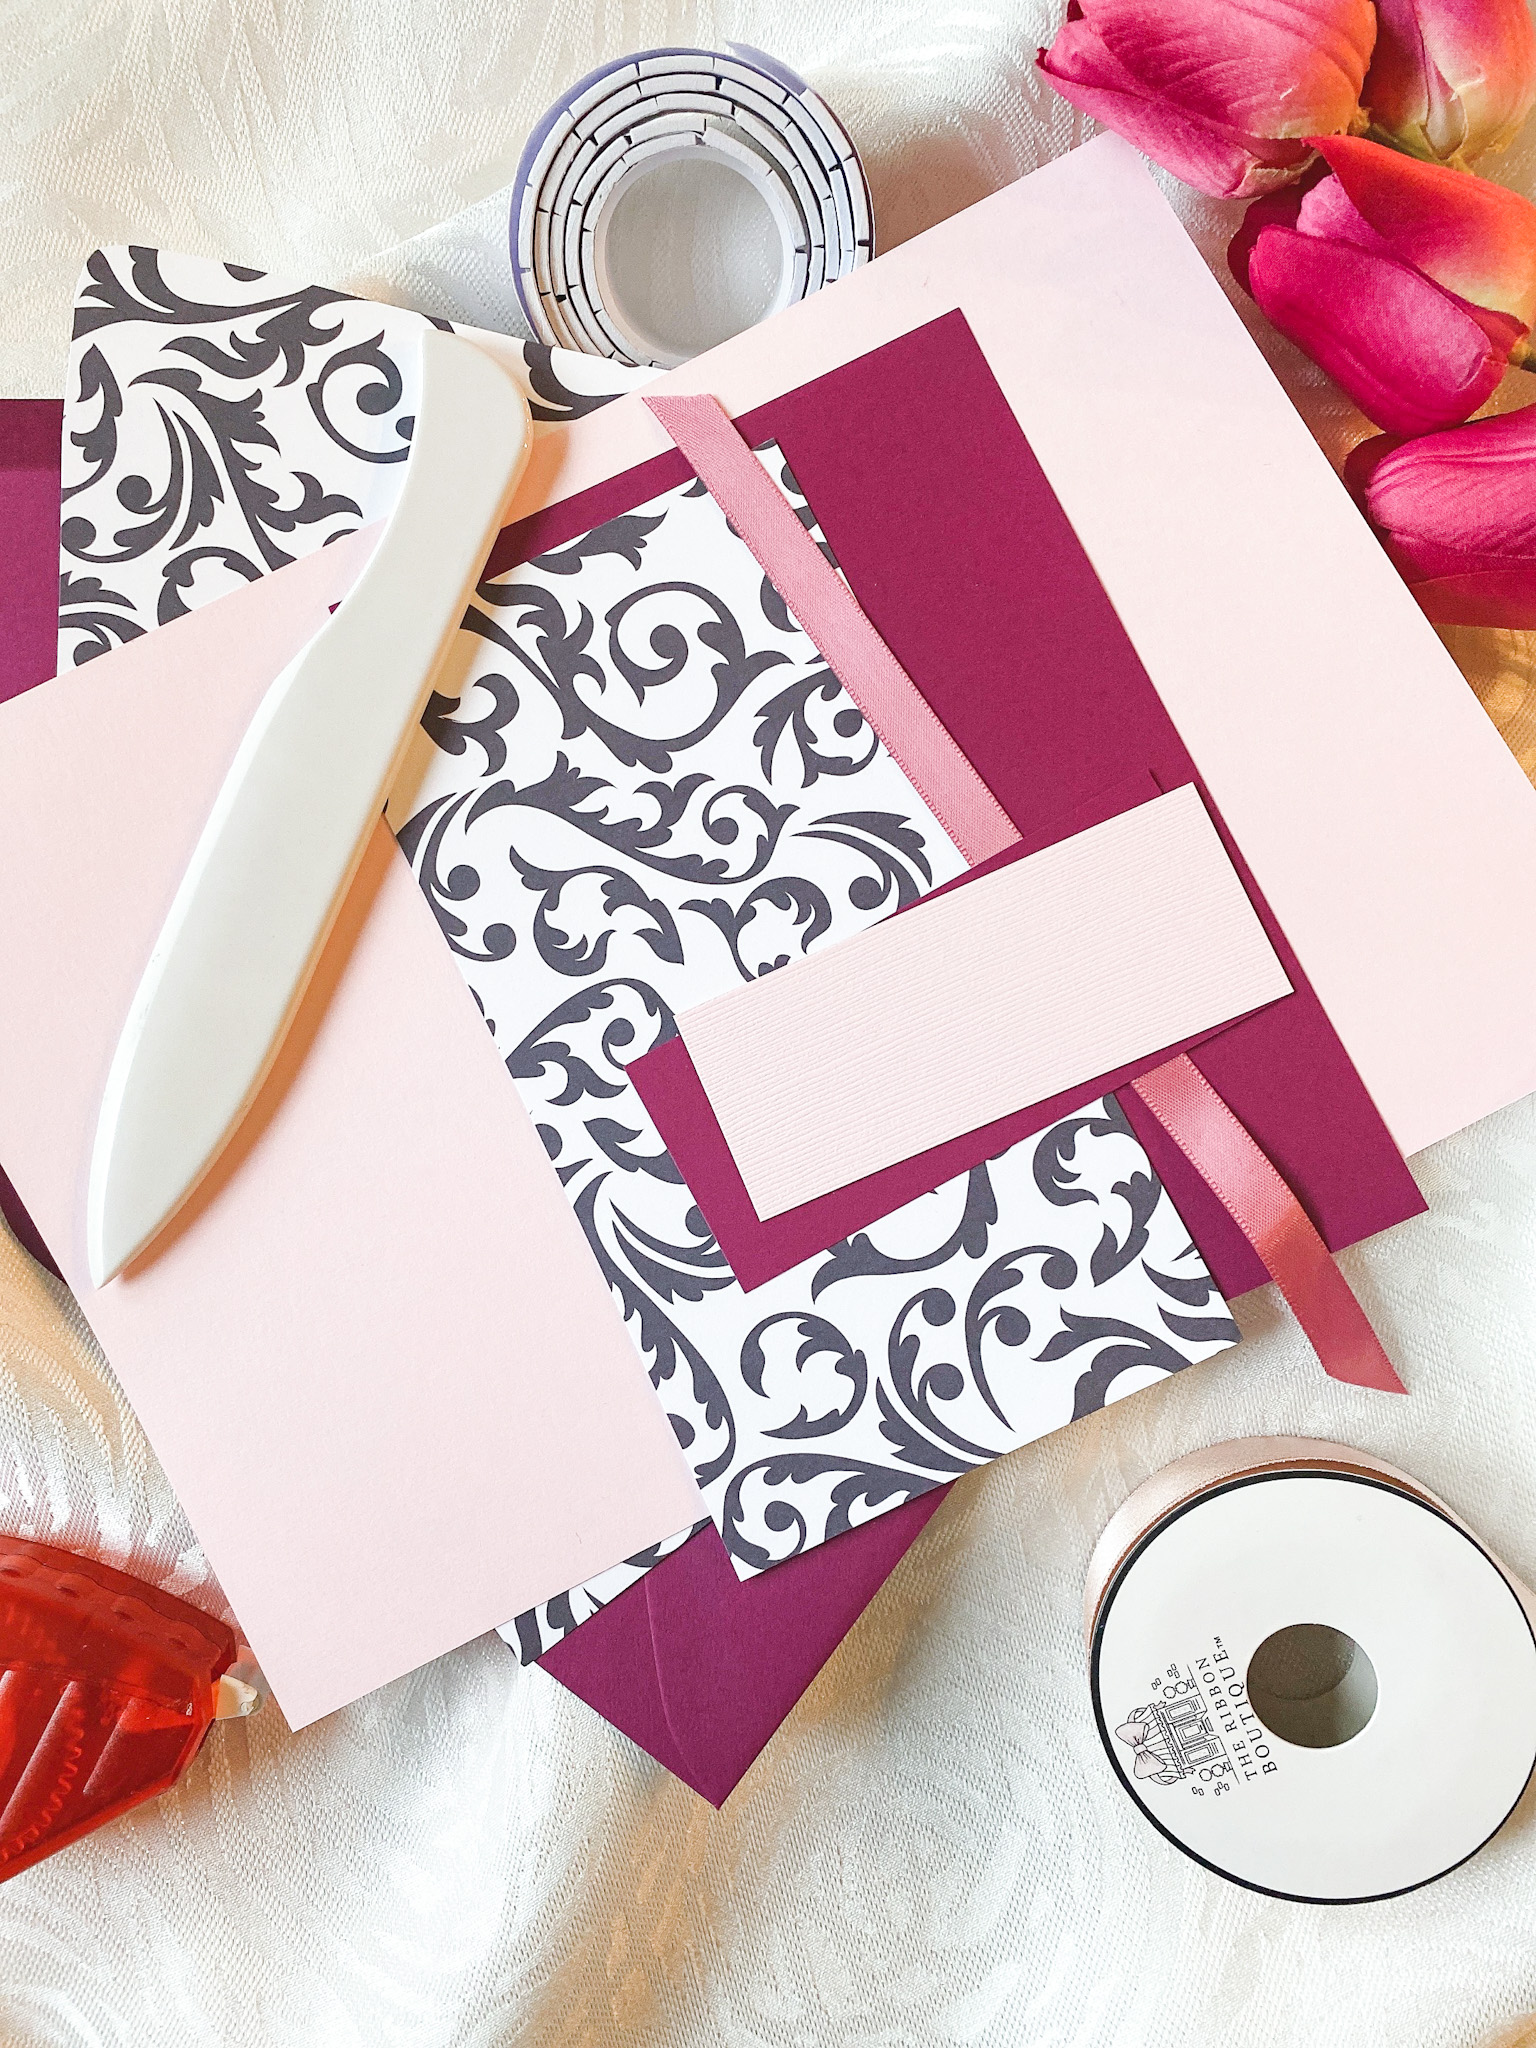
We prefer to lay out all my cut paper and ribbon out like puzzle pieces to get a feel for how they are going to fit together before adhering to anything.
Step 2
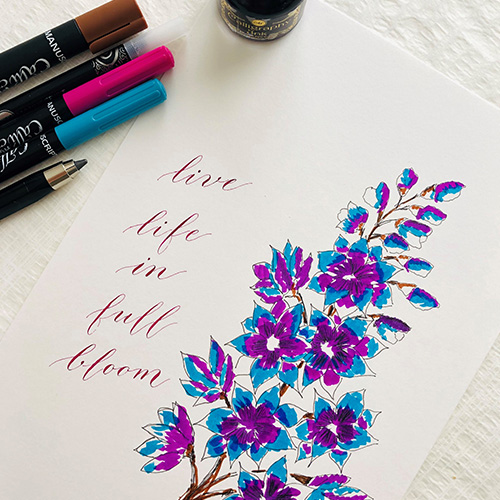
Calligraph the sentiment on the smallest strip of paper and prepare to assemble your card. The folded cardstock is your card base. Taking the trimmed patterned paper, adhere it to the smaller solid colour cardstock with your tape runner. Be sure to use the tape runner along each edge. Lay the ribbon over the area where the patterned paper overlaps the solid cardstock. Next, fold the extra ribbon over the edges of the cardstock and adhere to the back.

Adhere the solid colour cardstock to the card base. Using foam tape, adhere the smaller strip with your sentiment to the small strip of solid colour cardstock, being sure to center it. Add foam tape to the back of the solid colour strip then adhere to your card base toward the bottom right (or in the centre, if you prefer).
Step 3
Using a pencil, trace the envelope onto the remaining piece of solid color cardstock. Then using the inside of the envelope as a guide, mark where the envelope liner would fit, just inside of the area where the glue lines are. Next, cut out your envelope liner template. Using the template you just made, cut out an envelope liner from the second sheet of patterned scrapbooking paper.
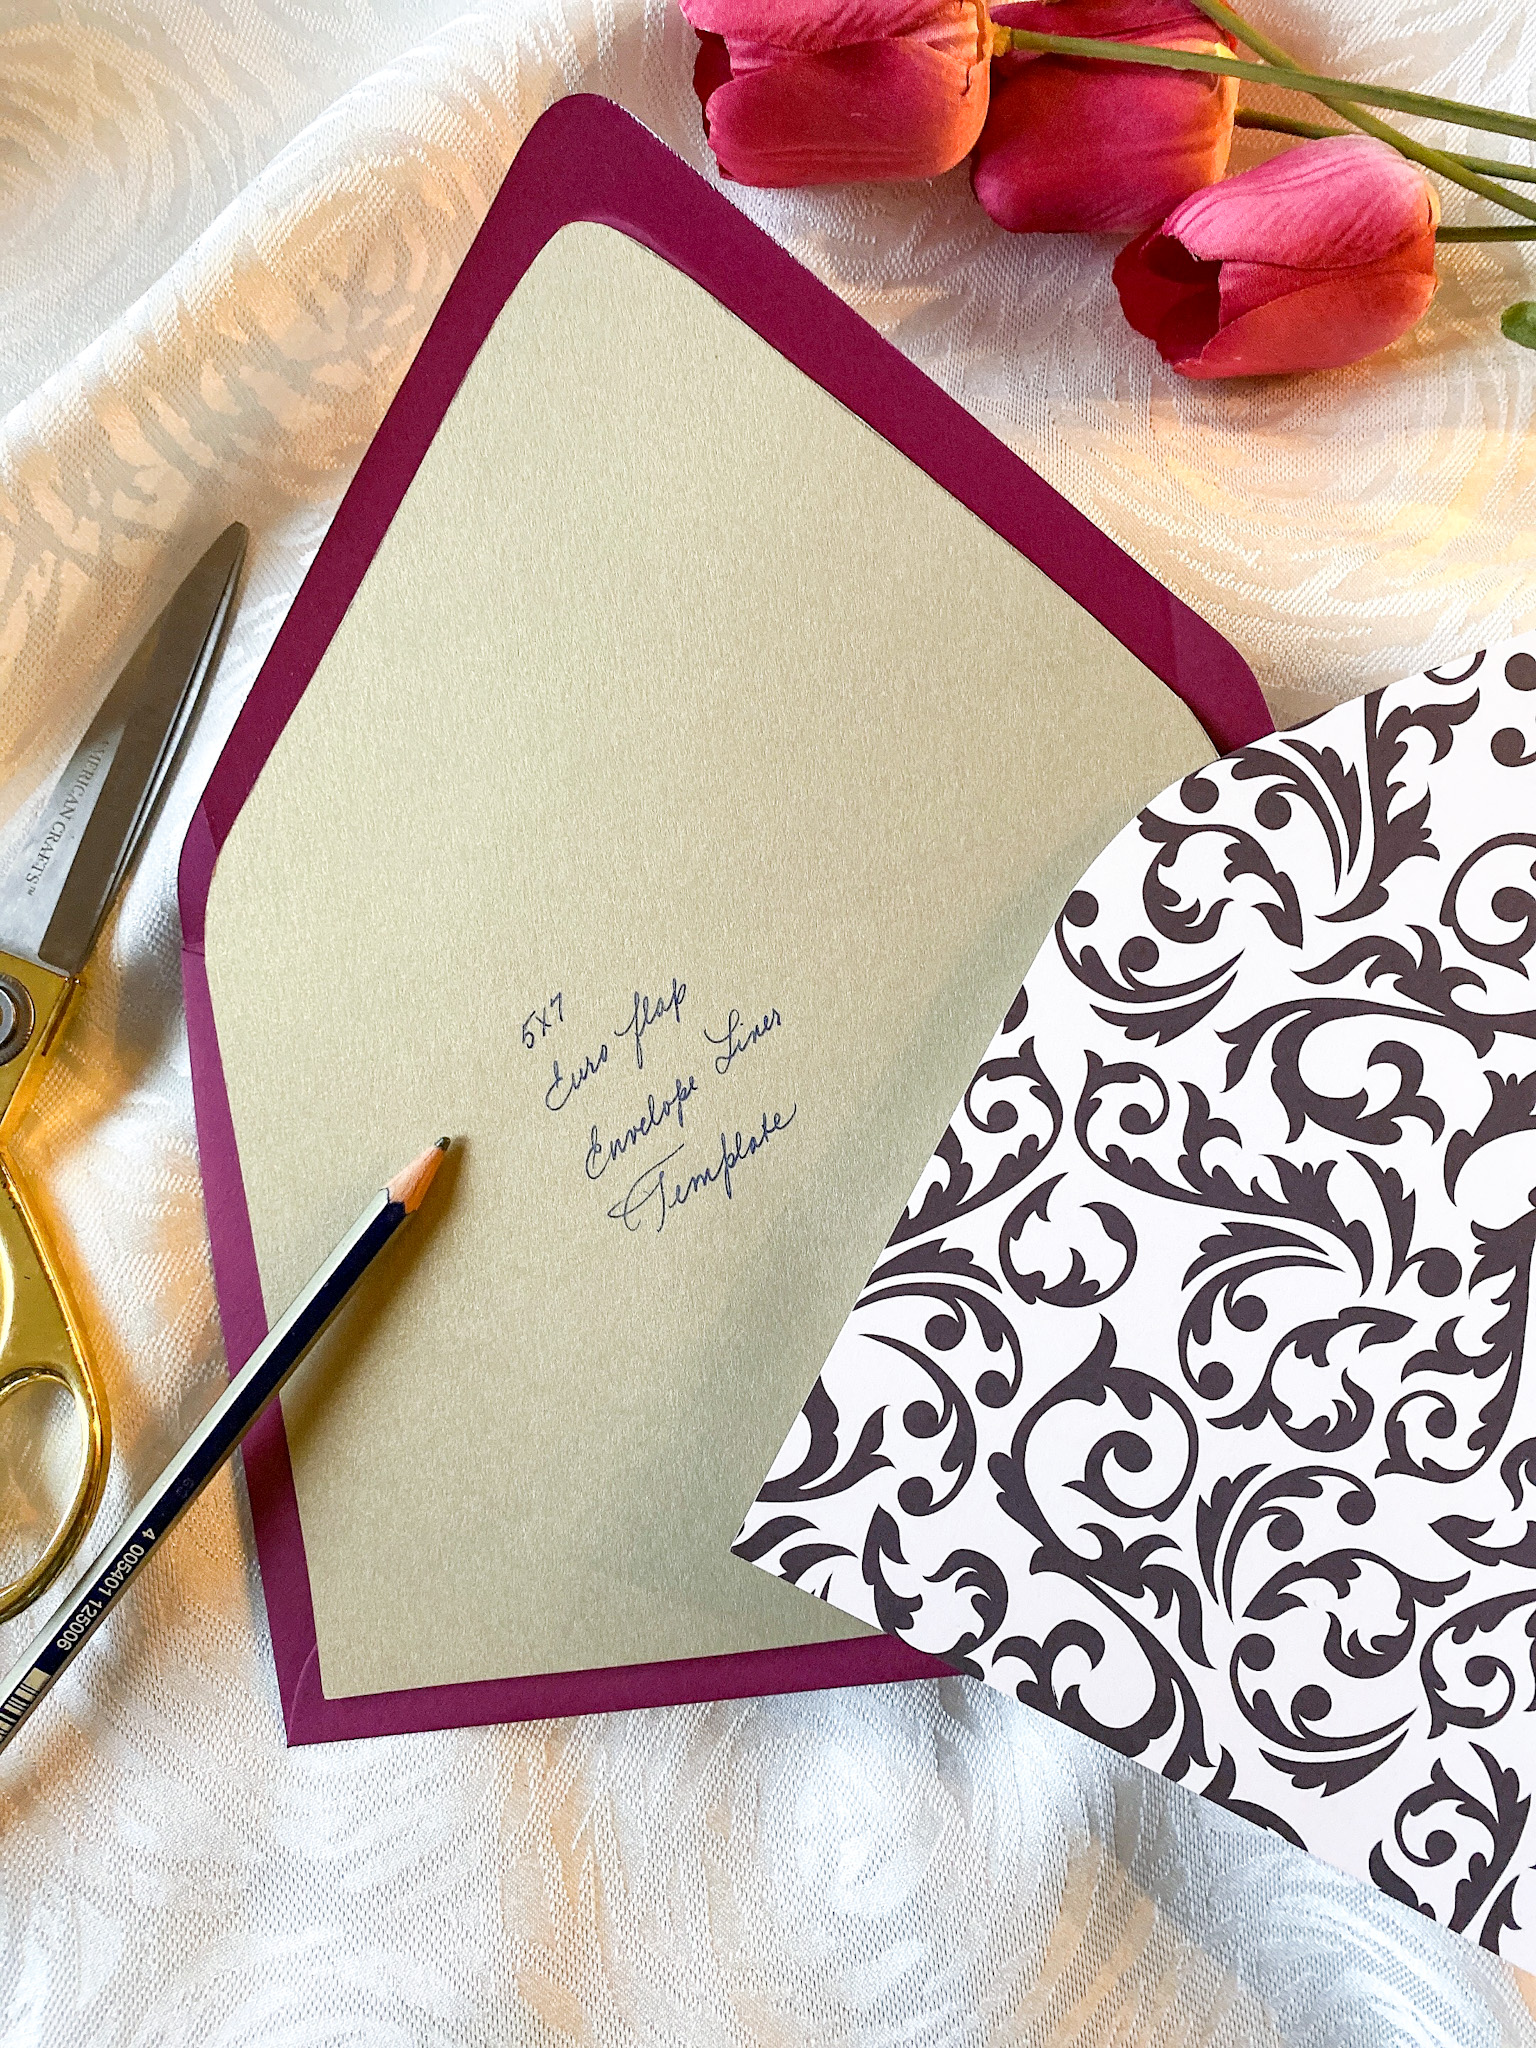
Insert the envelope liner into the envelope. Using a bone folder, crease the envelope liner at the fold of the envelope flap. Adhere glue to the back of the liner then press against the inside of the flap. If the envelope feels bulky when folding, use the bone folder to make the crease firm.
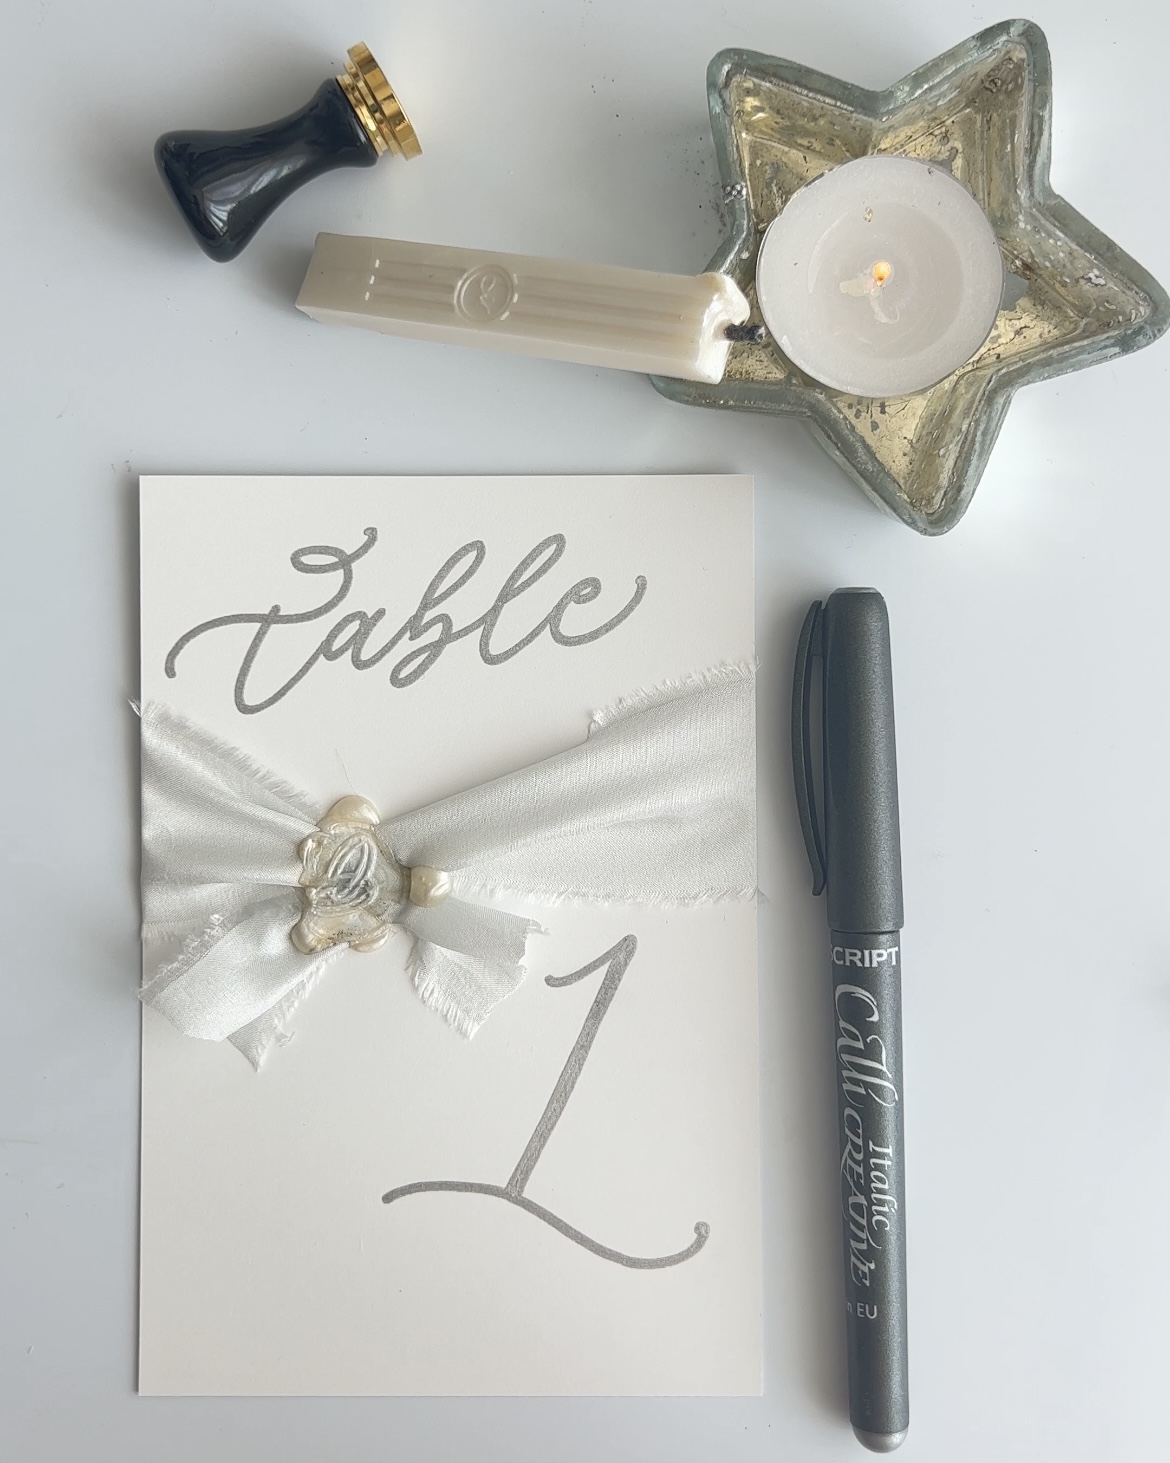
Write a sweet and thoughtful sentiment inside of your card and you’re ready to send it to someone special!

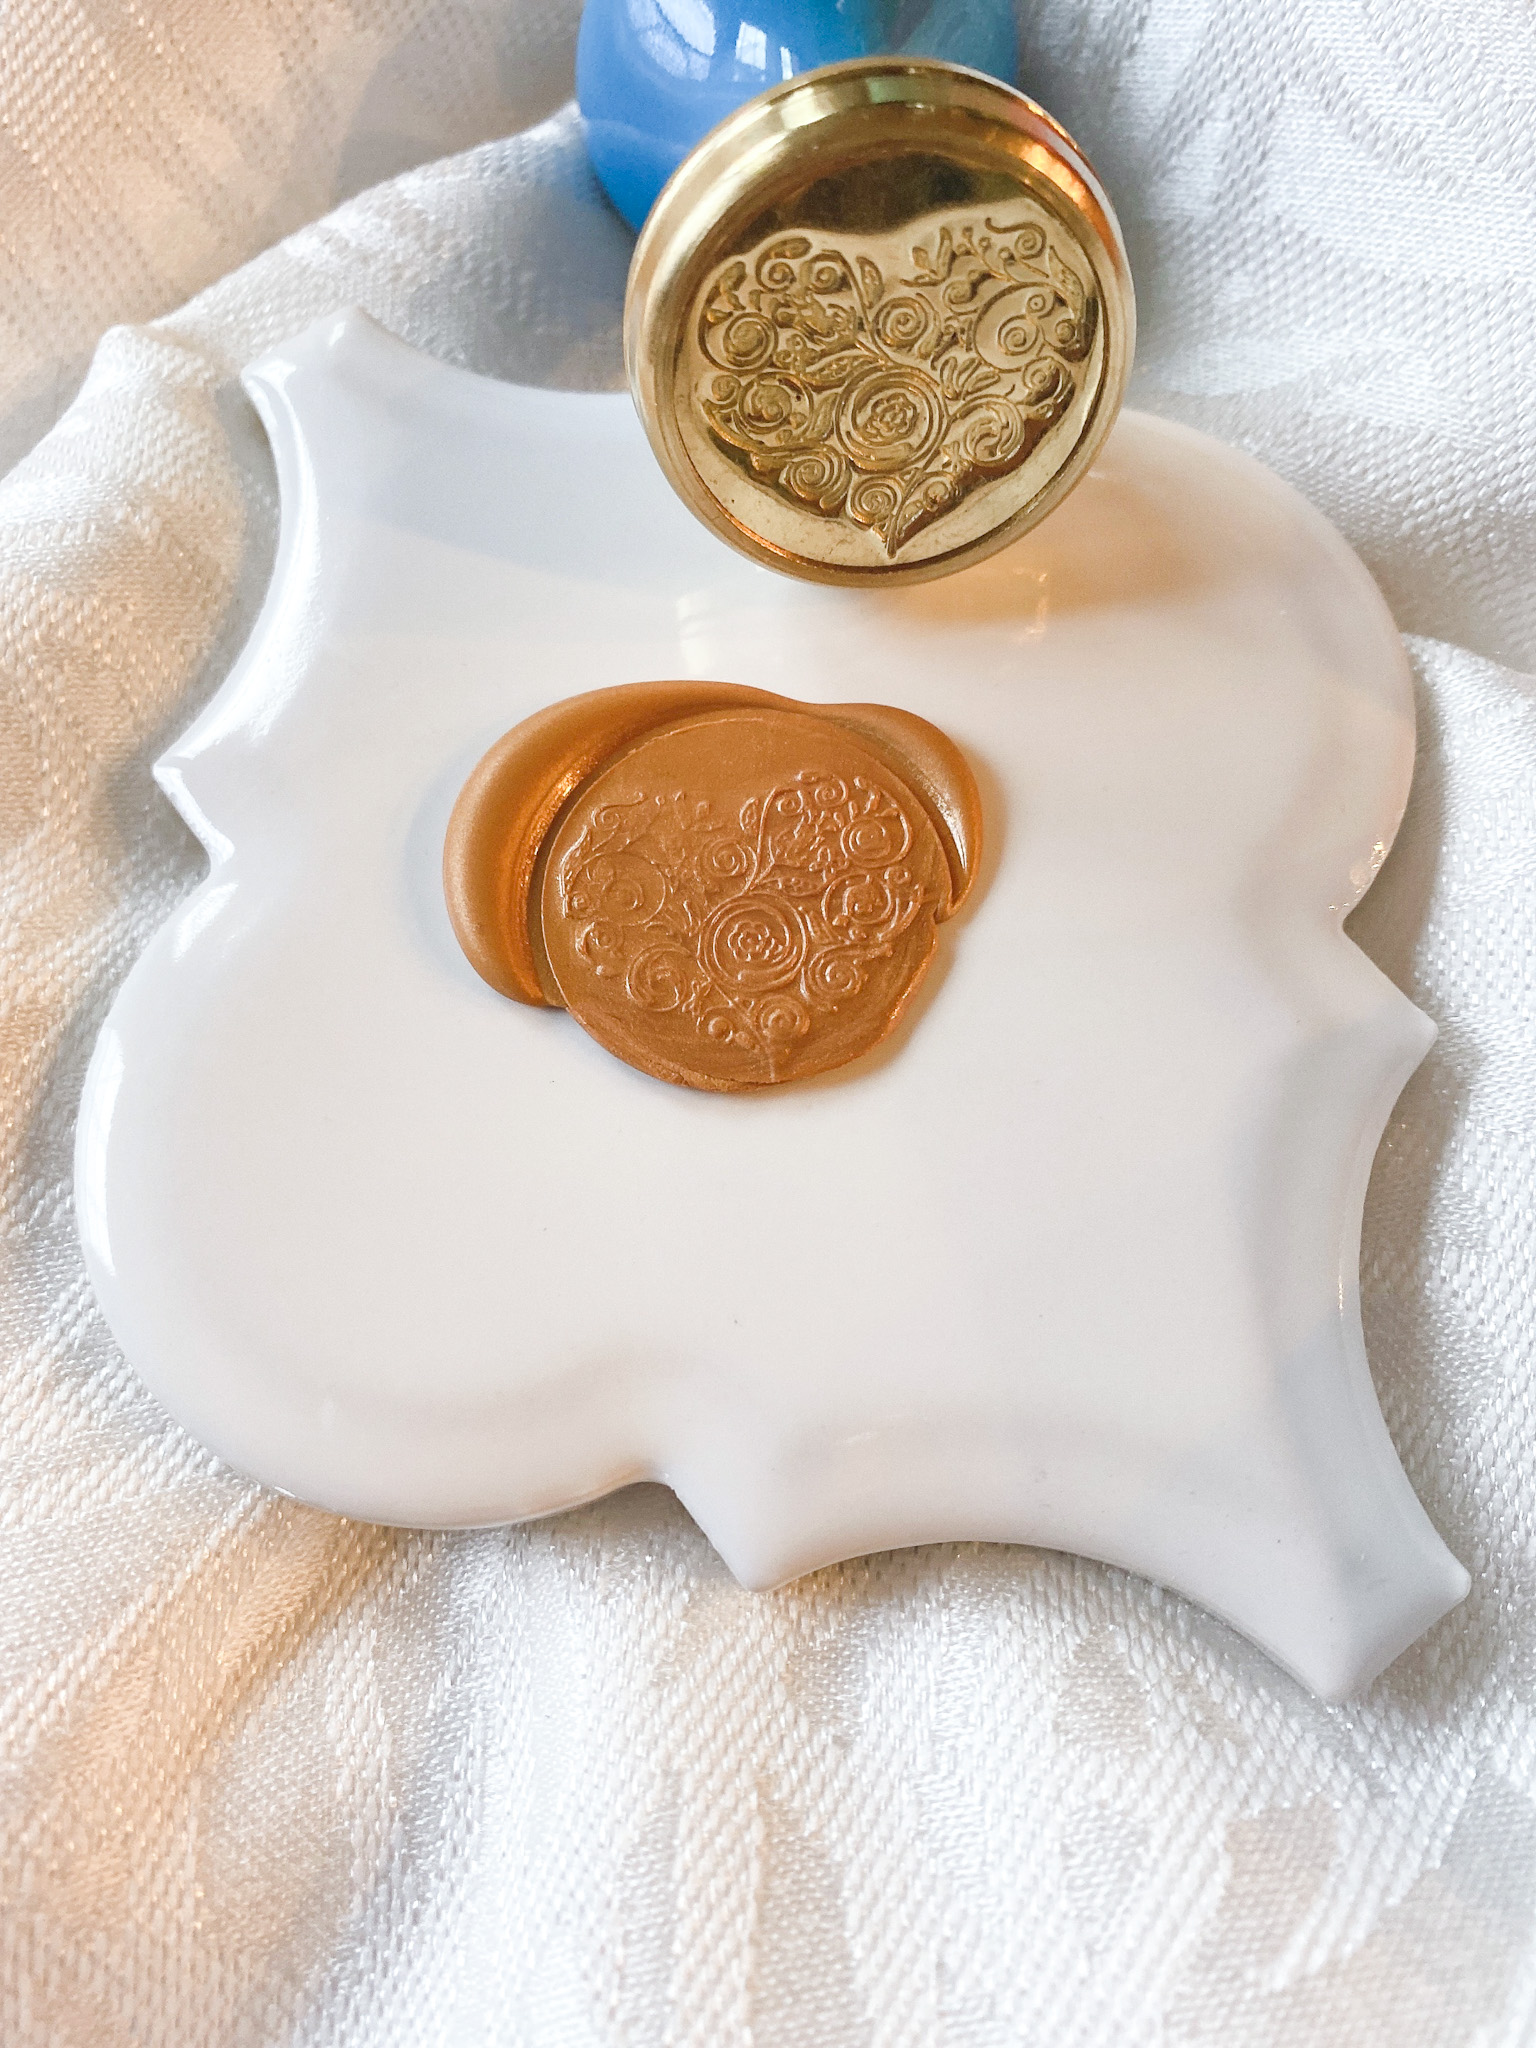
You can also add a wax seal stamp to add that final touch of sparkle!
To see more of Angenise's work you can follow her on Instagram. Remember to follow @manuscriptpenco on Social Media where we will be showcasing her work throughout the month.