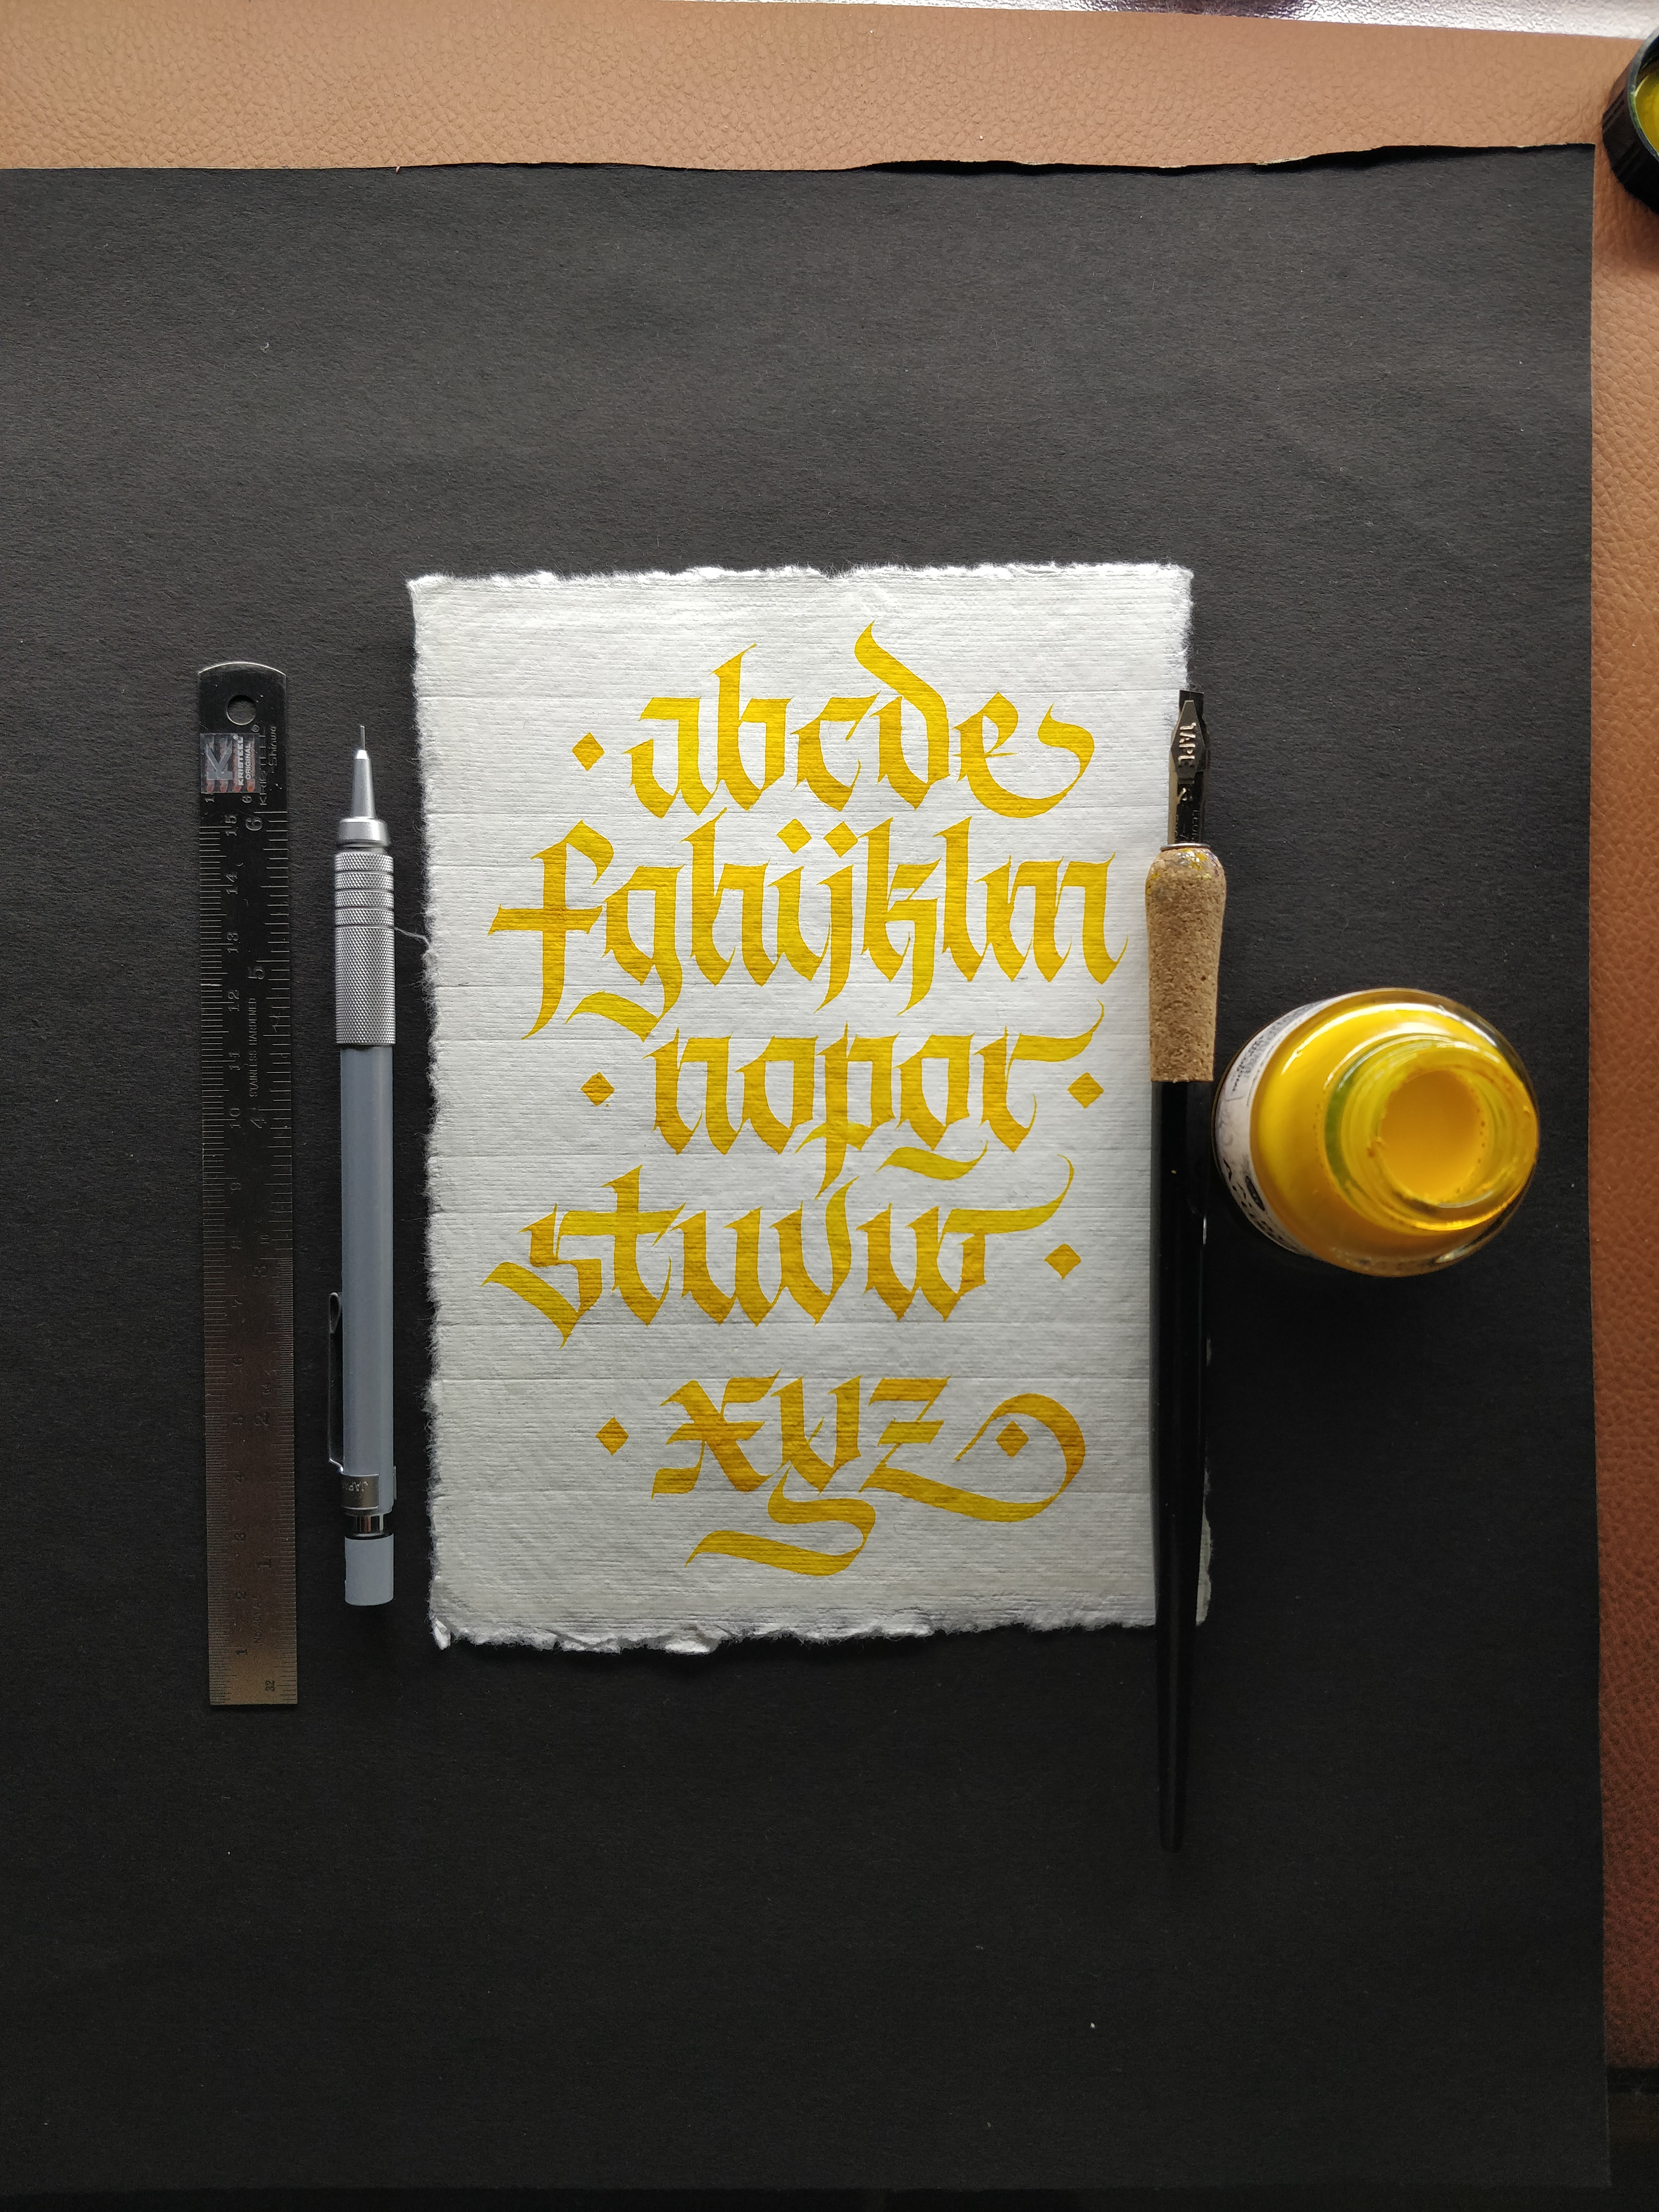
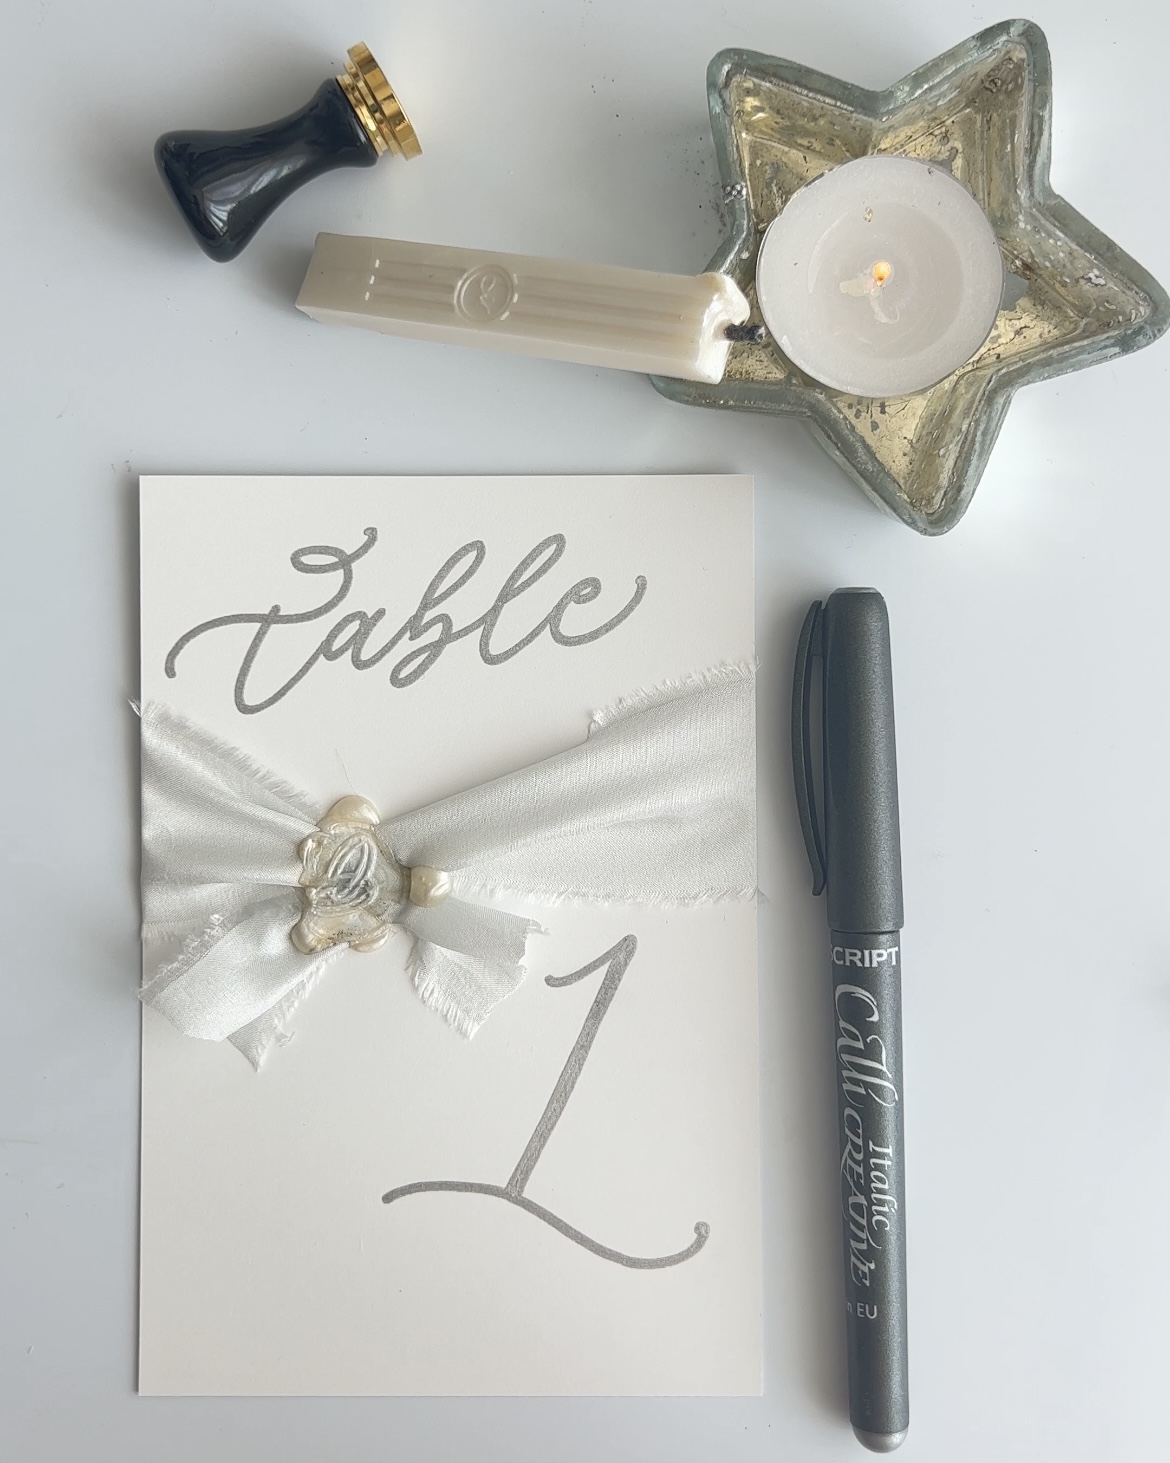
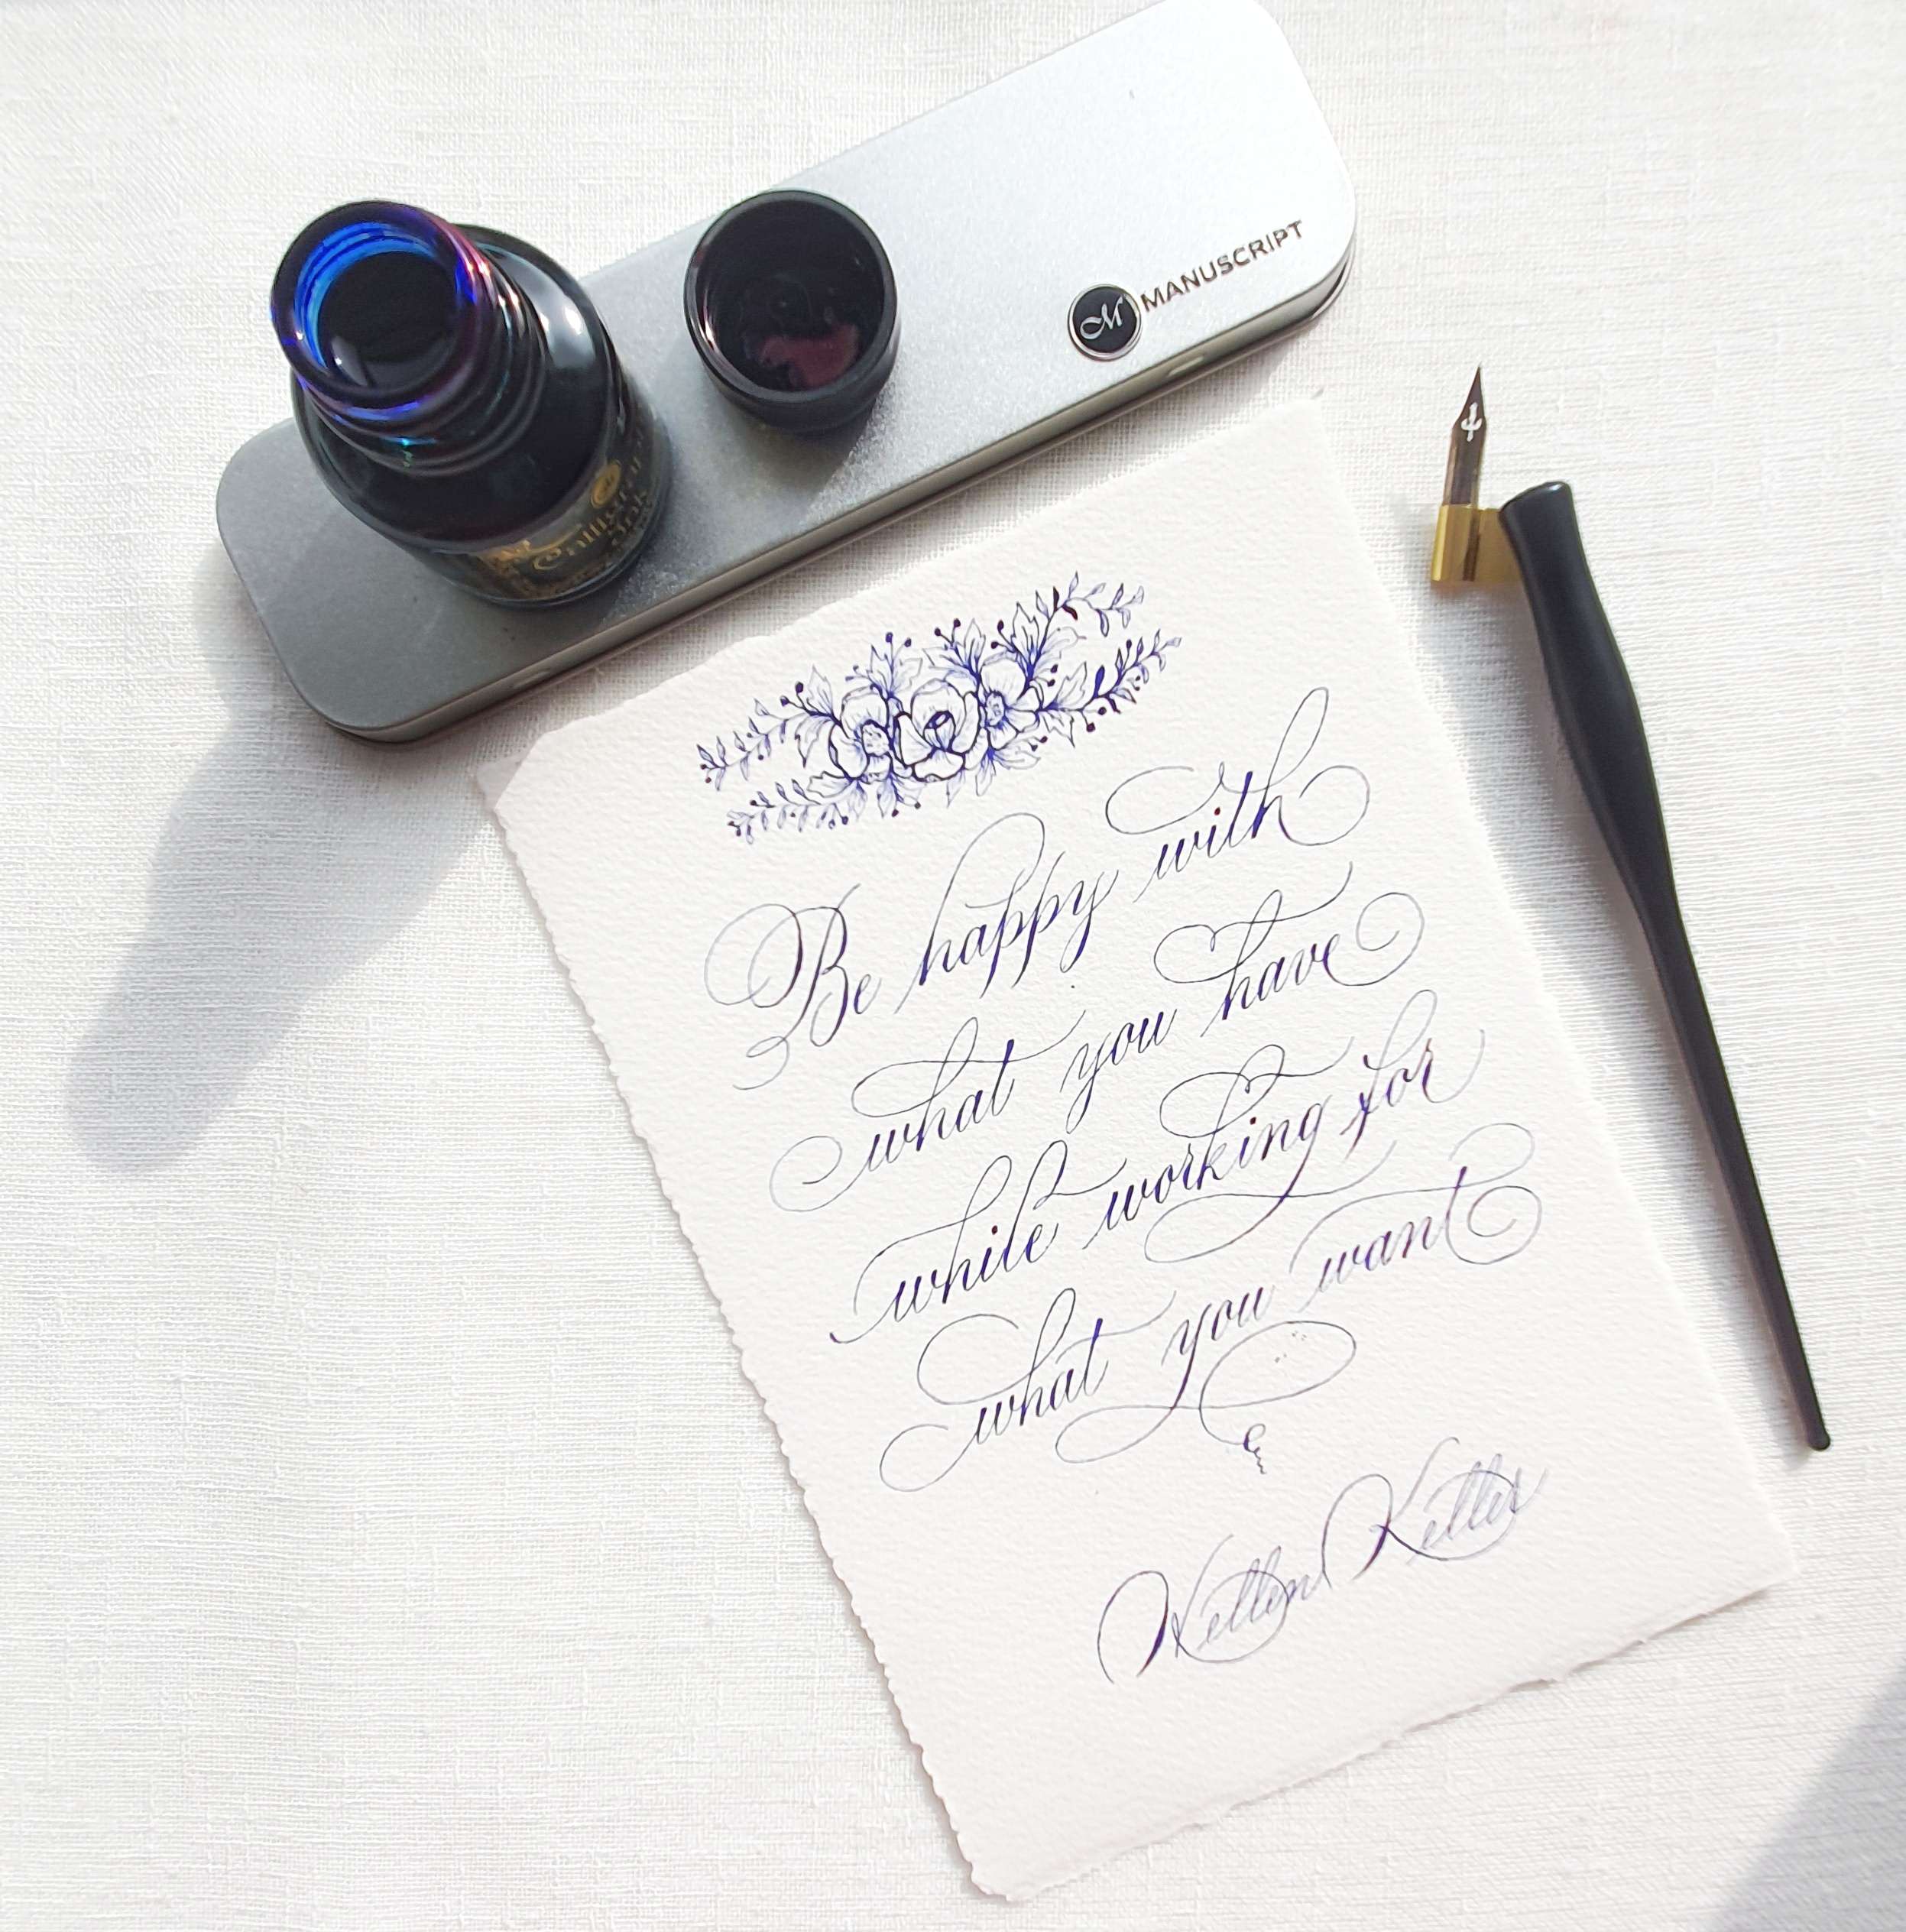
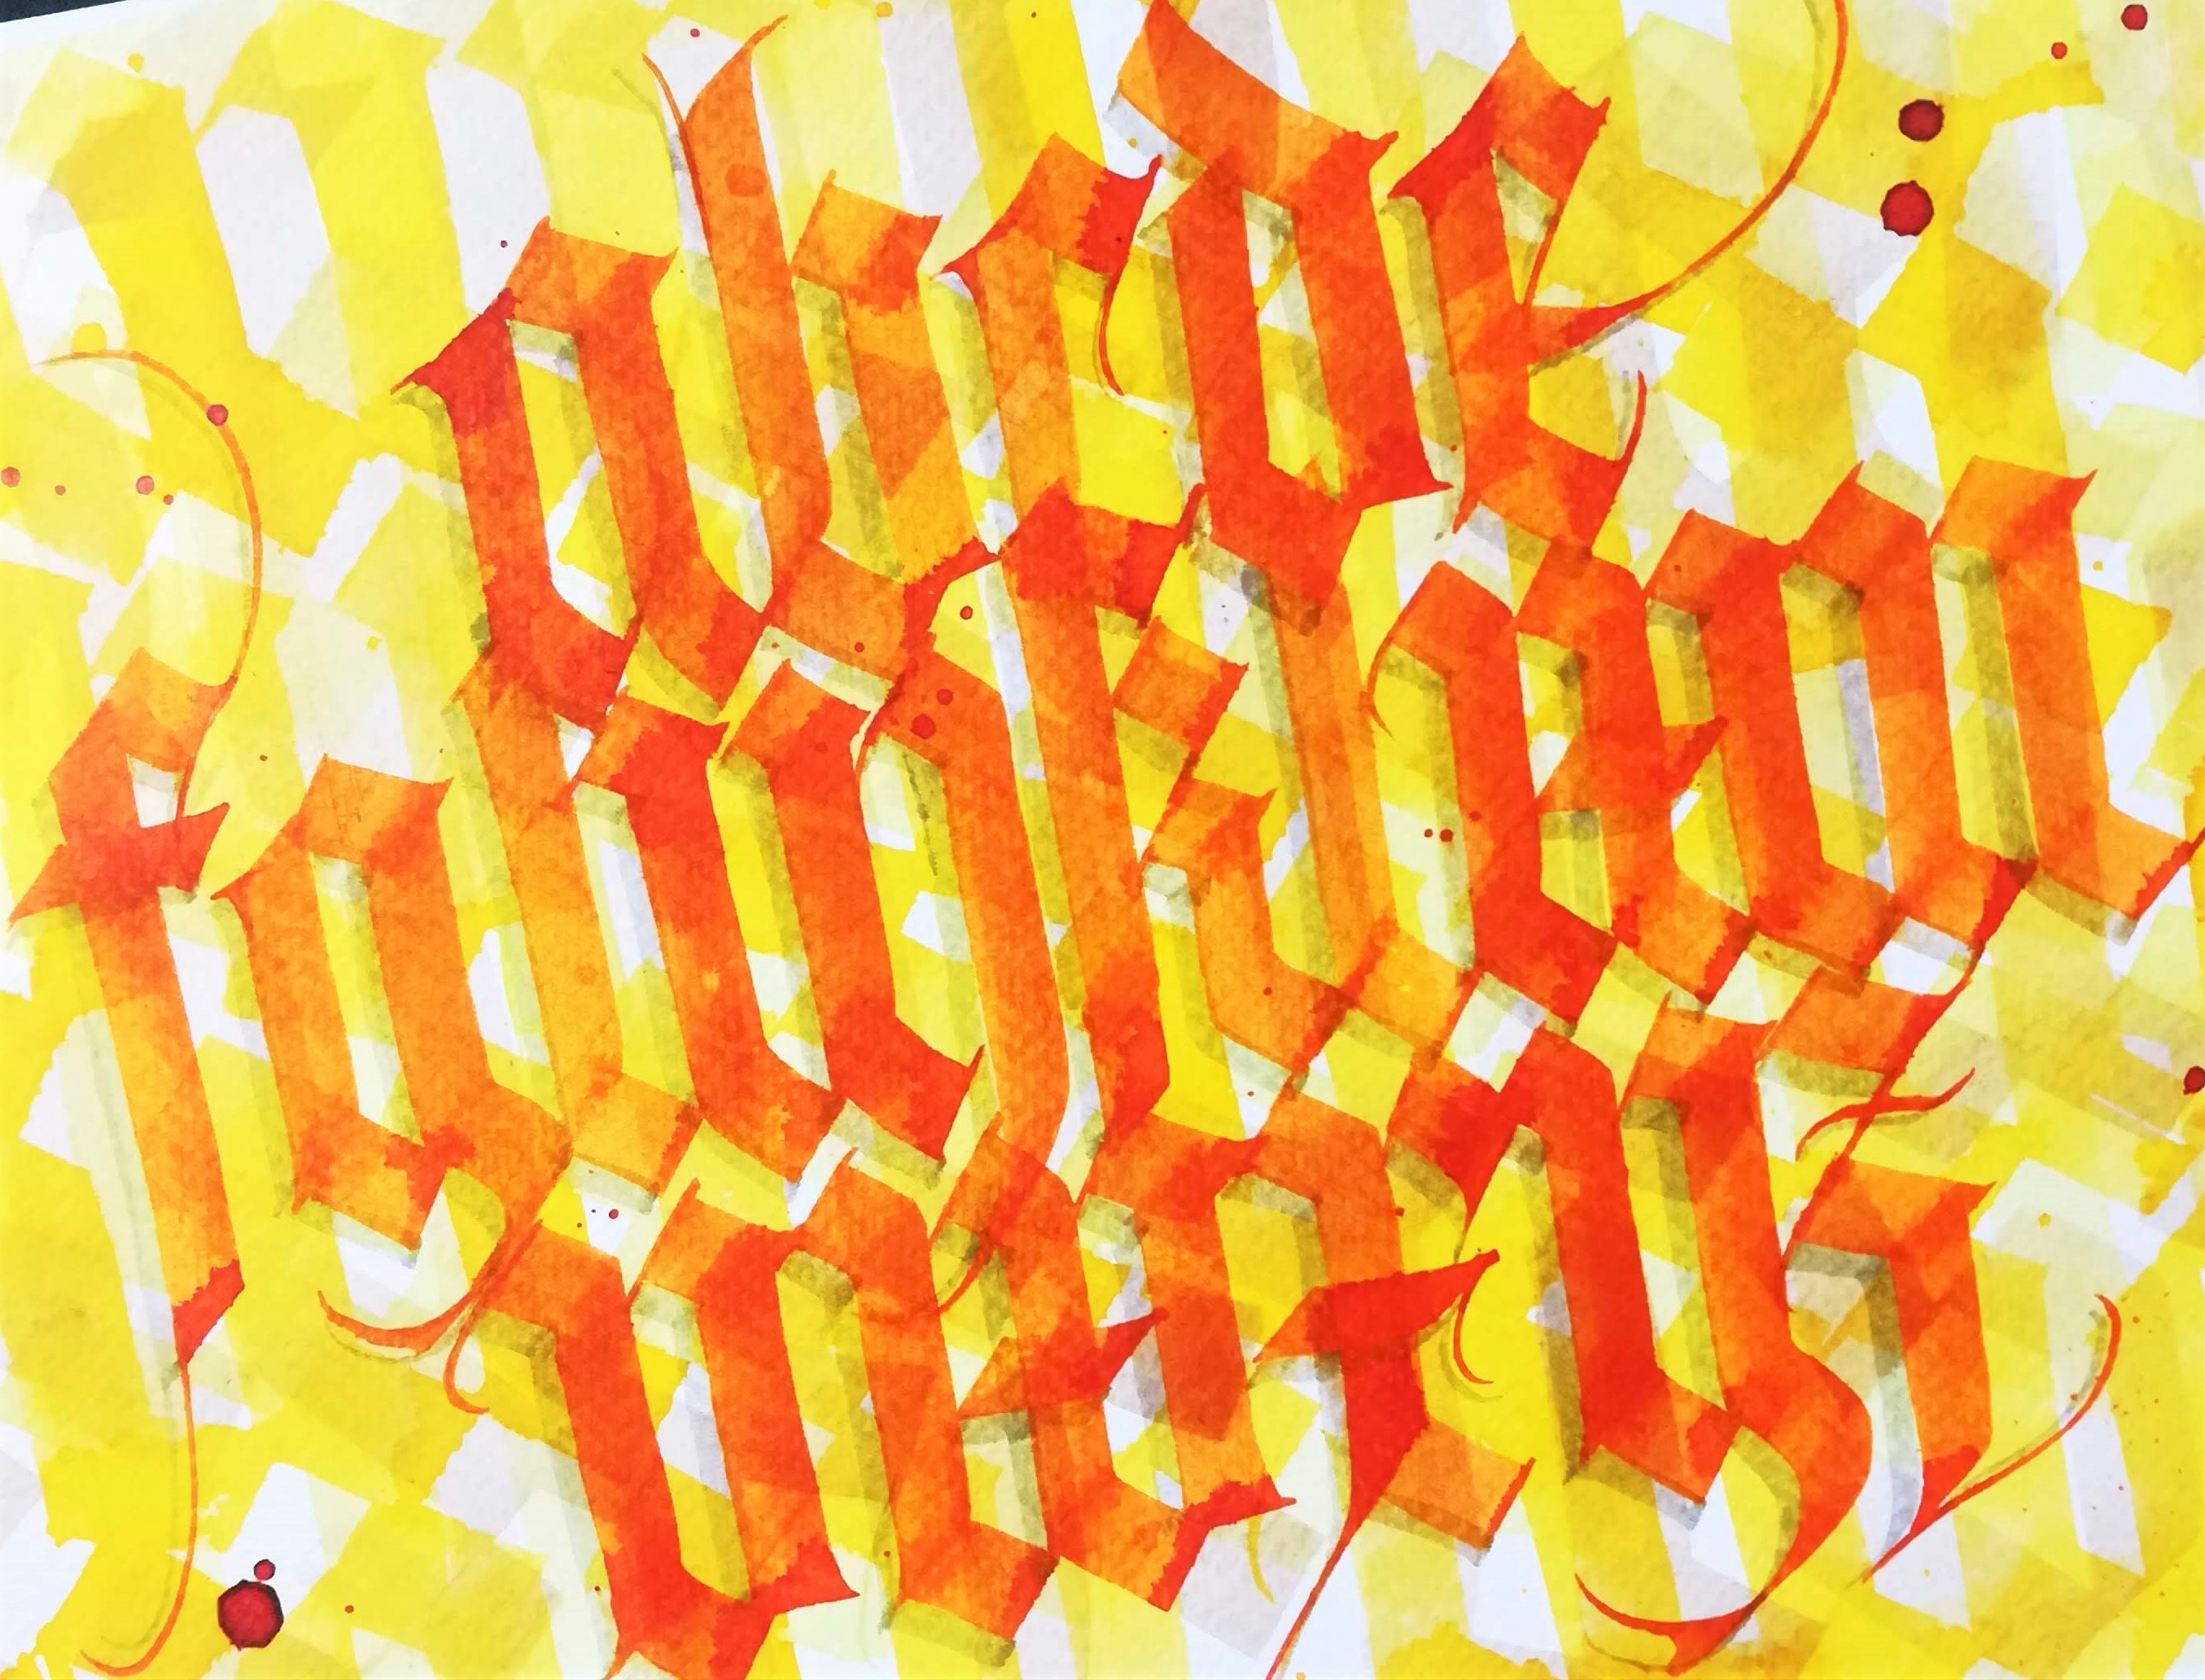
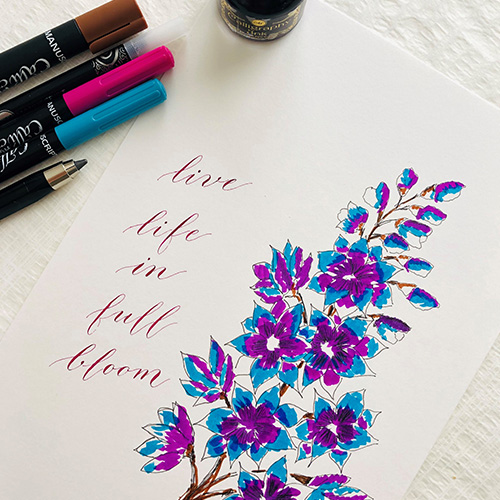
We asked our Artist of the Month Raghuveer G to create a new DIY tutorial for you all and he did not disappoint! He has put together this great has put together this great traditional calligraphy tutorial learning miniscule LM script.
So, what are you waiting for? Get your pens ready and lets go!
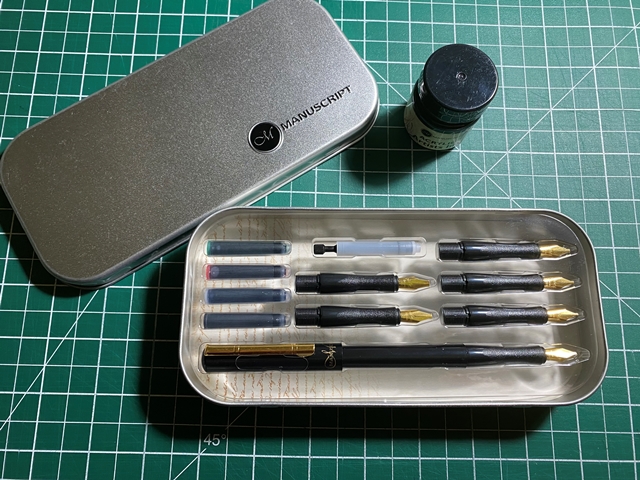
The Tools you need to get started:
- Tape Nib and Pen Holder
- Calligraphy Ink
- Pencil
- Card or paper of choice - we have used A5 sized handmade paper
- Ruler
Step 1
Draw your guidelines on your paper. Our letters will be 2cm in height so create 2cm spaced guidelines. Make 5 guideline rows, leaving 3/4cm spaced between each row.
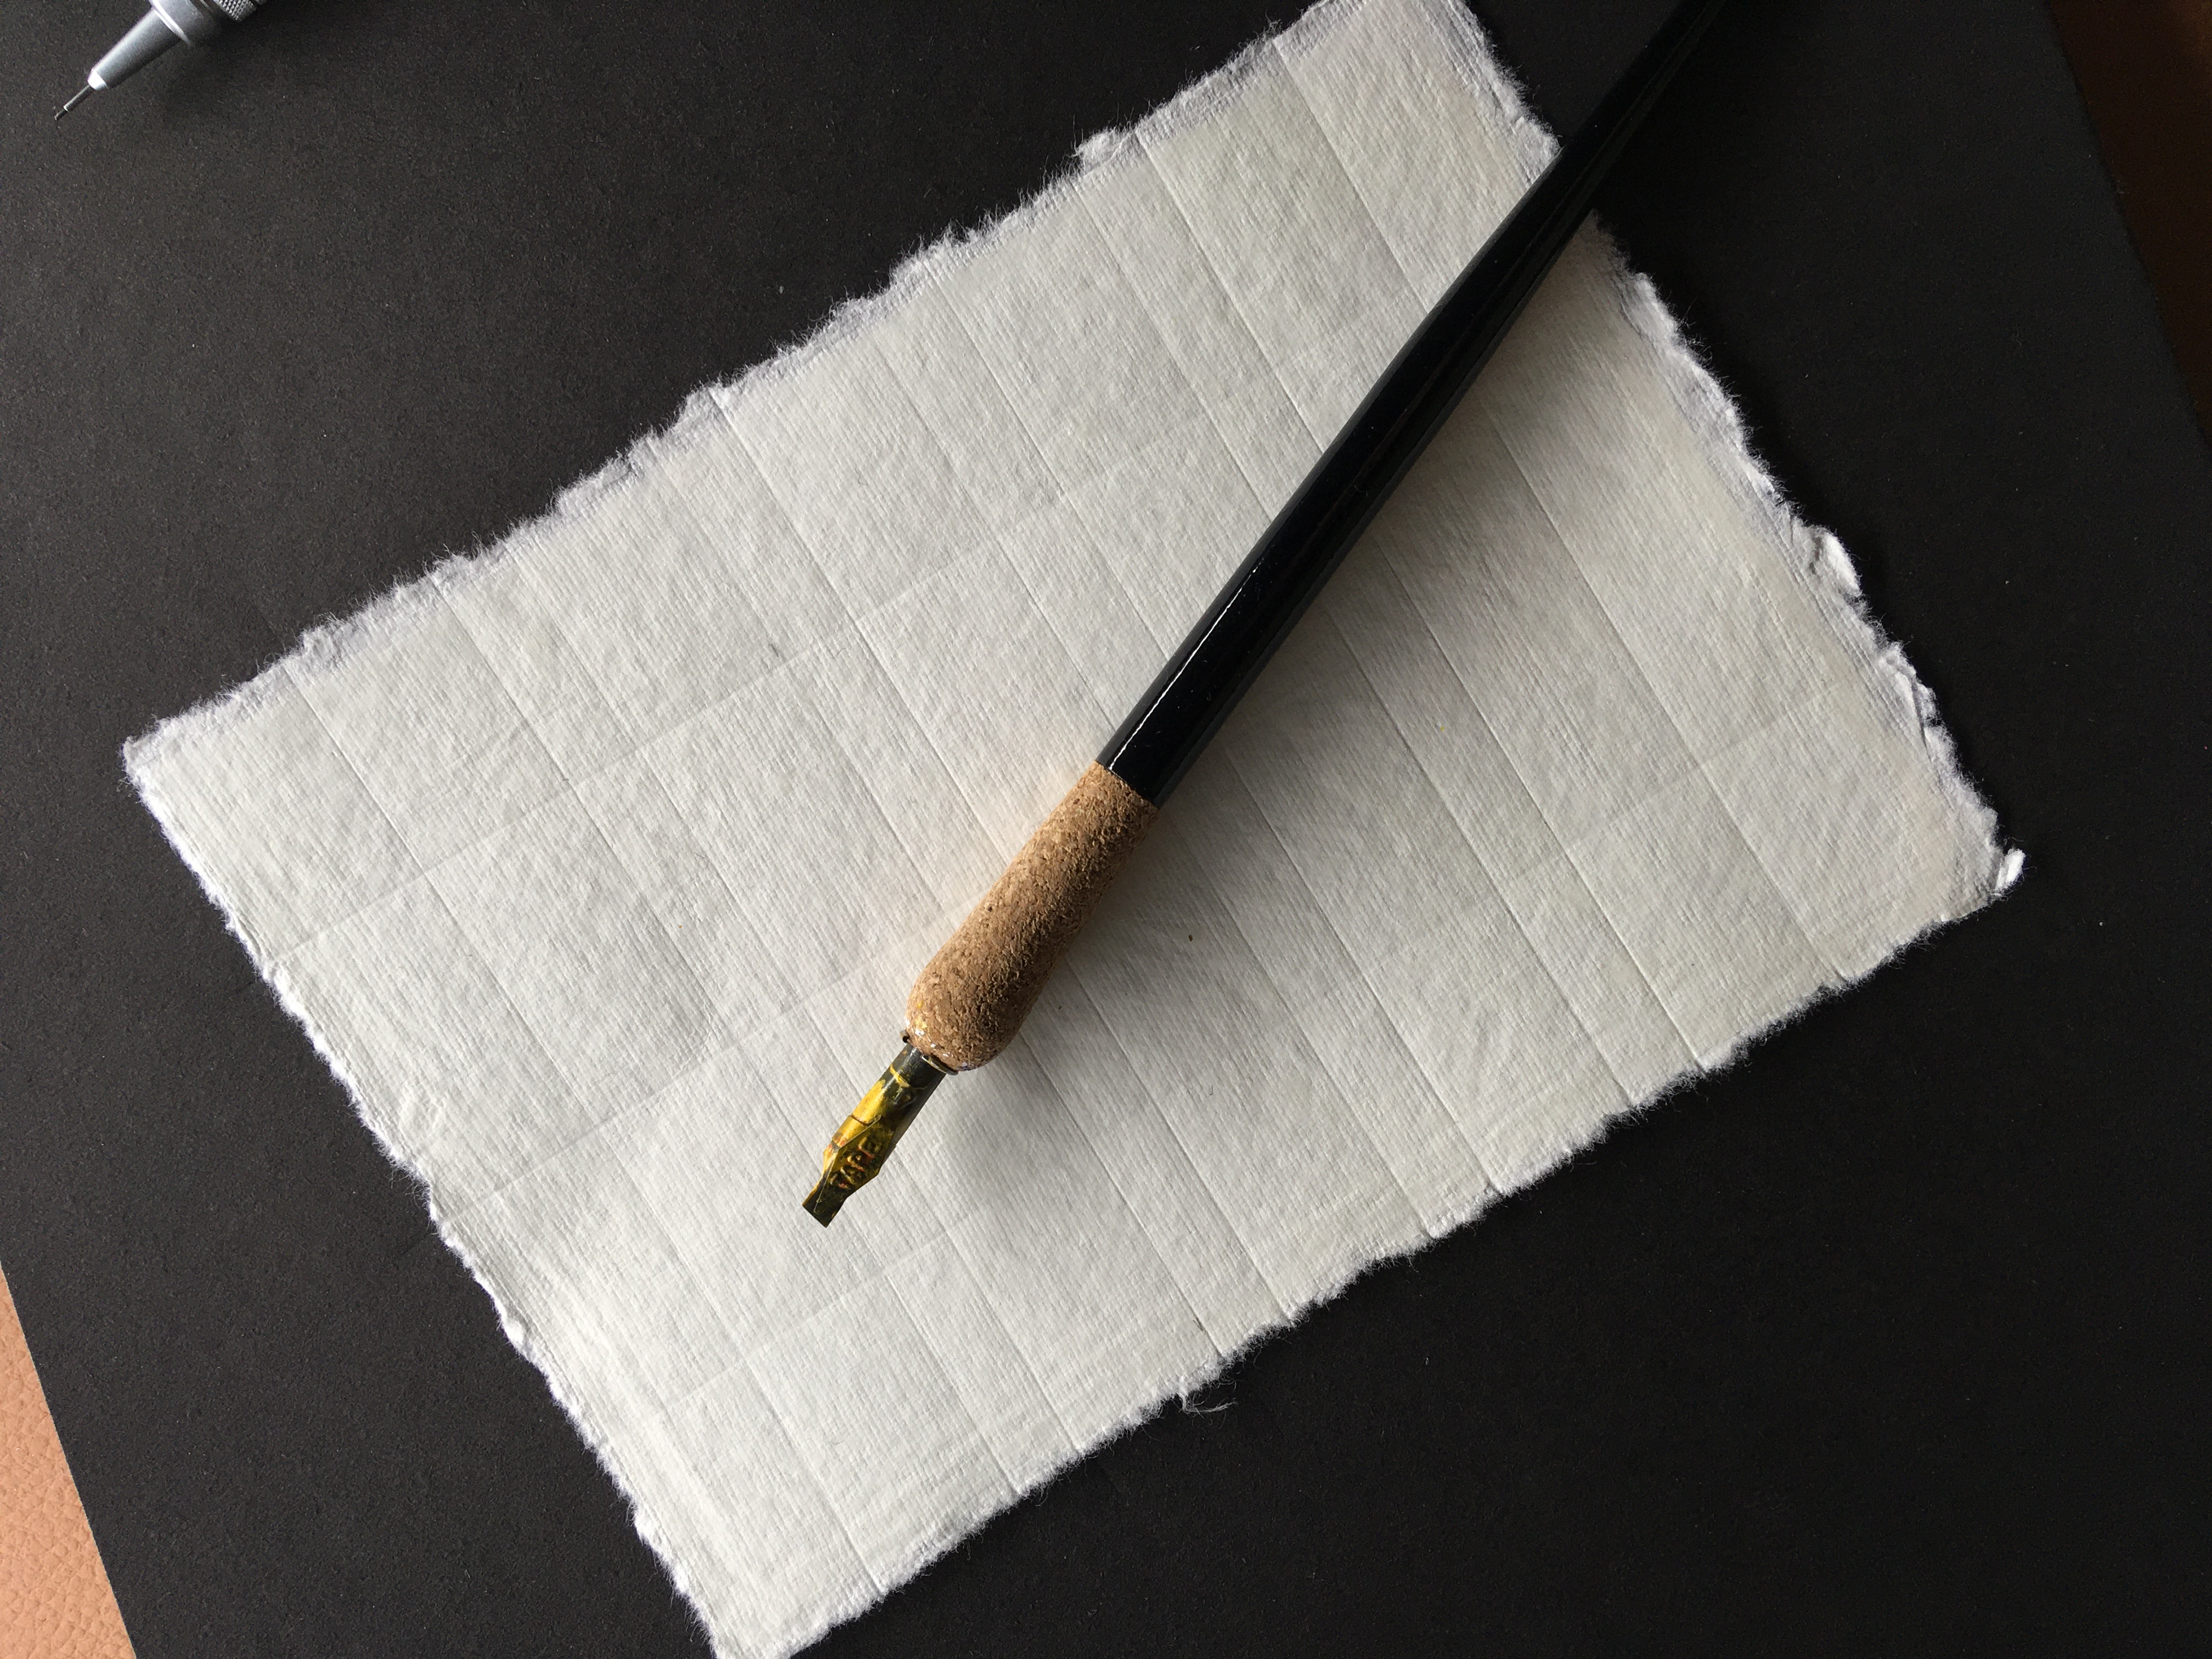
Step 2
Prepare your nib before you start writing. This is very important as the nibs comes with a mild oil coating when new. You can find videos on how to prepare Nibs on our YouTube channel.
Step 3
Prepare your paper. We recommend a handmade paper or cold pressed watercolour paper. These papers are best when working with water based inks.
Once your paper is ready you can start writing your letters. Click HERE to watch our video.
To see more of Raghuveer's work you can follow him on Instagram. Remember to follow @manuscriptpenco on Social Media where we will be showcasing his work throughout the month.
