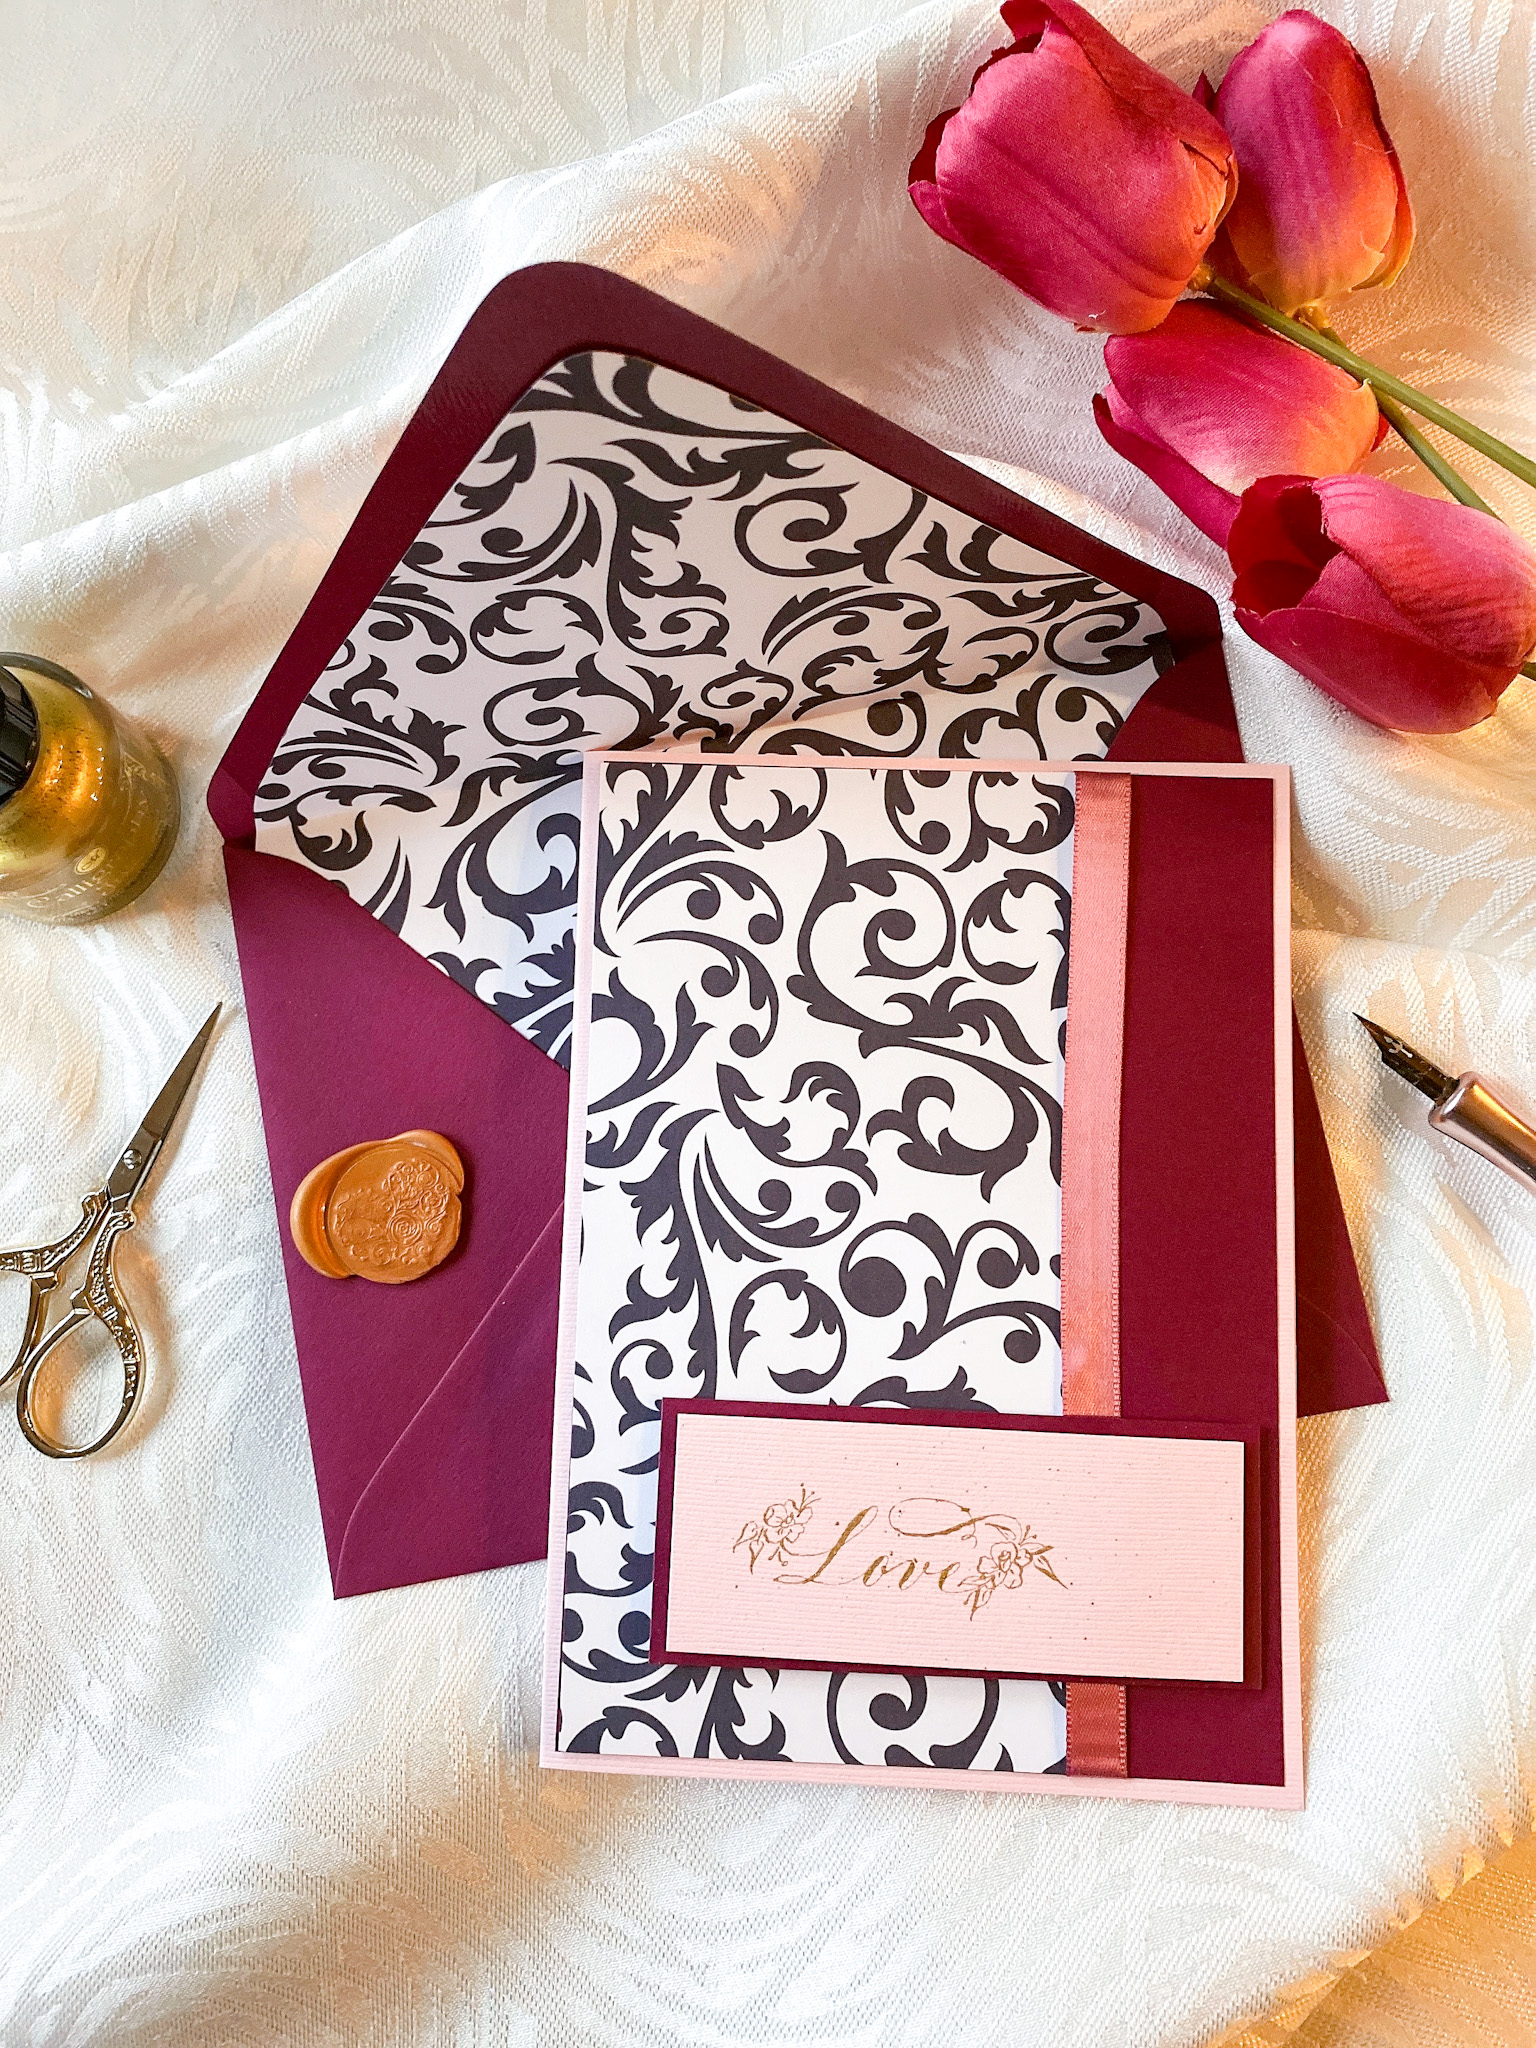
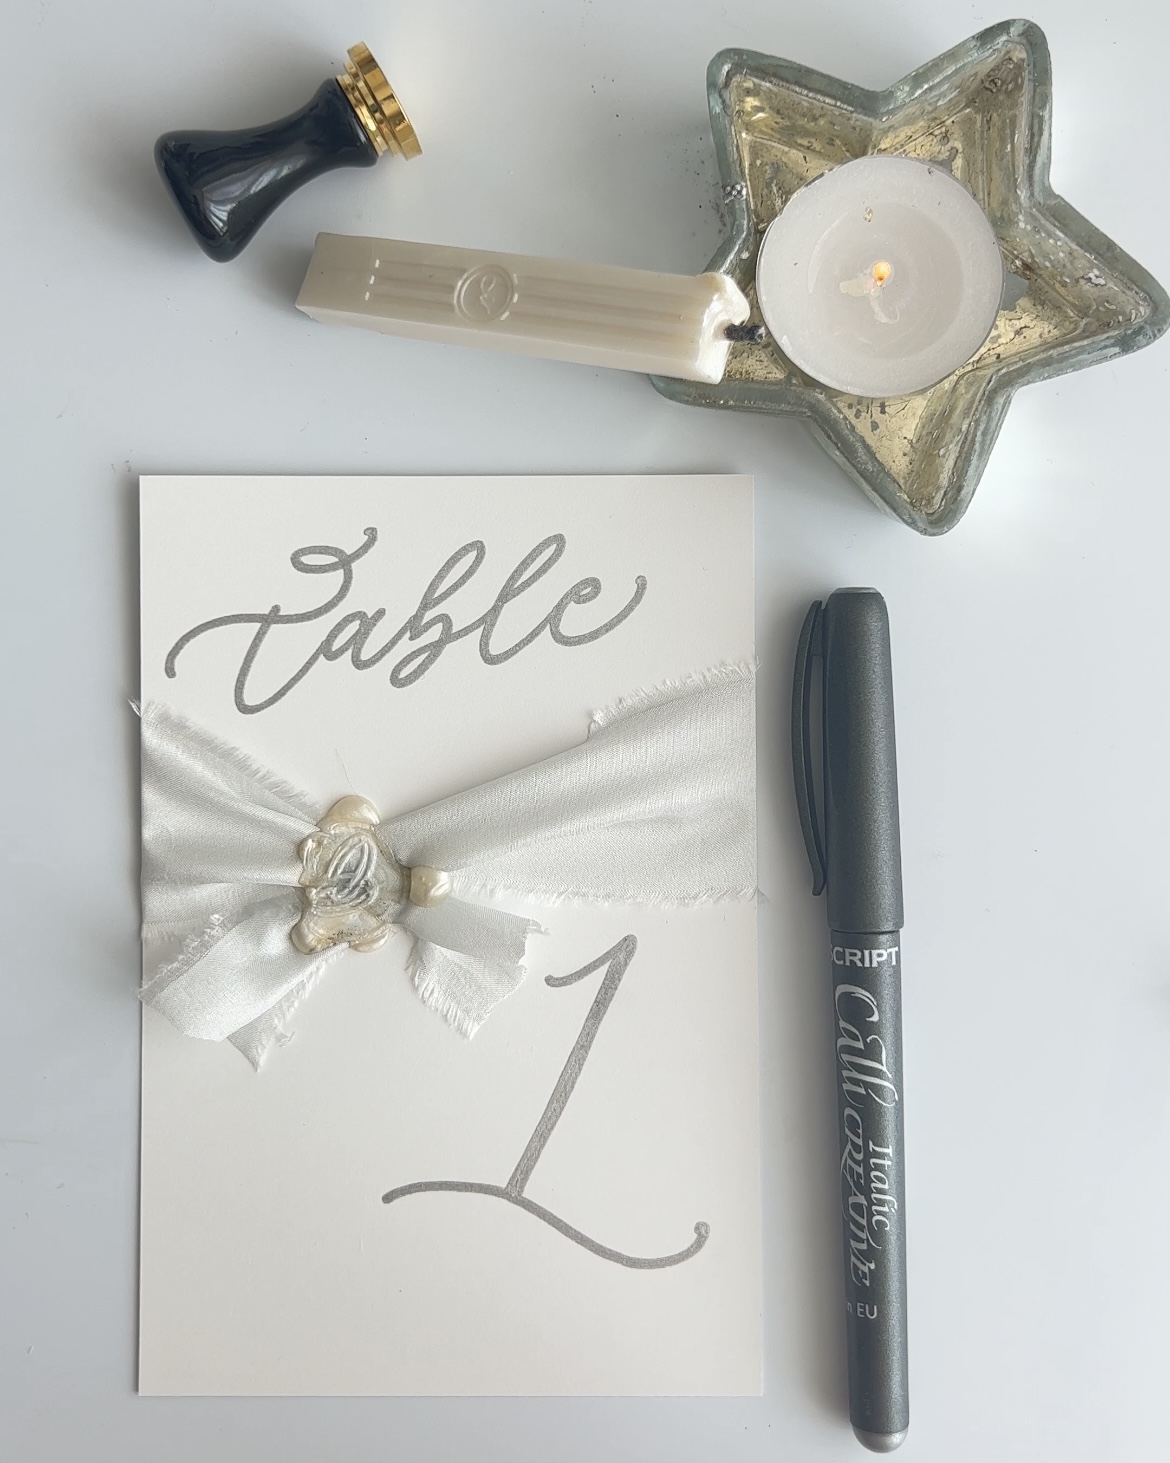
We asked our Artist of the Month Keshia to create a new DIY tutorial for you all and she did not disappoint! She has put together this Modern Calligraphy bespoke tag project for you that is simple but so effective!
This simple tutorial is perfect for beginners, doesnt require alot of product and can be adapted to any celebration, from weddings, baby showers, and birthday parties to sending personalised 'Thank You' notes after an event!
So, what are you waiting for? Get your pens ready and lets go!
The Tools you need to get started:
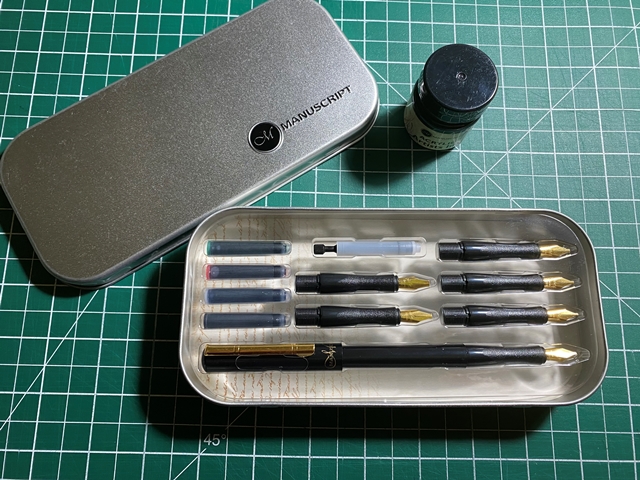
- Manuscript Modern Calligraphy Set
- Wax and Sealing Set
- Ink of choice
- Paper of choice
Getting started...
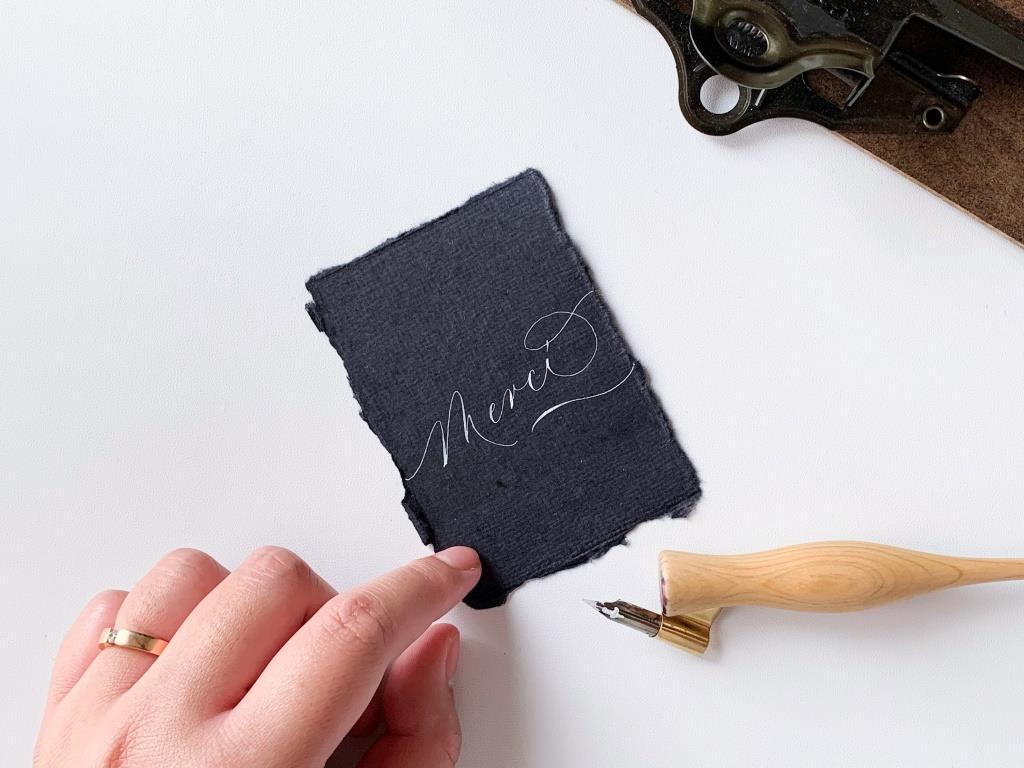
Using your paper of choice take your dip pen adn ink and write your message. This can be anything such as 'Thank you', a placecard, a party theme, a person name! The beauty of this project is that it can be used for any occasion! By tearing your paper by hand you can create a great rustic look to your tag. We have used black paper with white ink which has created a great contrast, you can use any colour to suit your theme.
Adding the finishing touches...
If you are happy with how things are looking you can always just leave your tag with your handwritten calligraphic message. However, a small wax seal just adds that final wow factor!
We used our pearl wax and a selection of different coins to suit our theme and finished off with a subtle smudge of metallic ink!
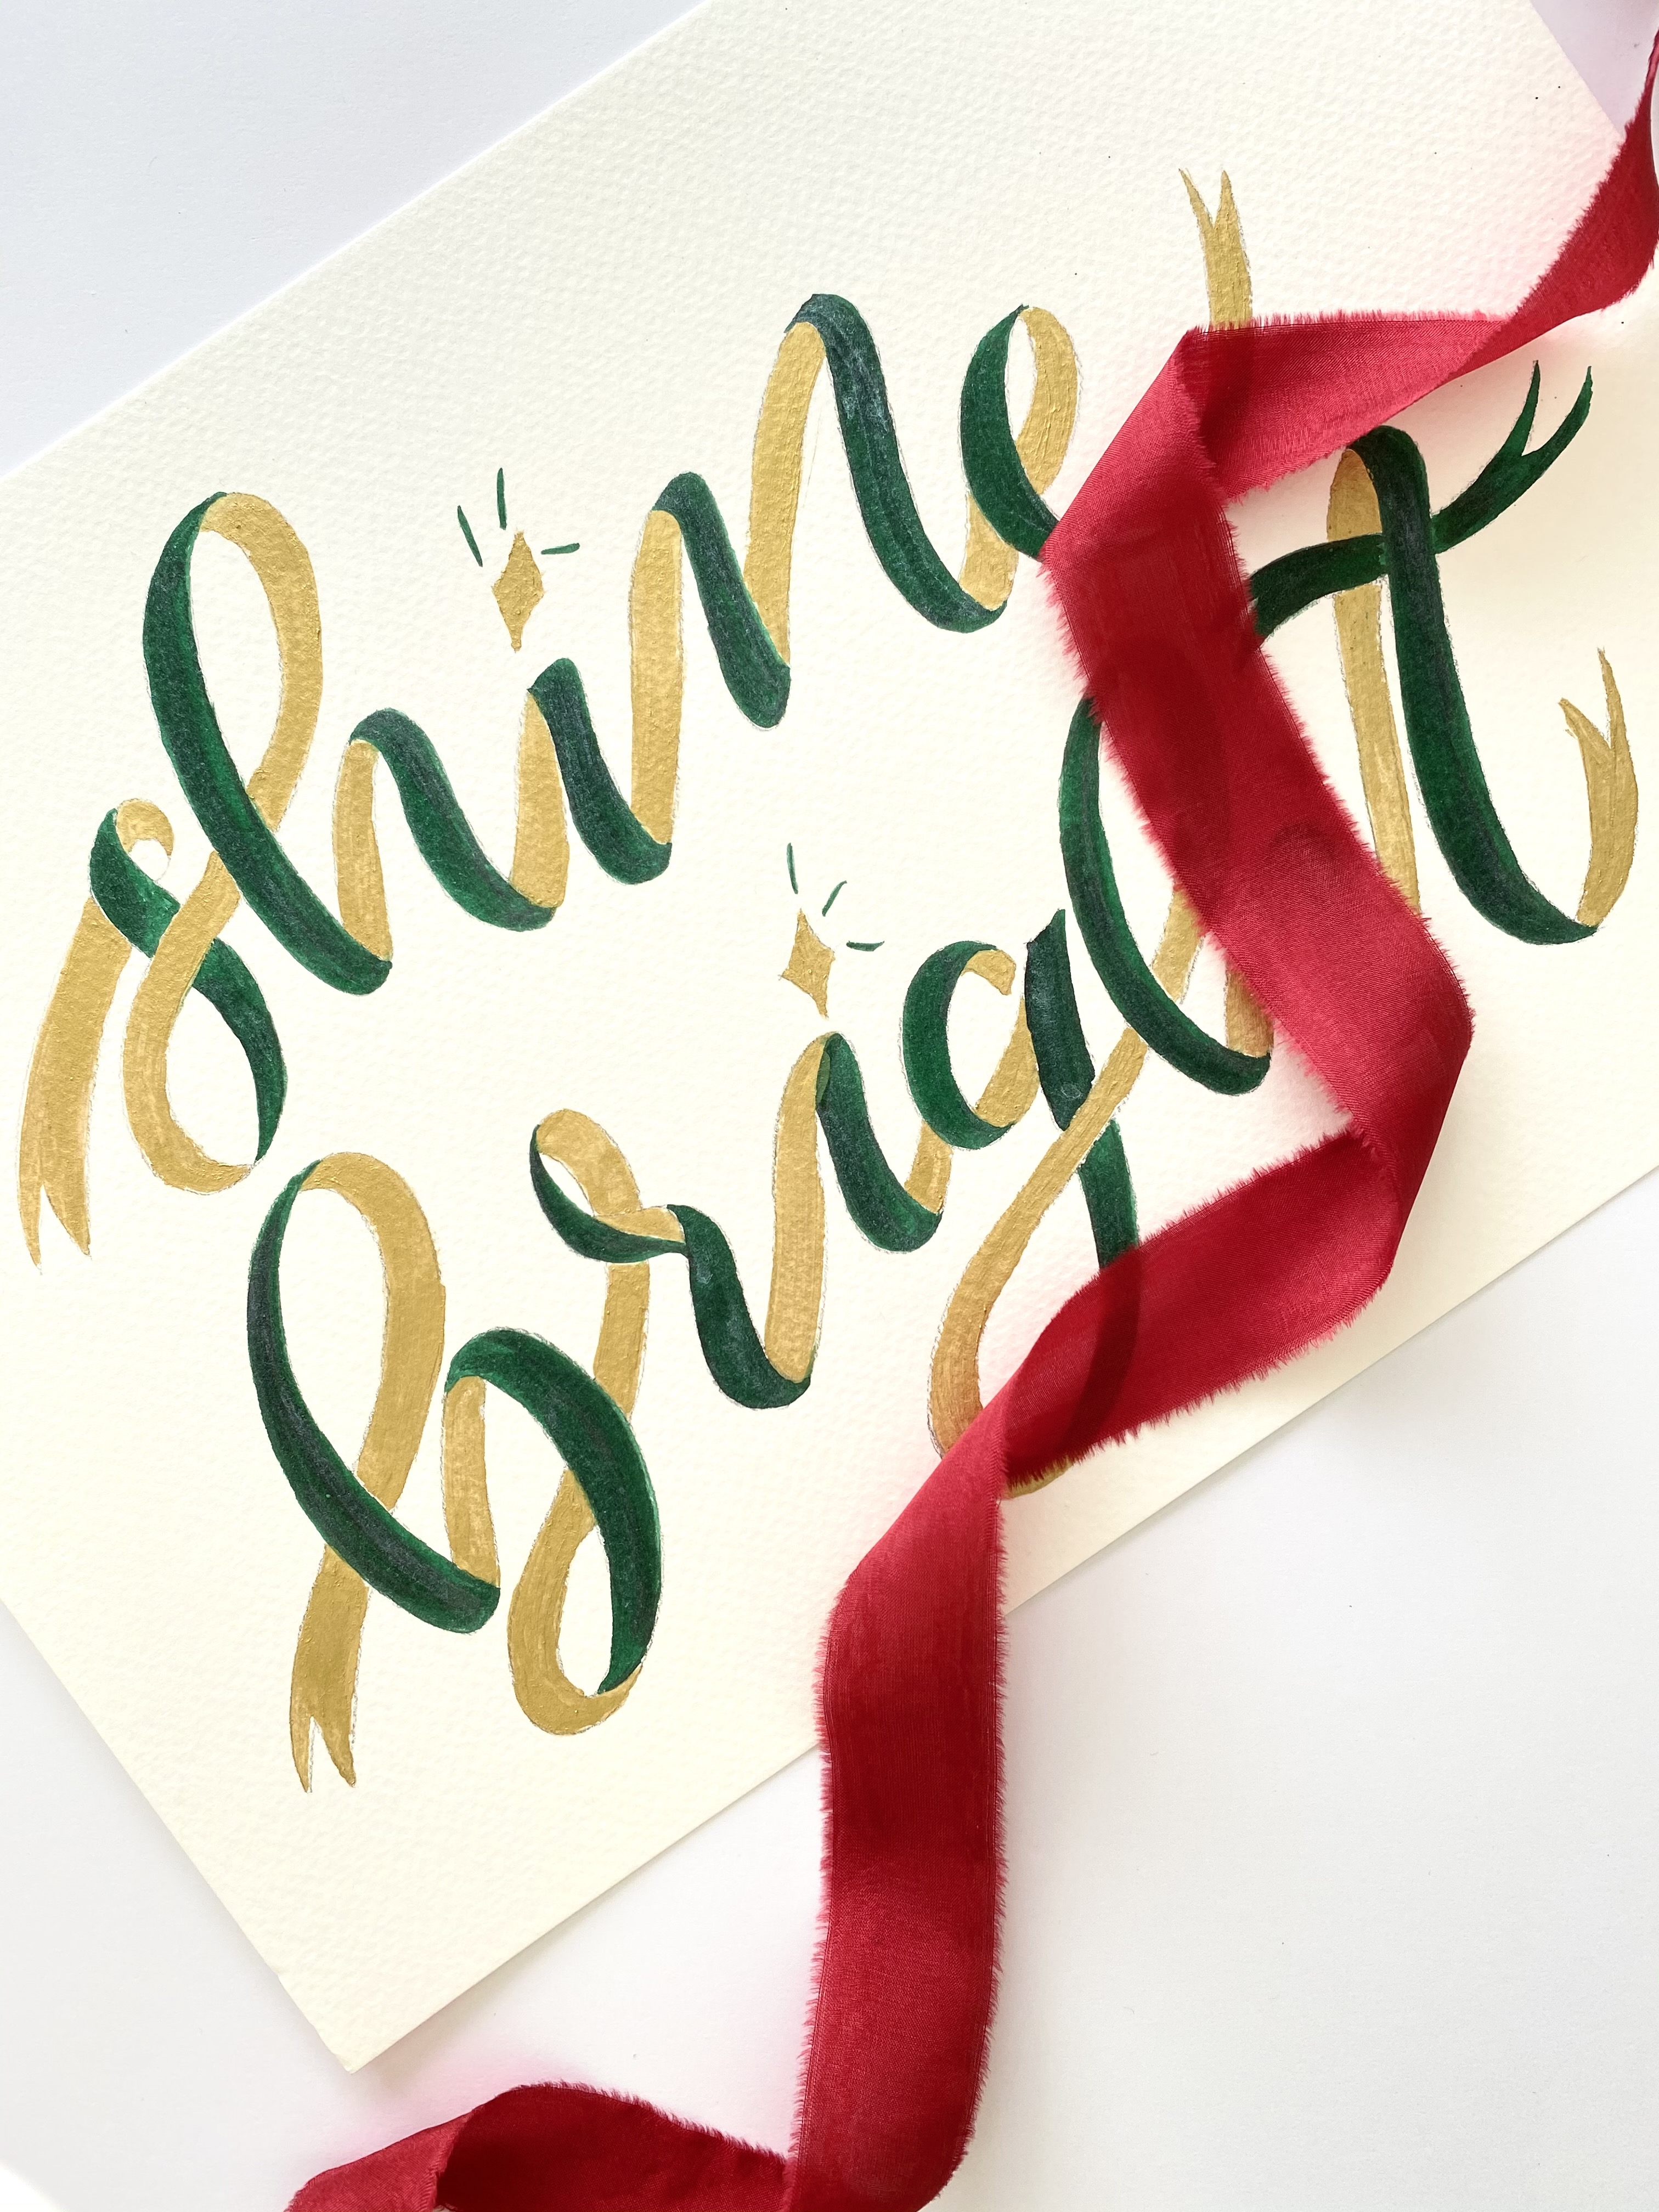
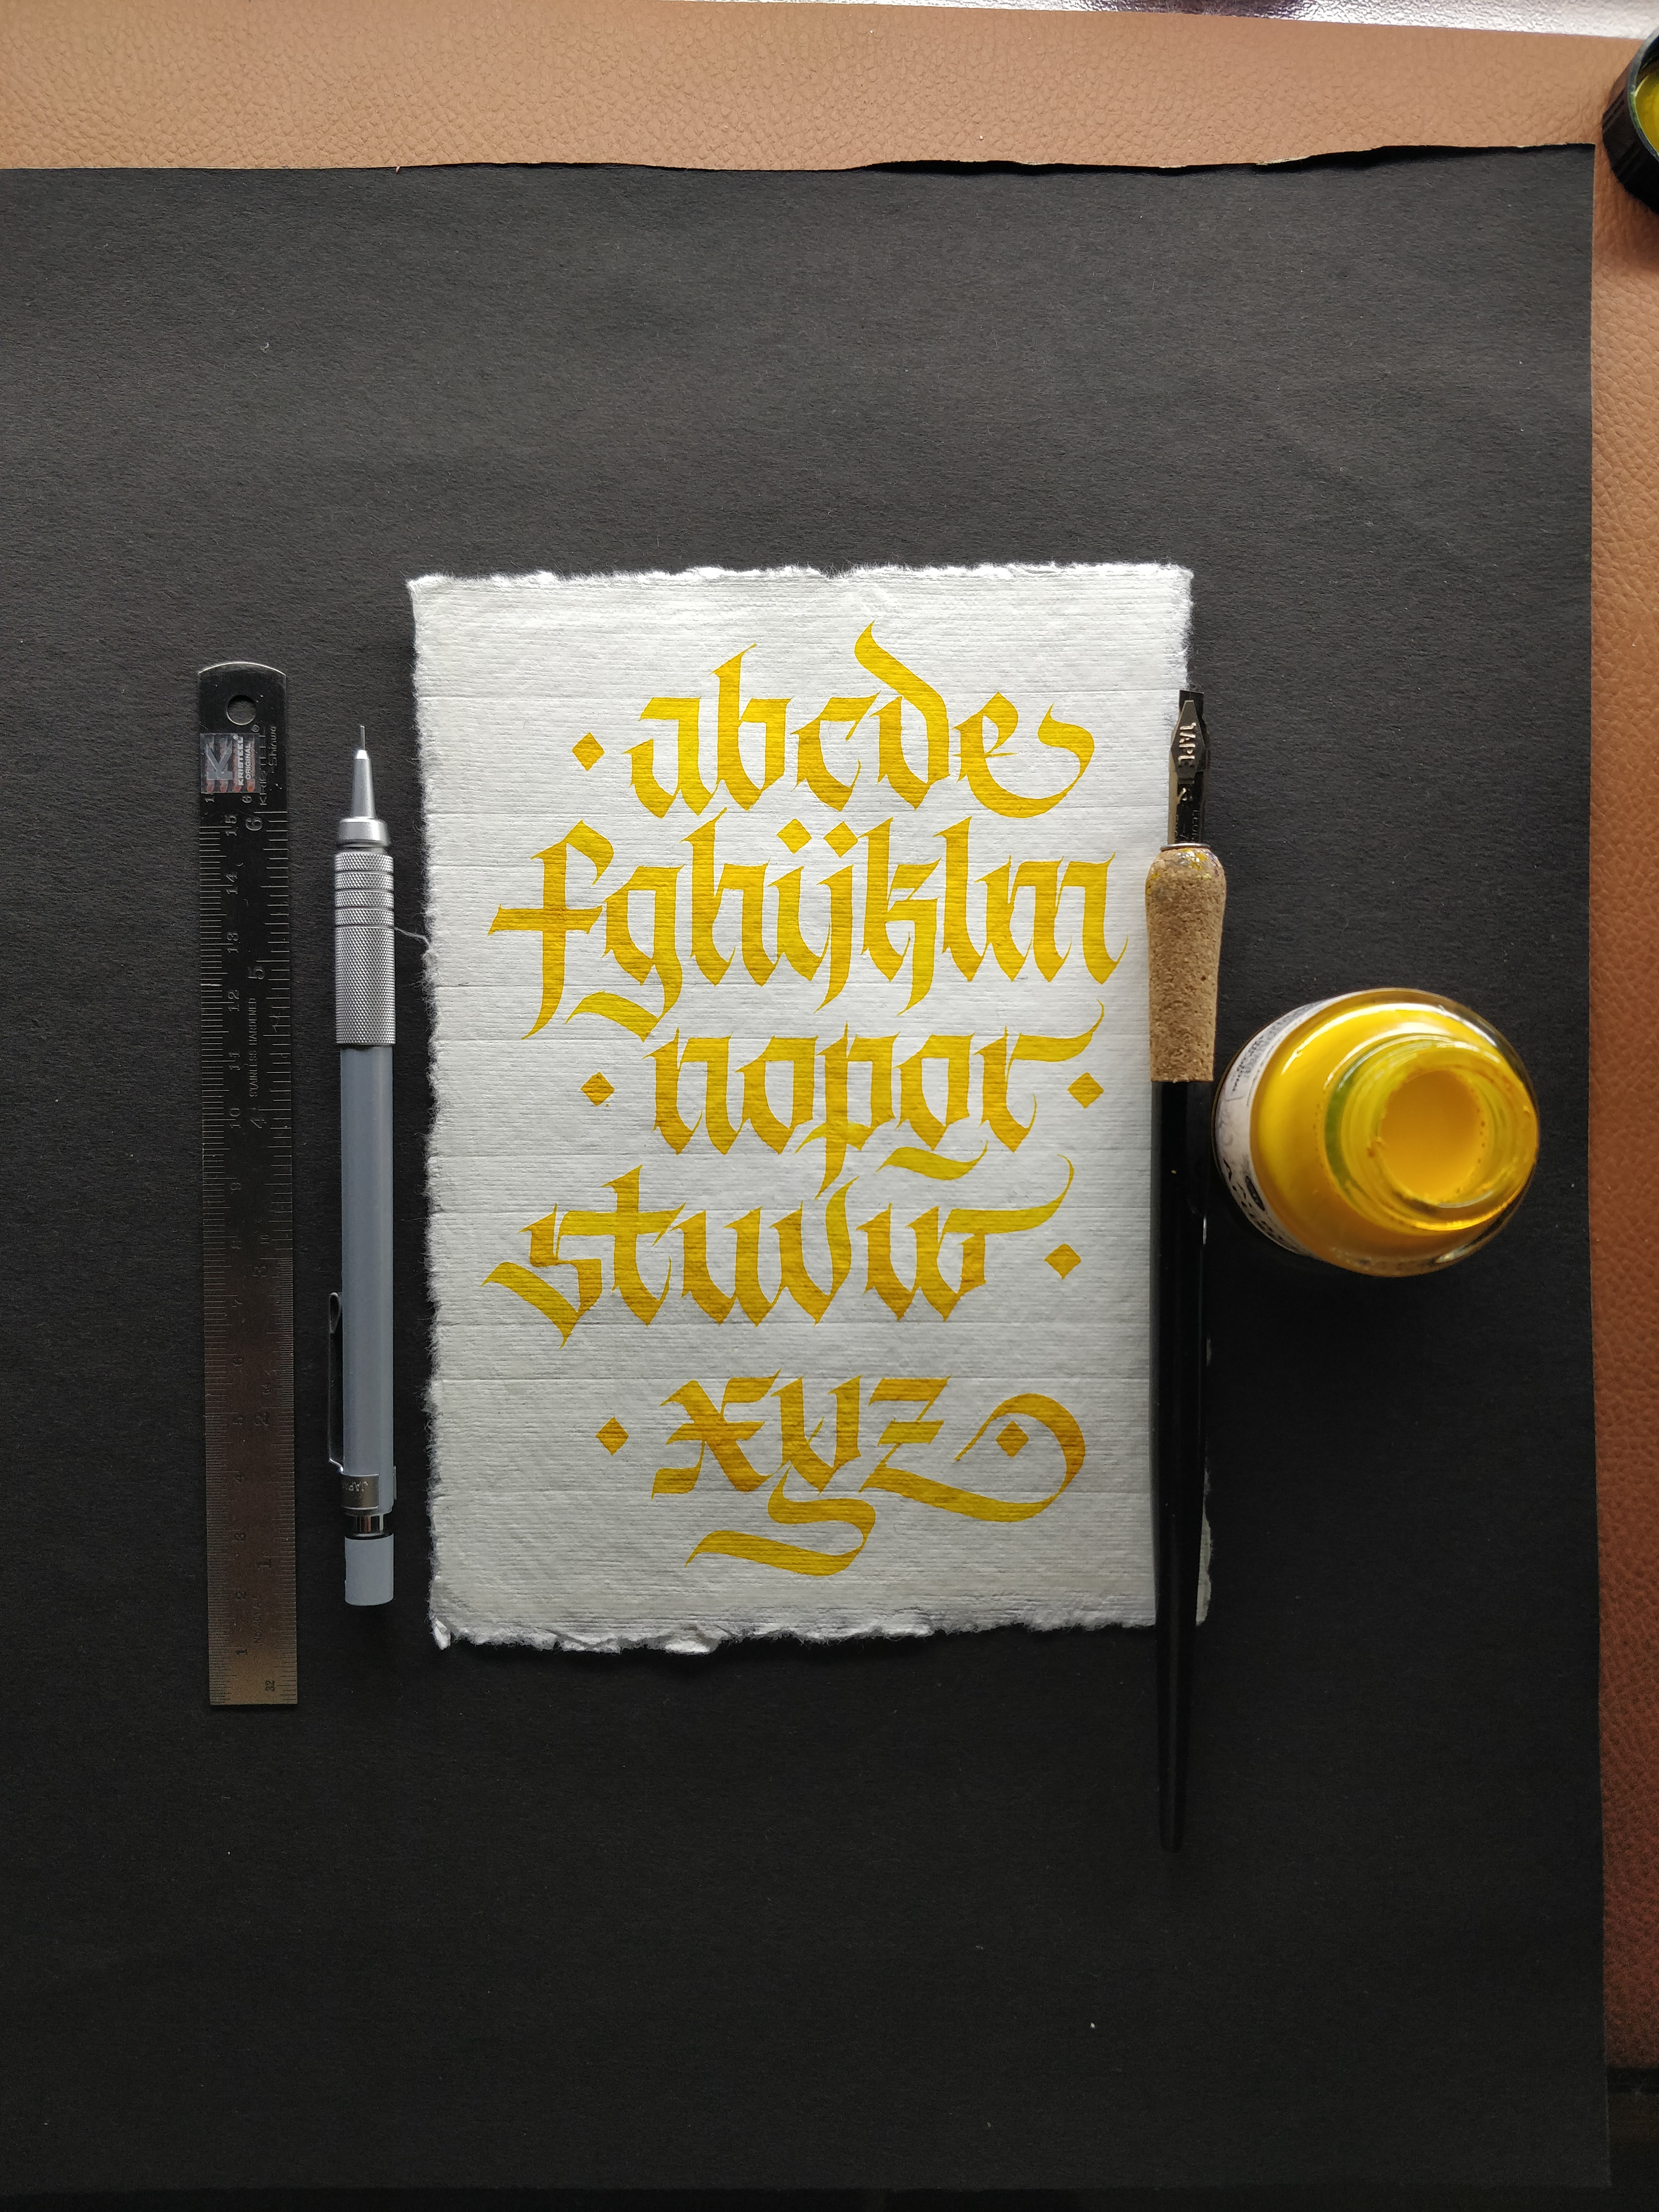
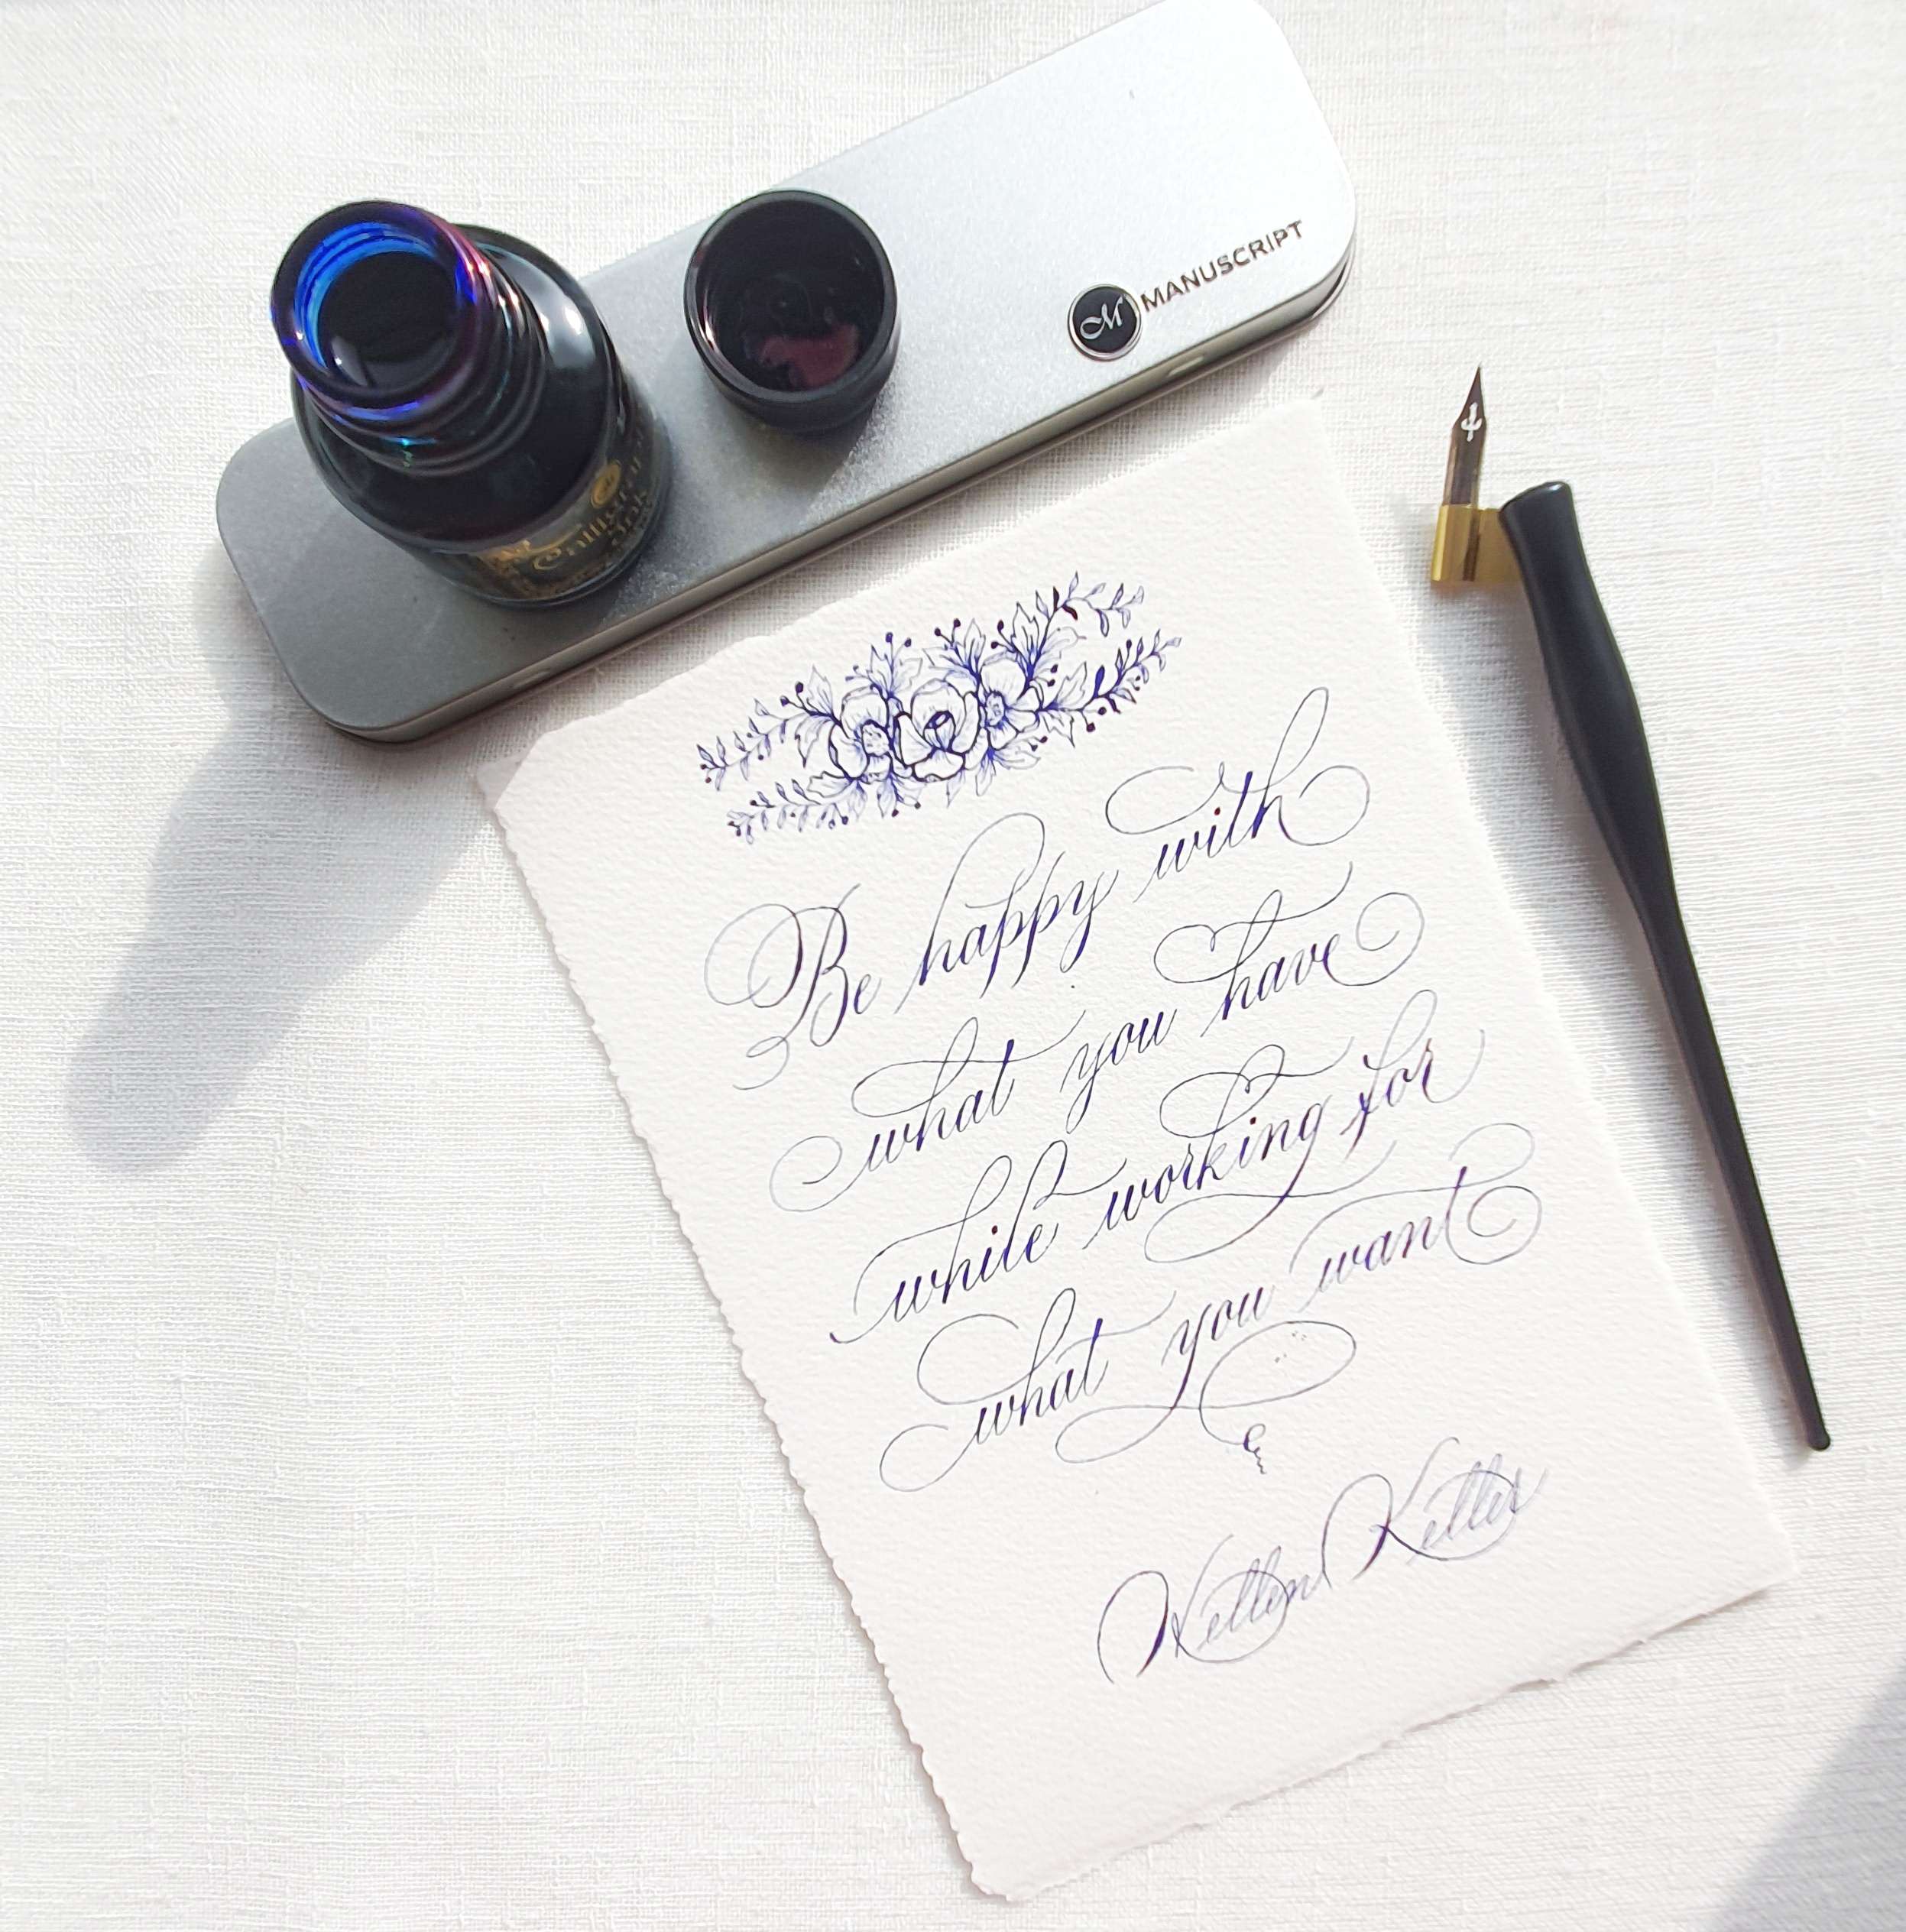
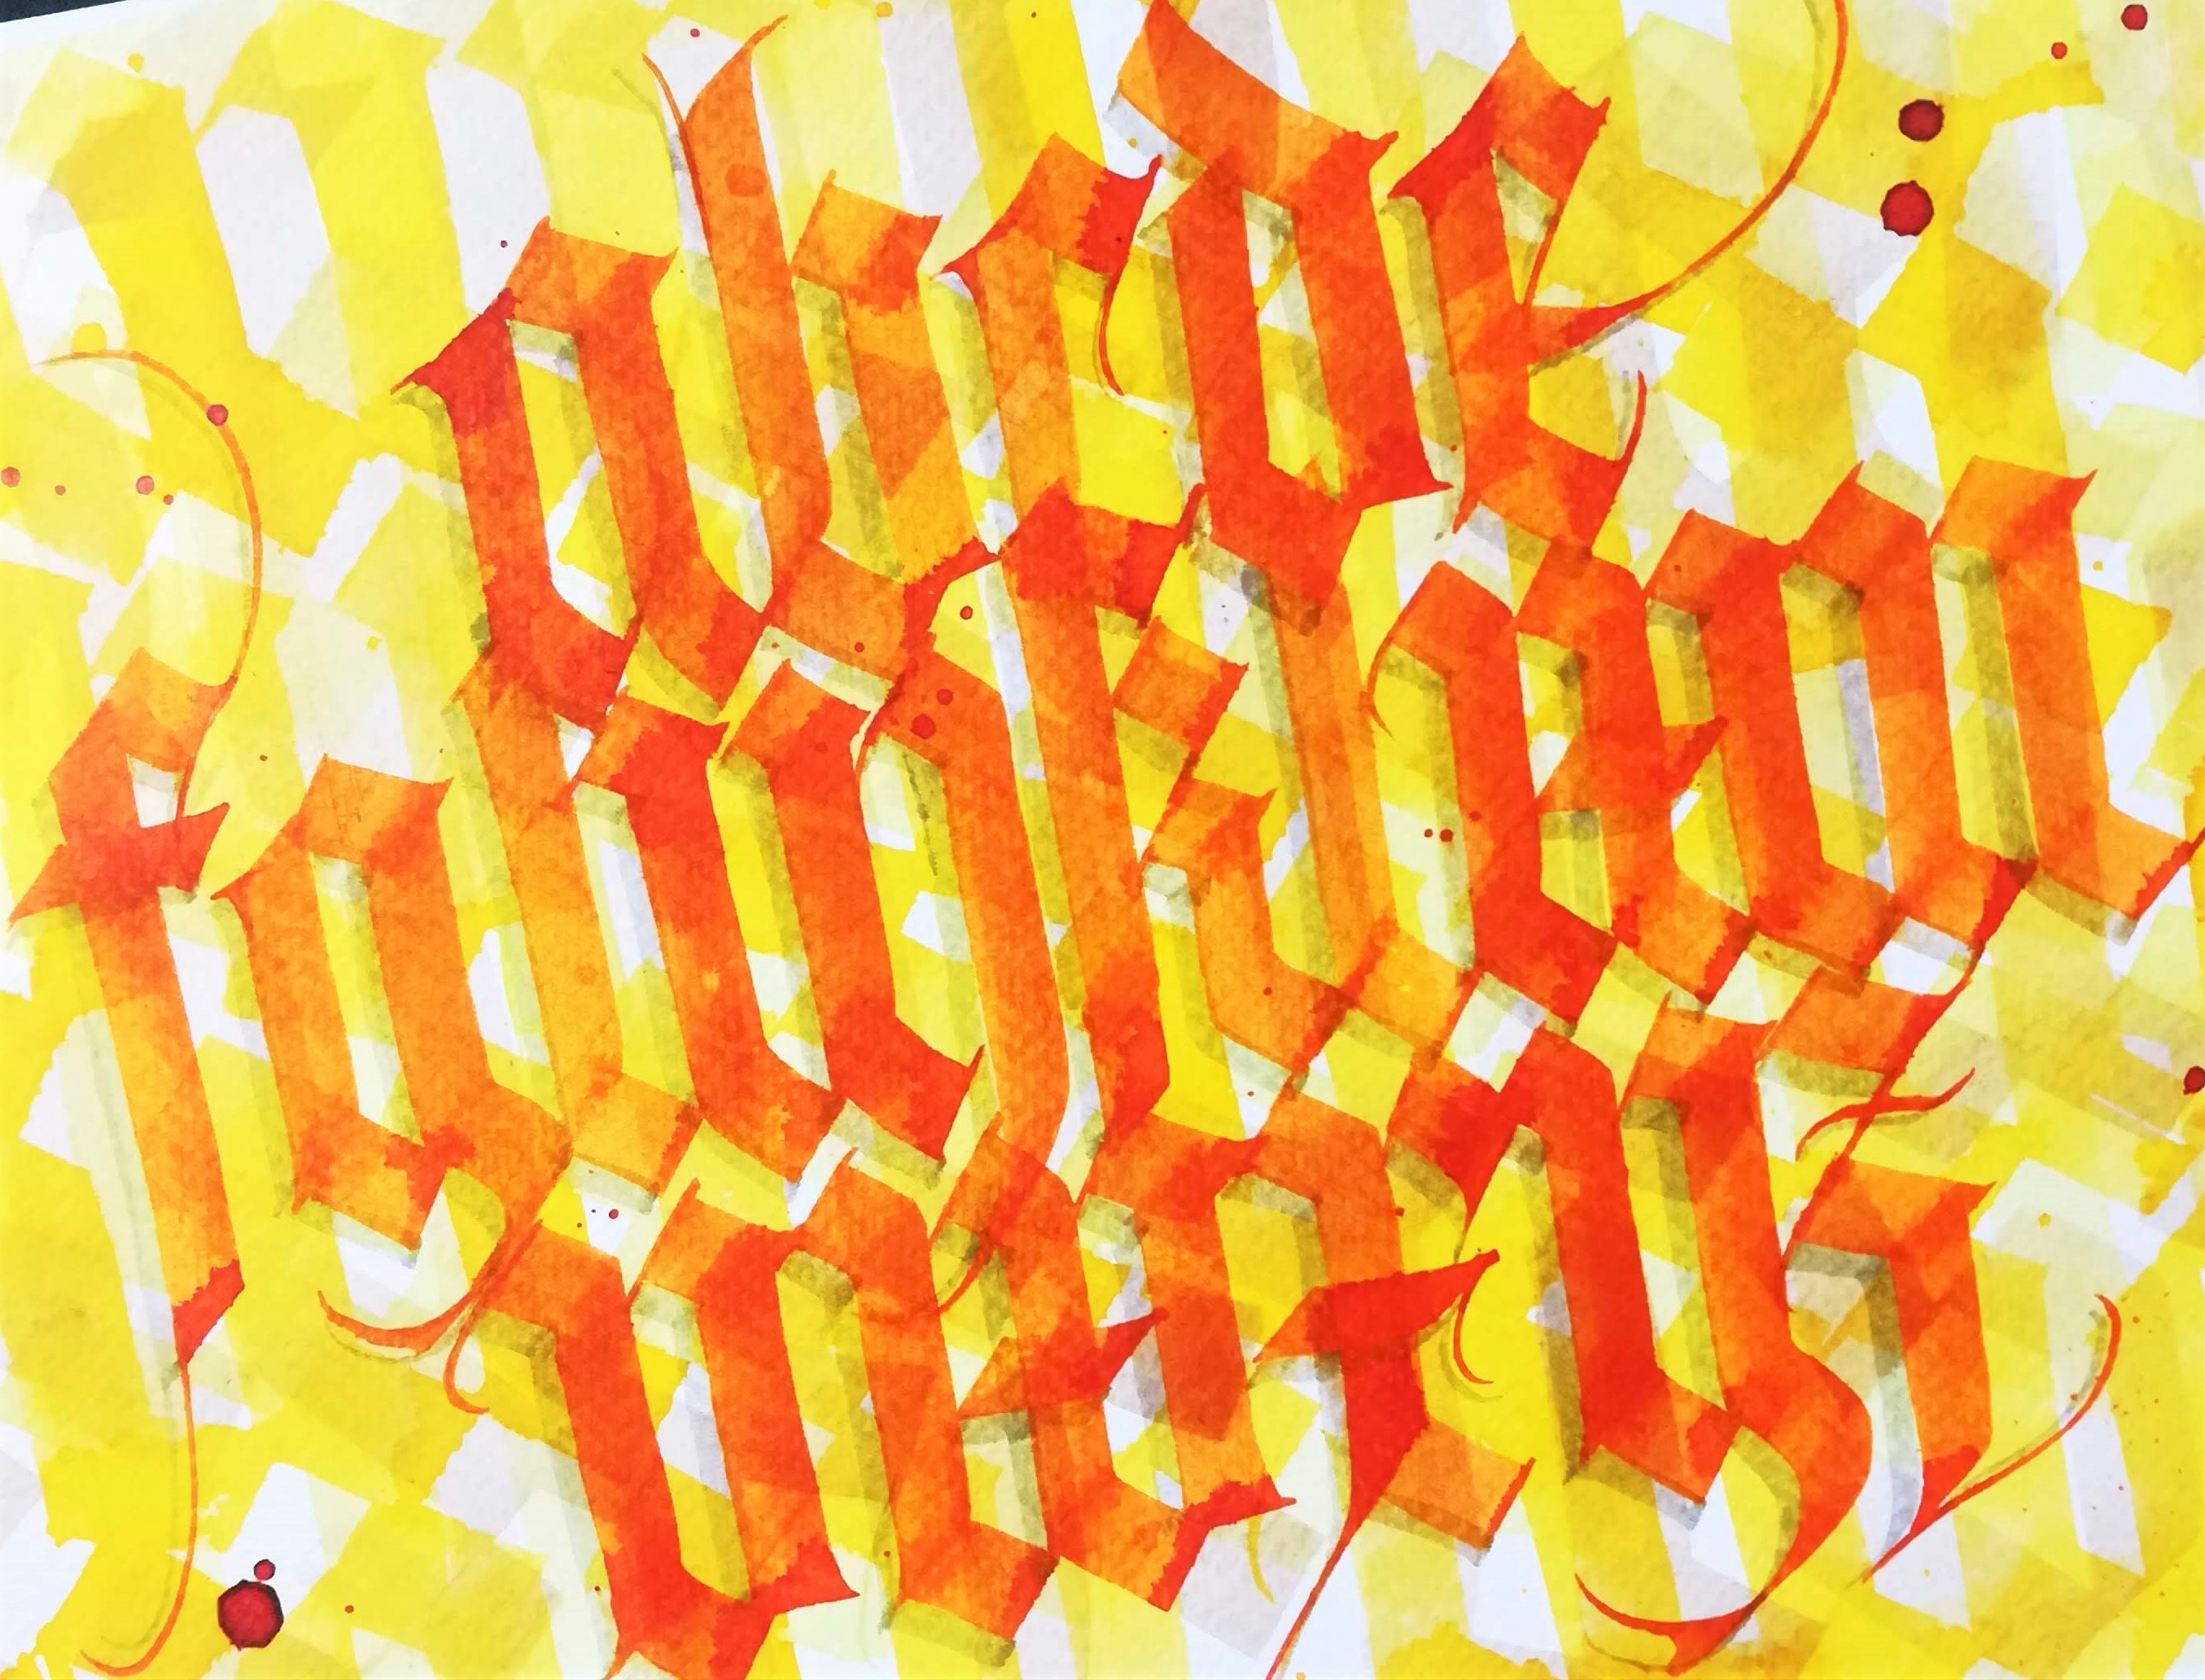
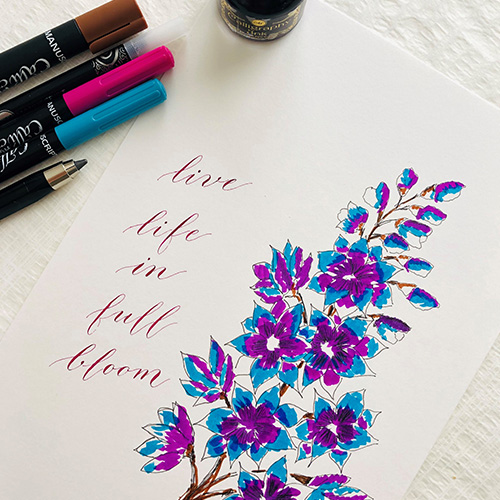
If modern calligraphy is not your style you can use any style of calligraphy as highlighted below. This simple design looks beautiful in any script!
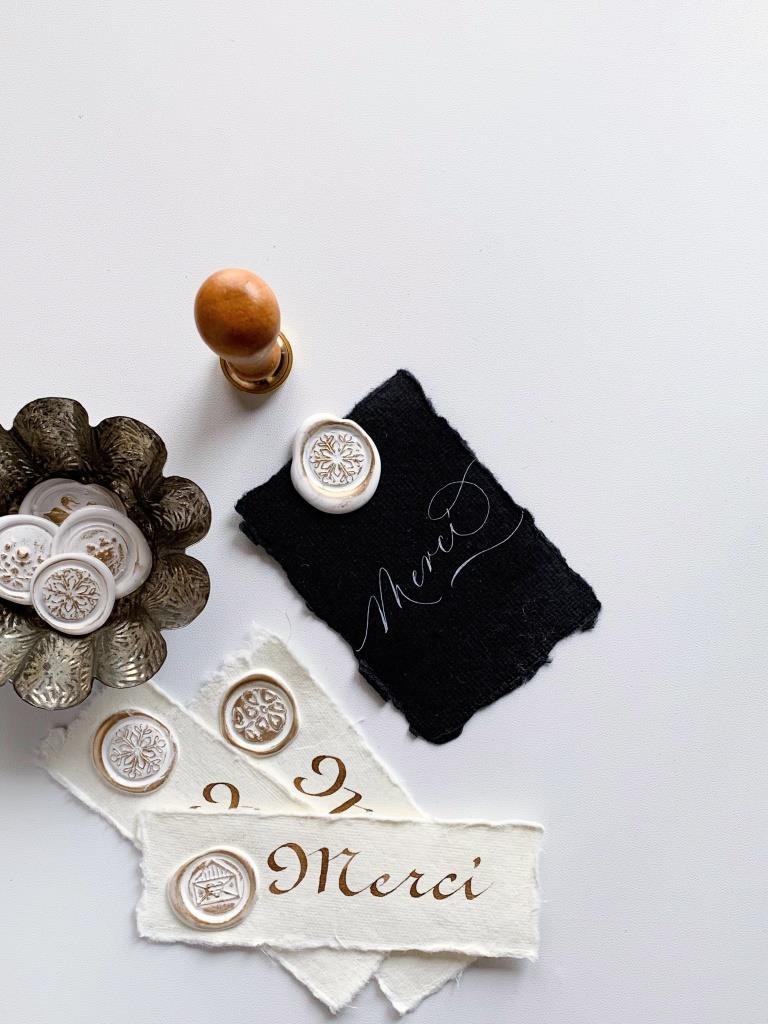
Be sure to try out this tutorial and tag us in your post. Use #manuscriptpencompany and #manuscriptpens so we can share your posts.
To see more of Keshia's work you can follow her on Instagram and remember to follow @manuscriptpenco on Social Media where we will be showcasing her work throughout the month.

