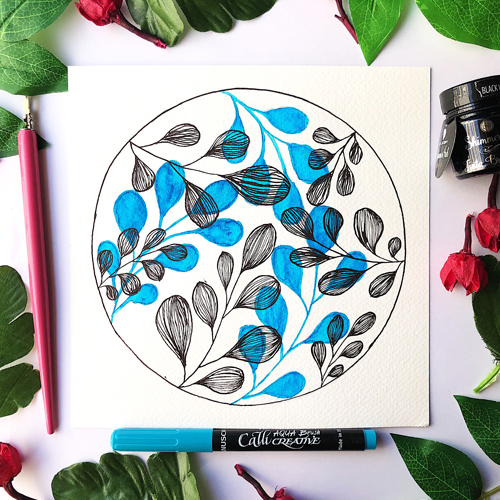
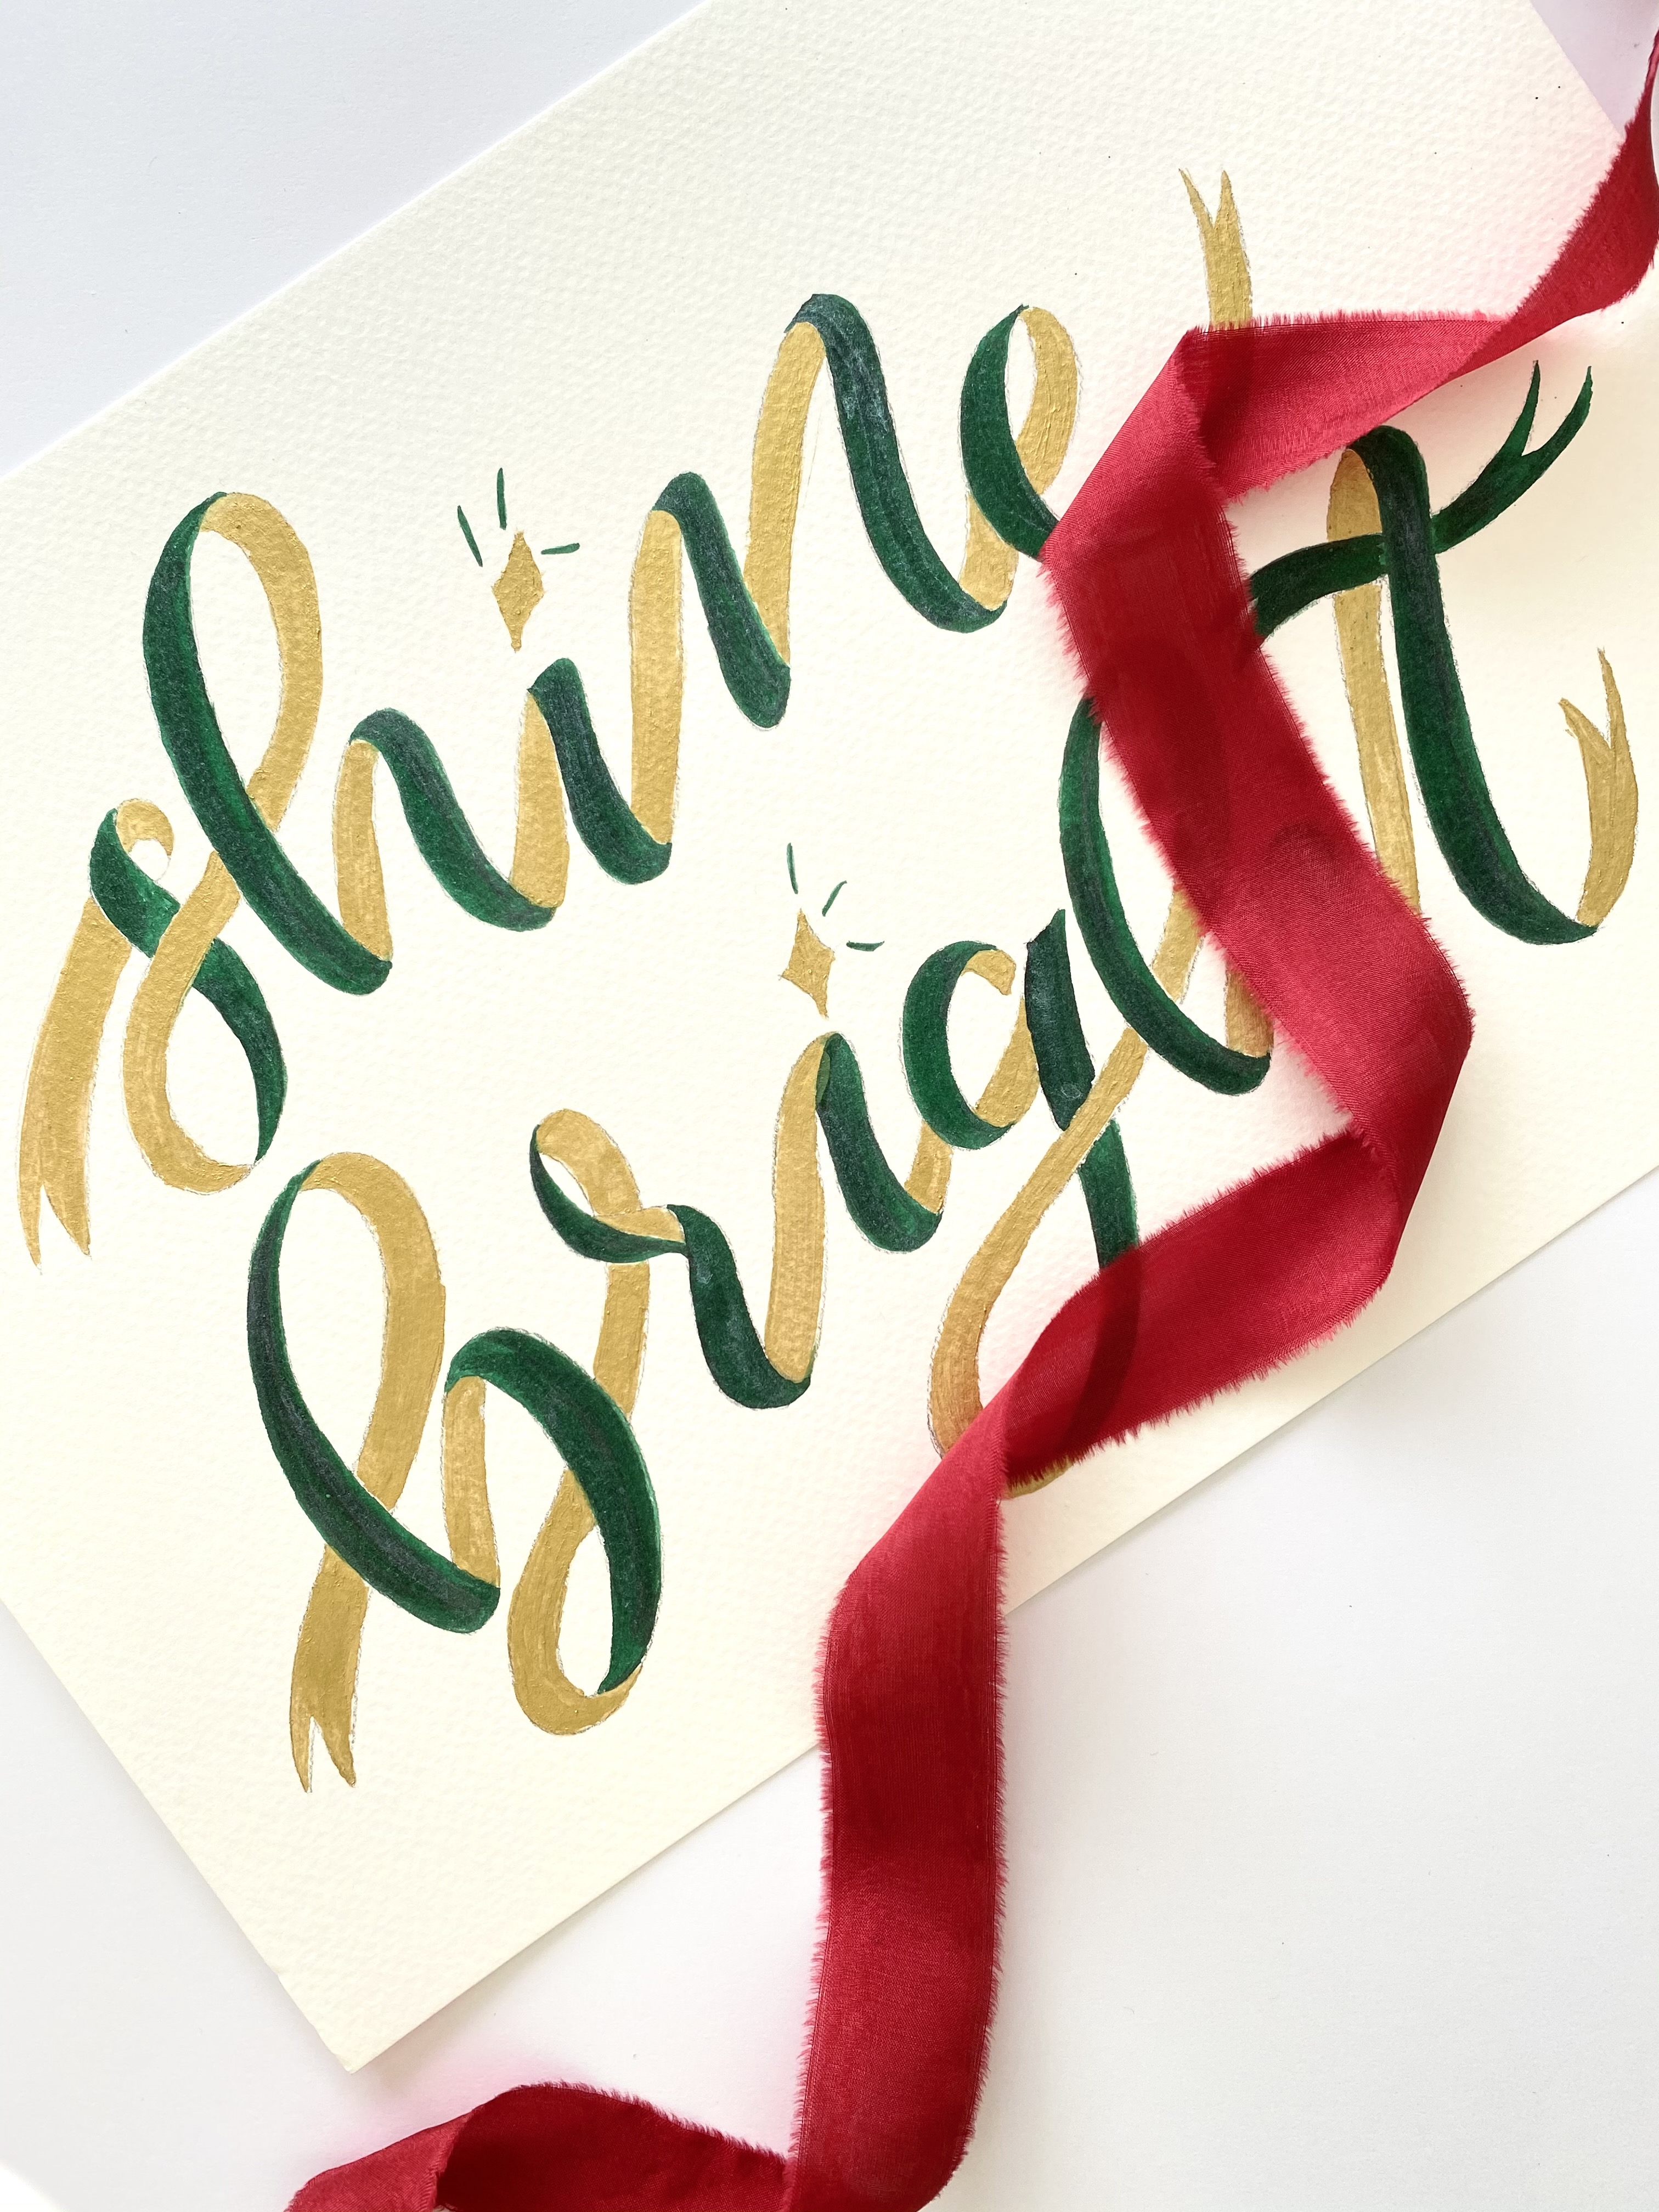
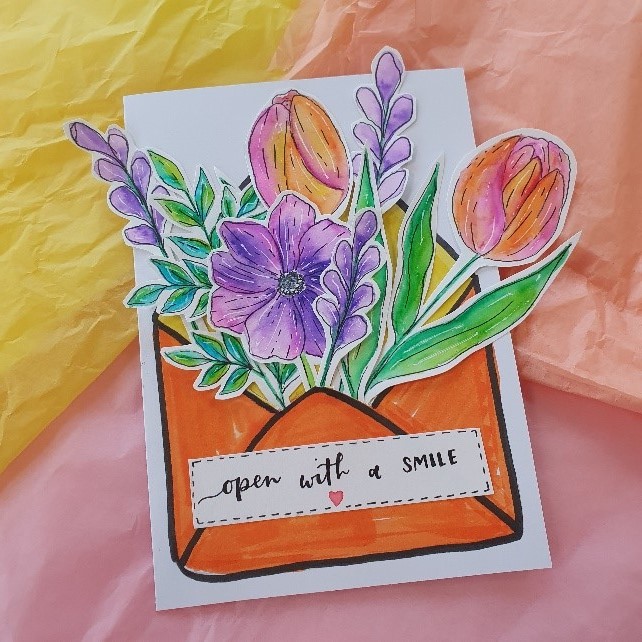
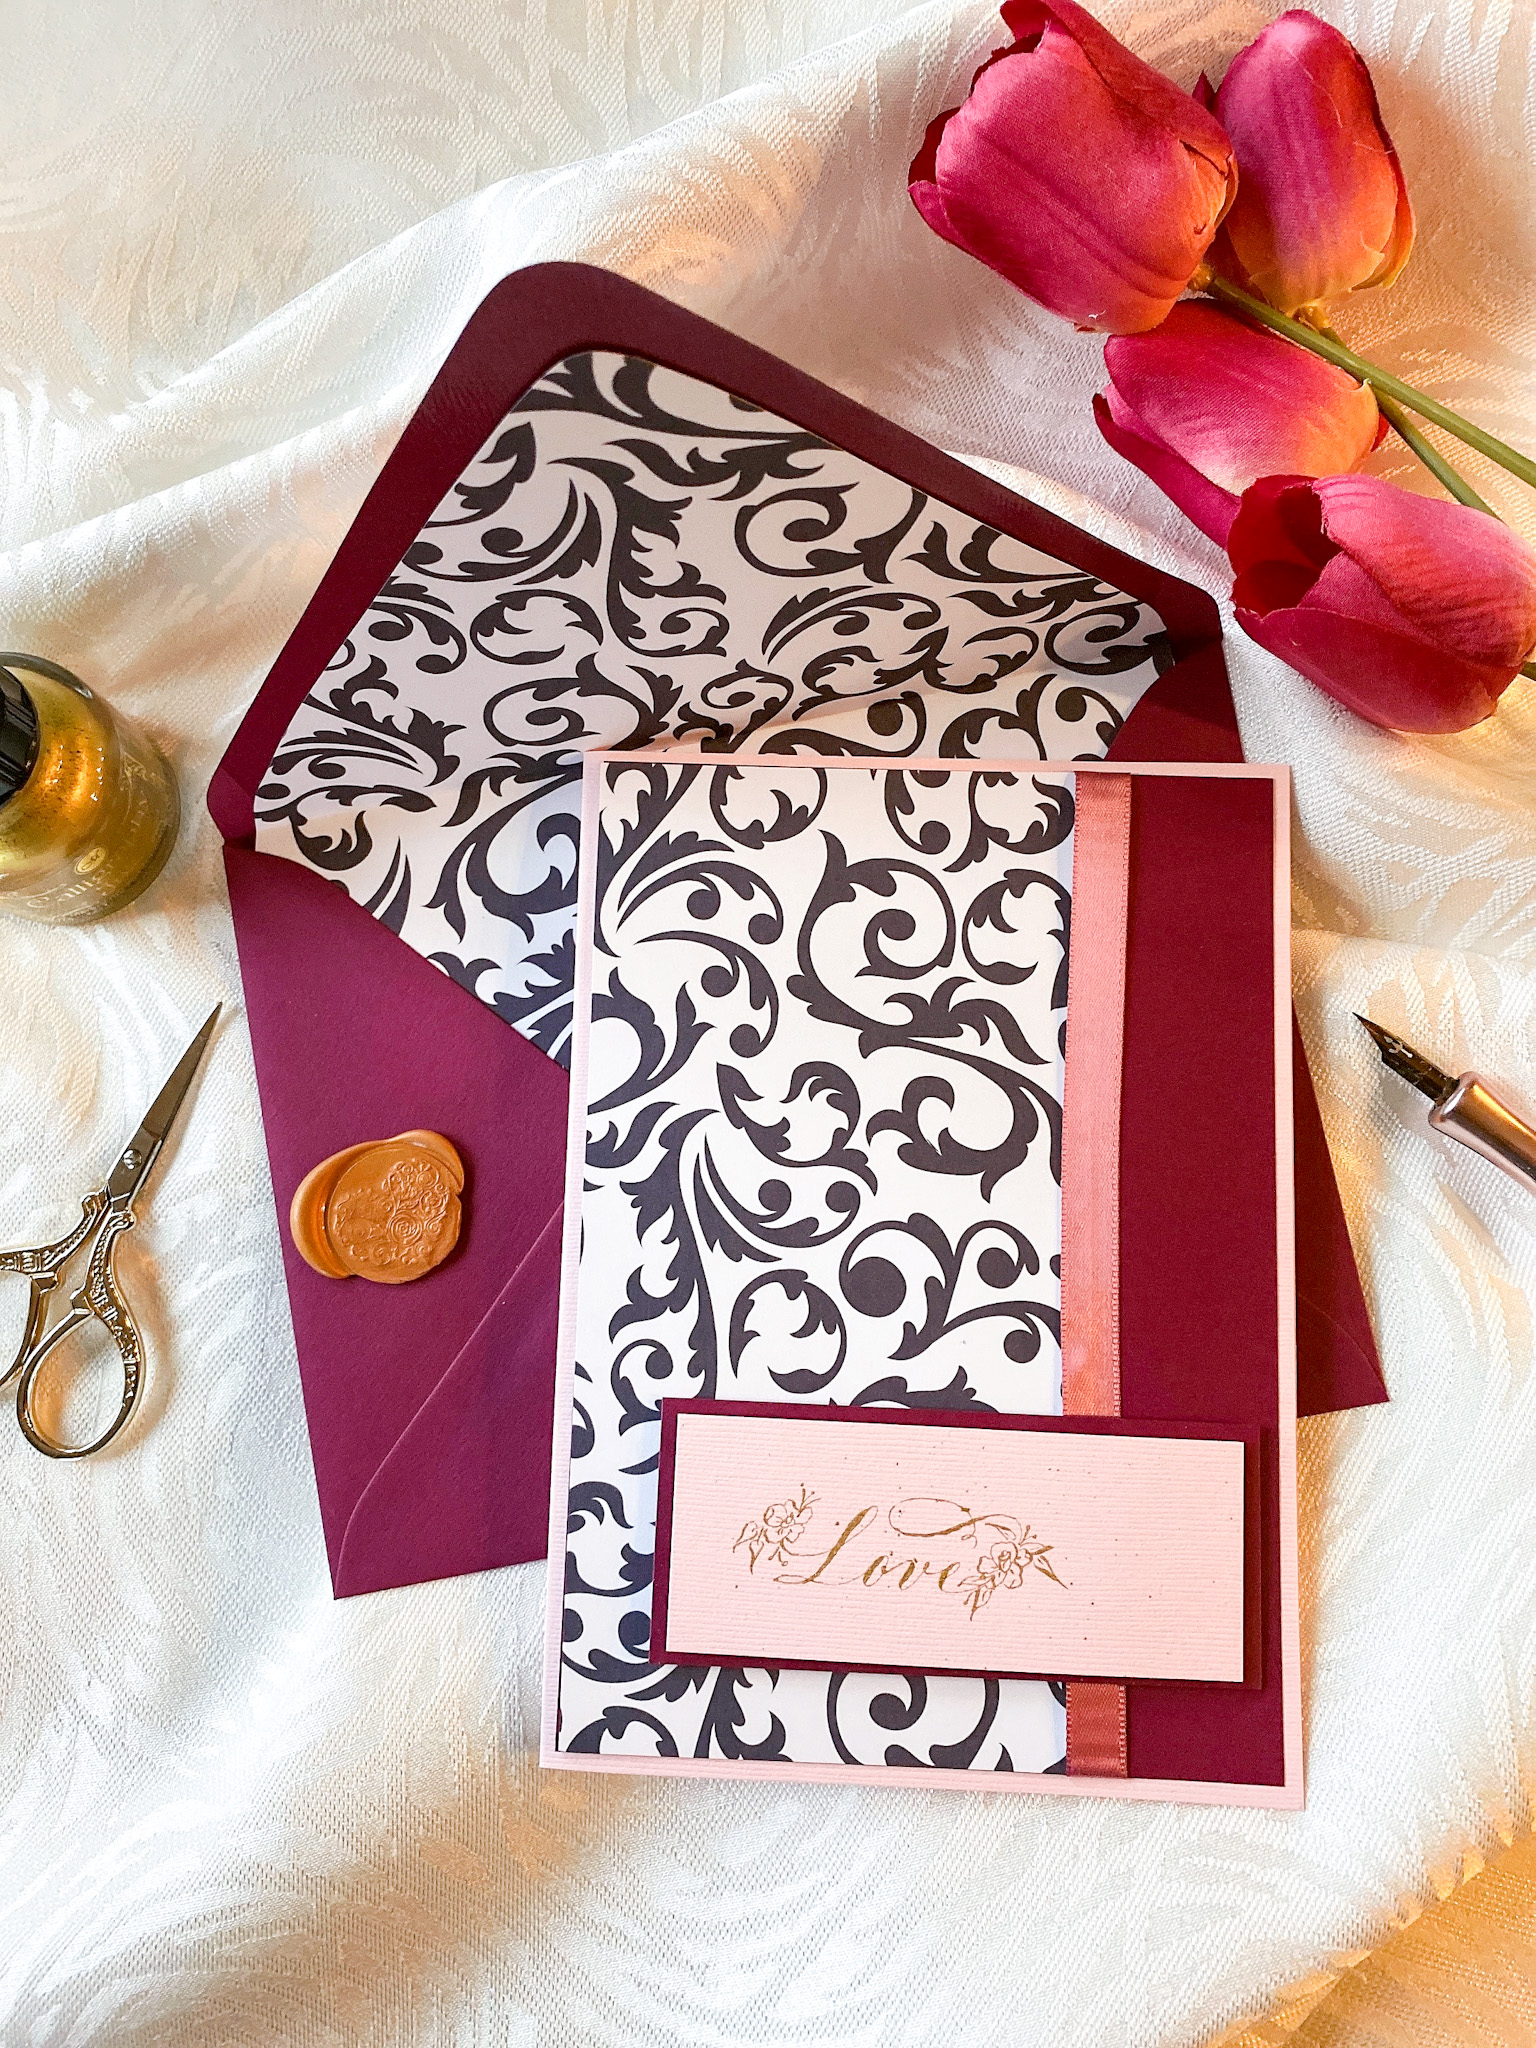
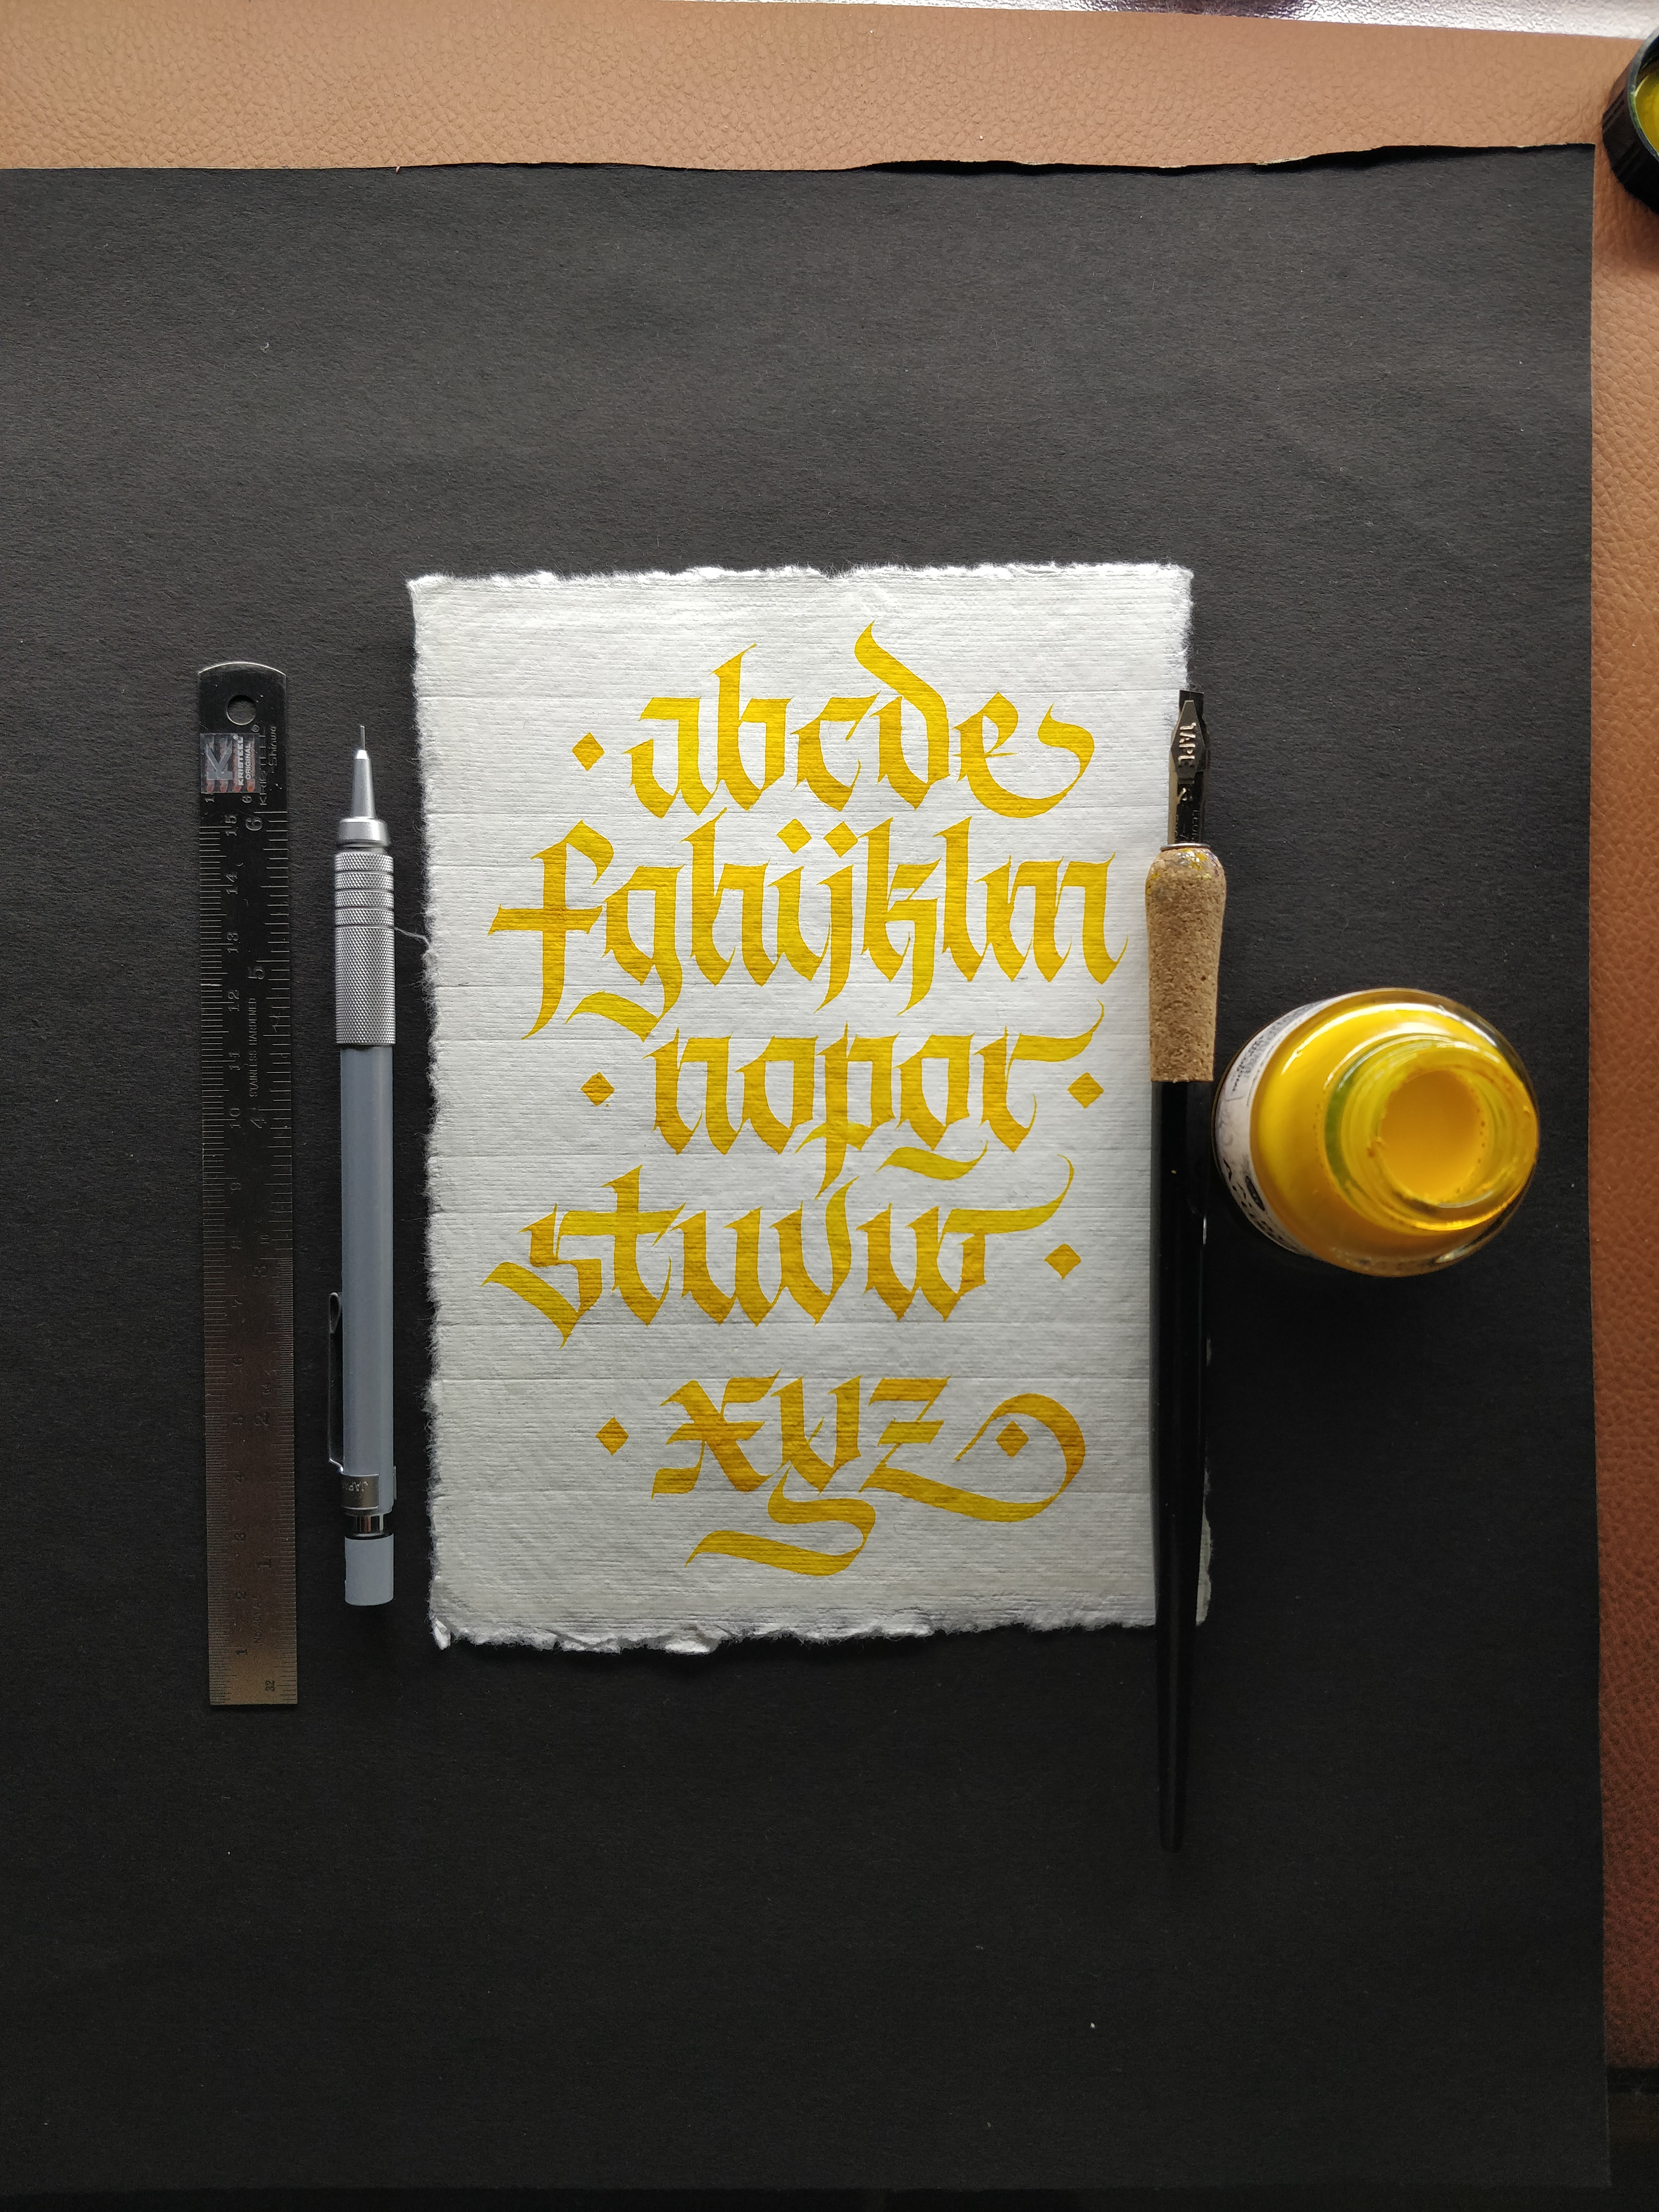
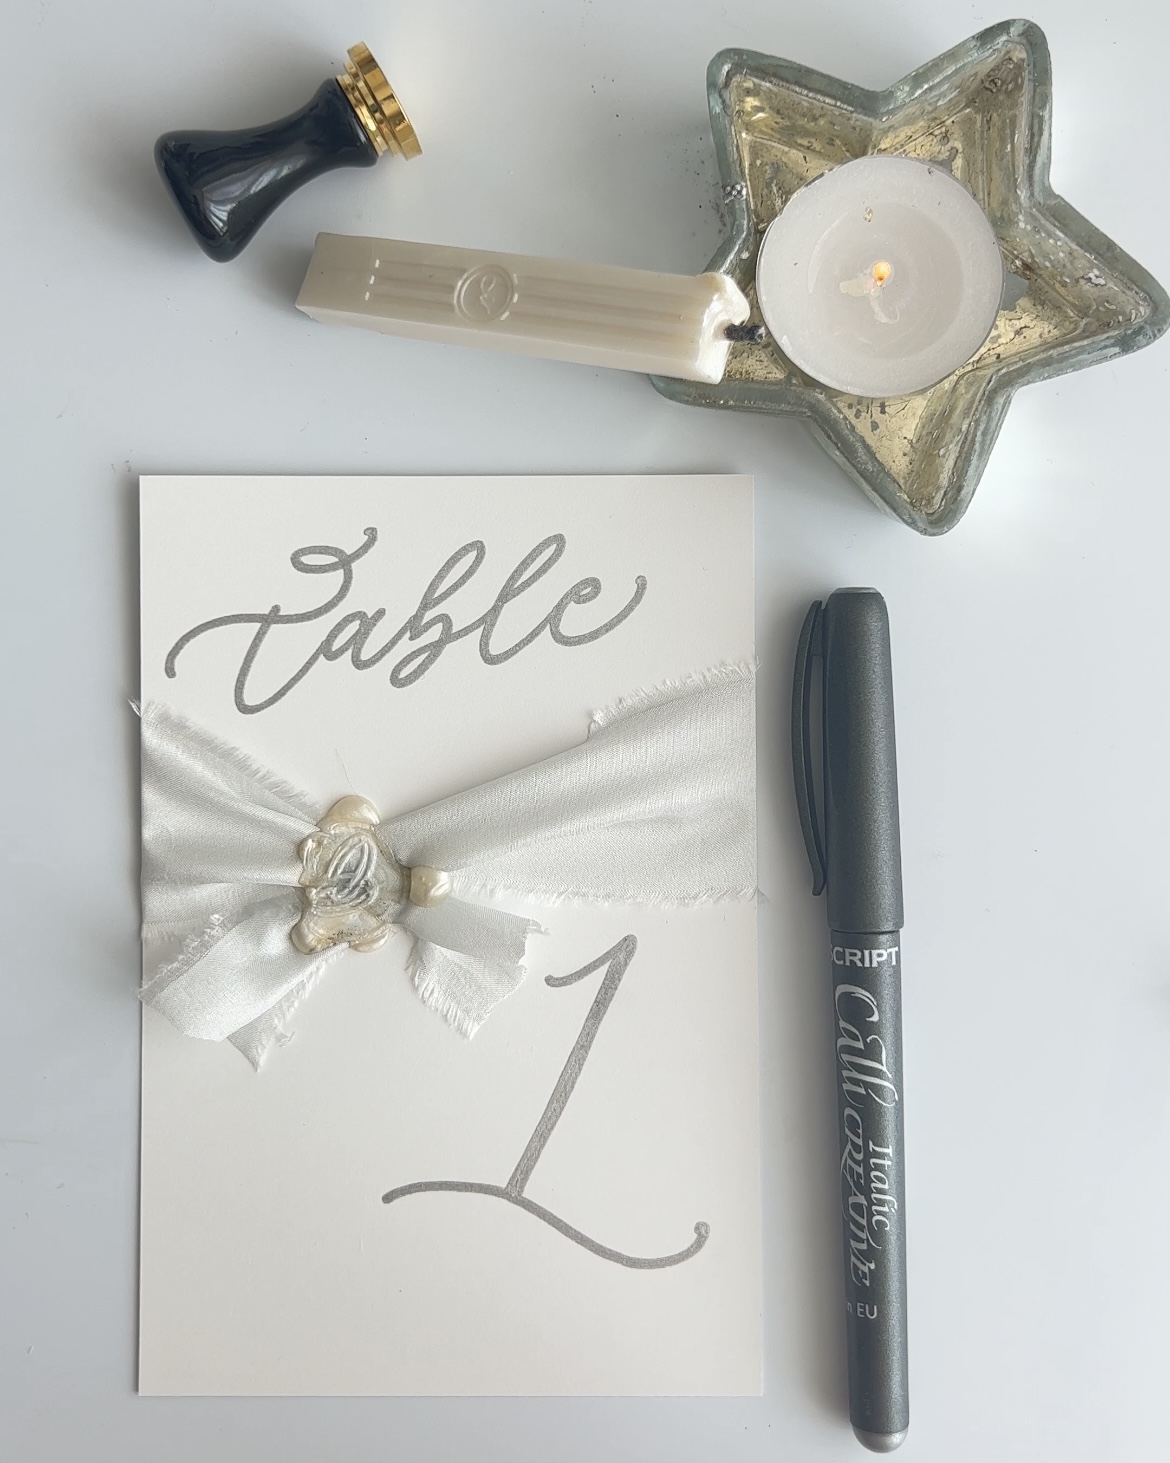
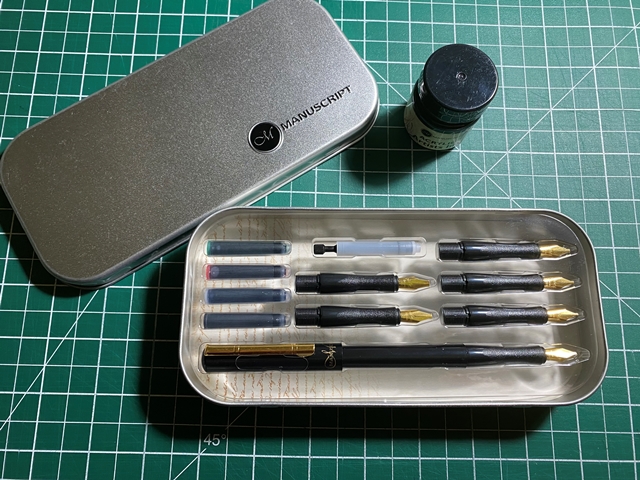
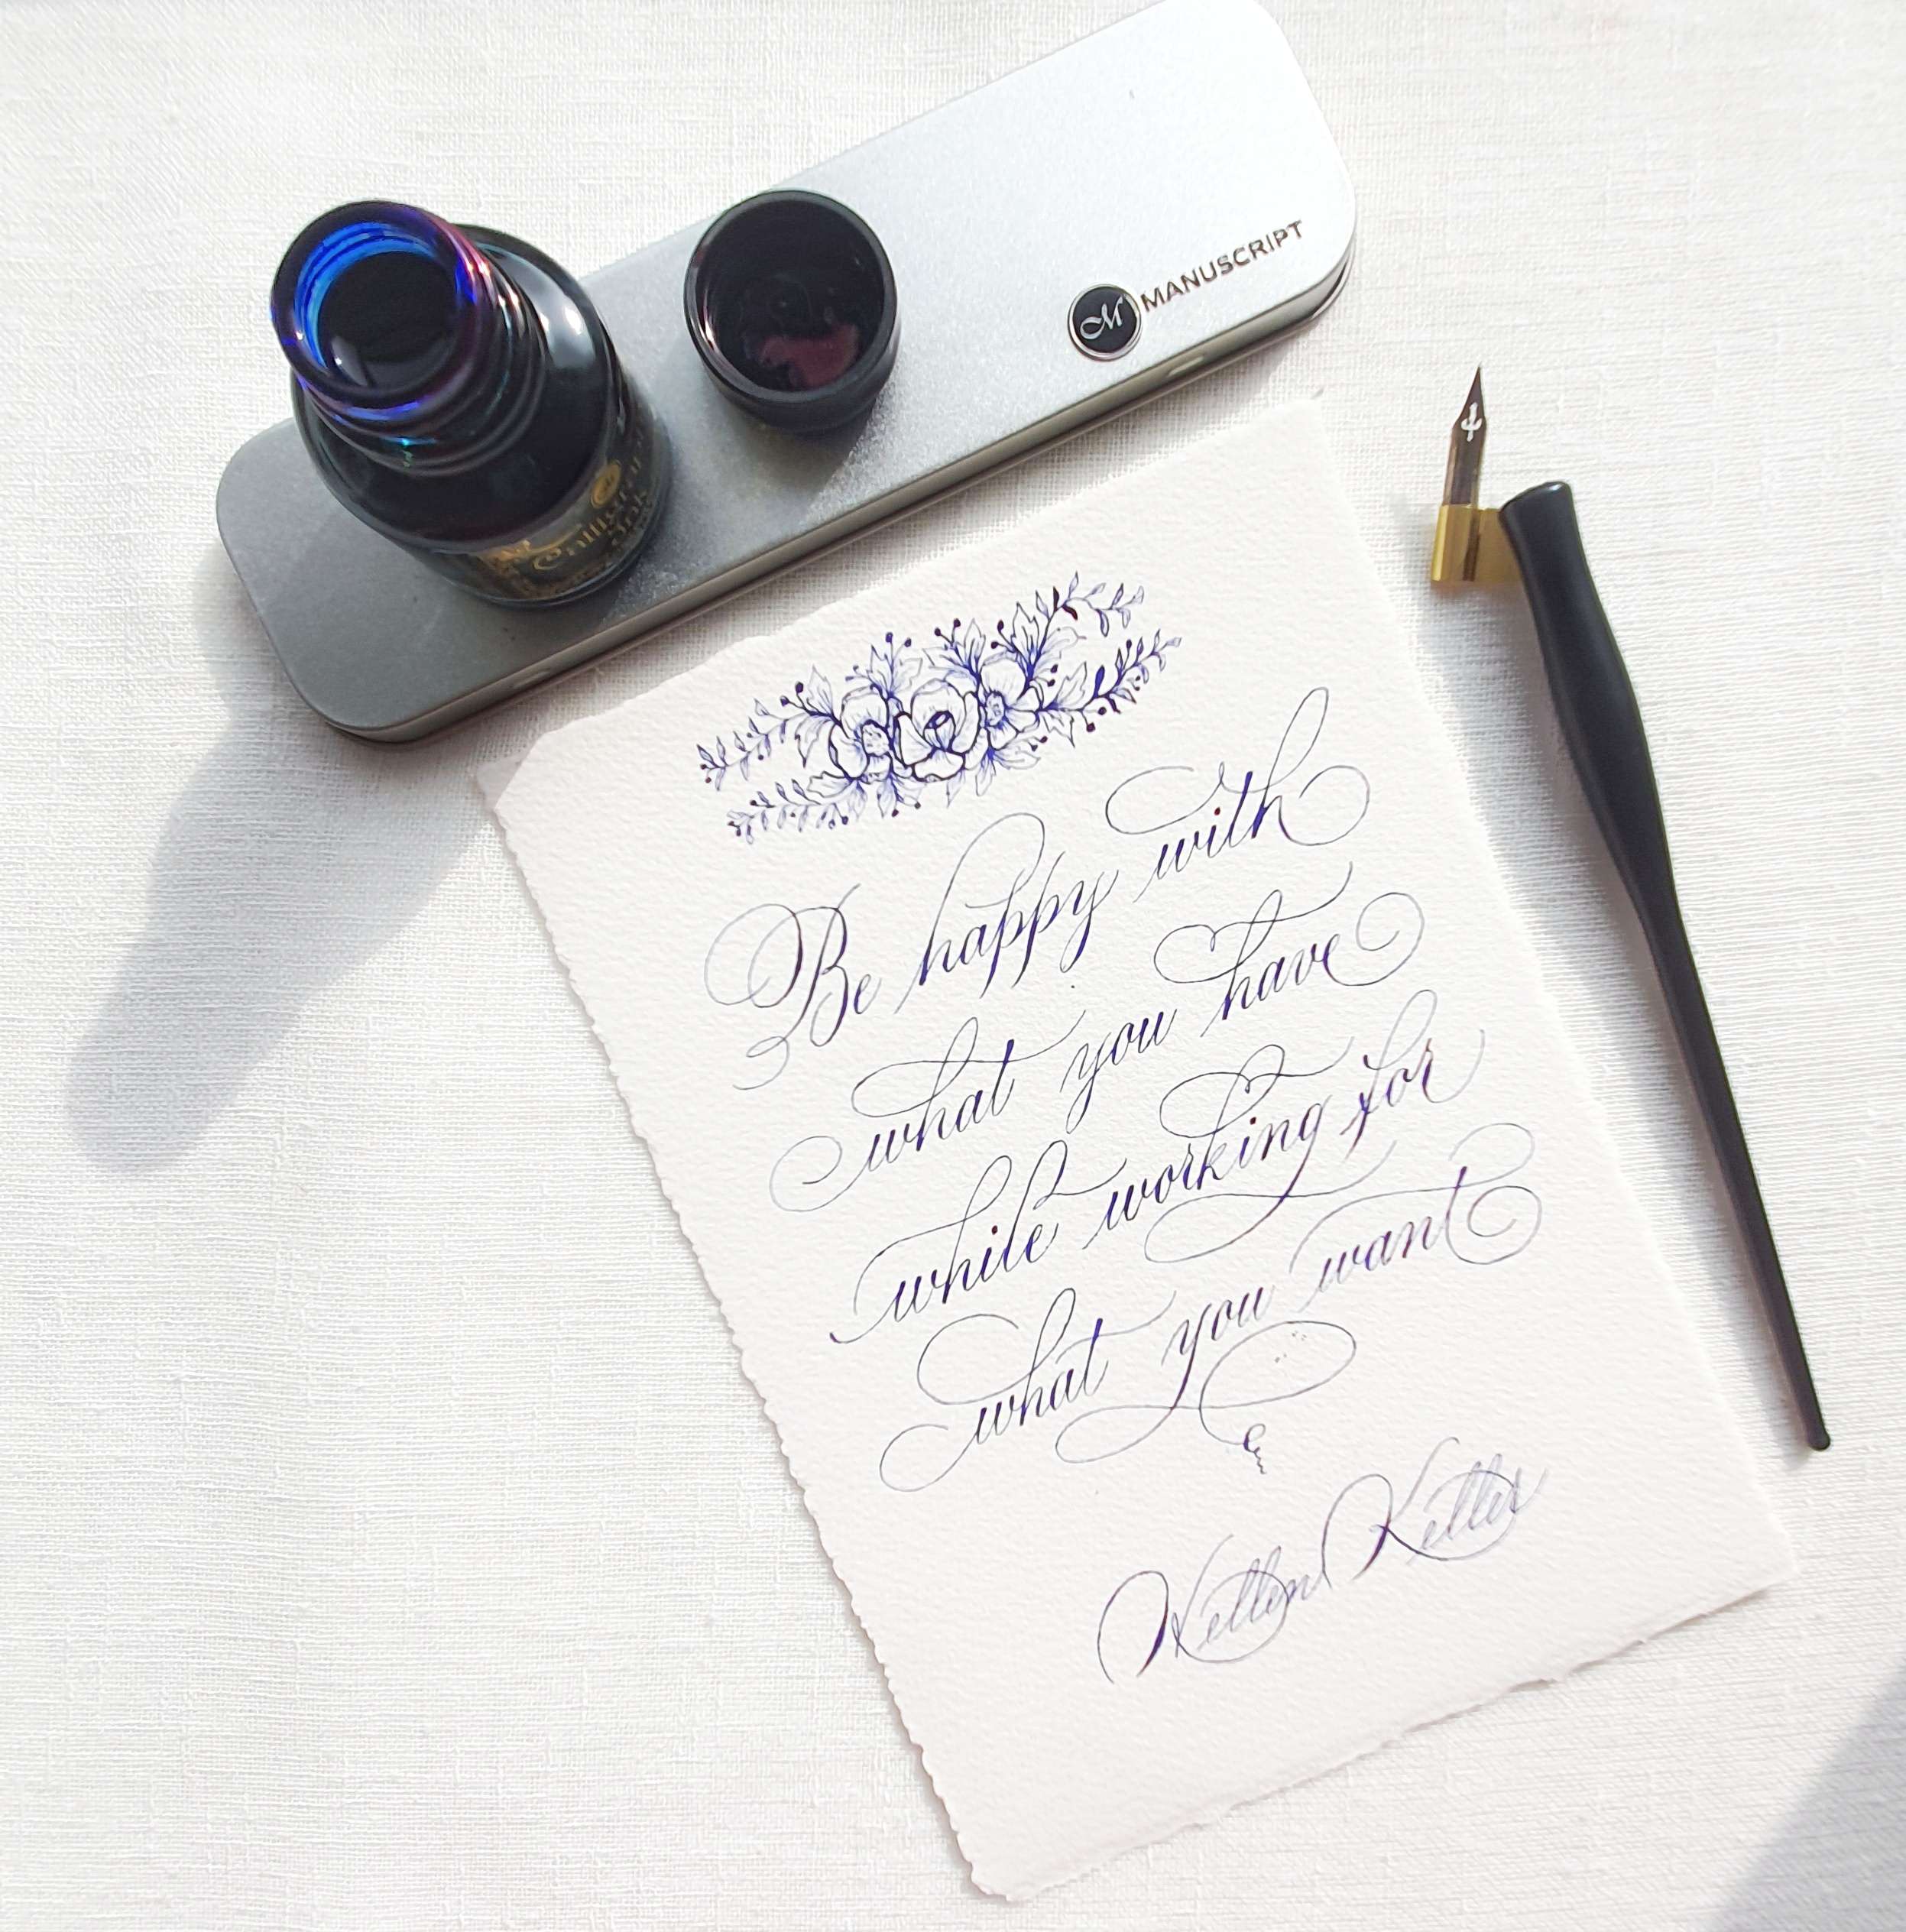
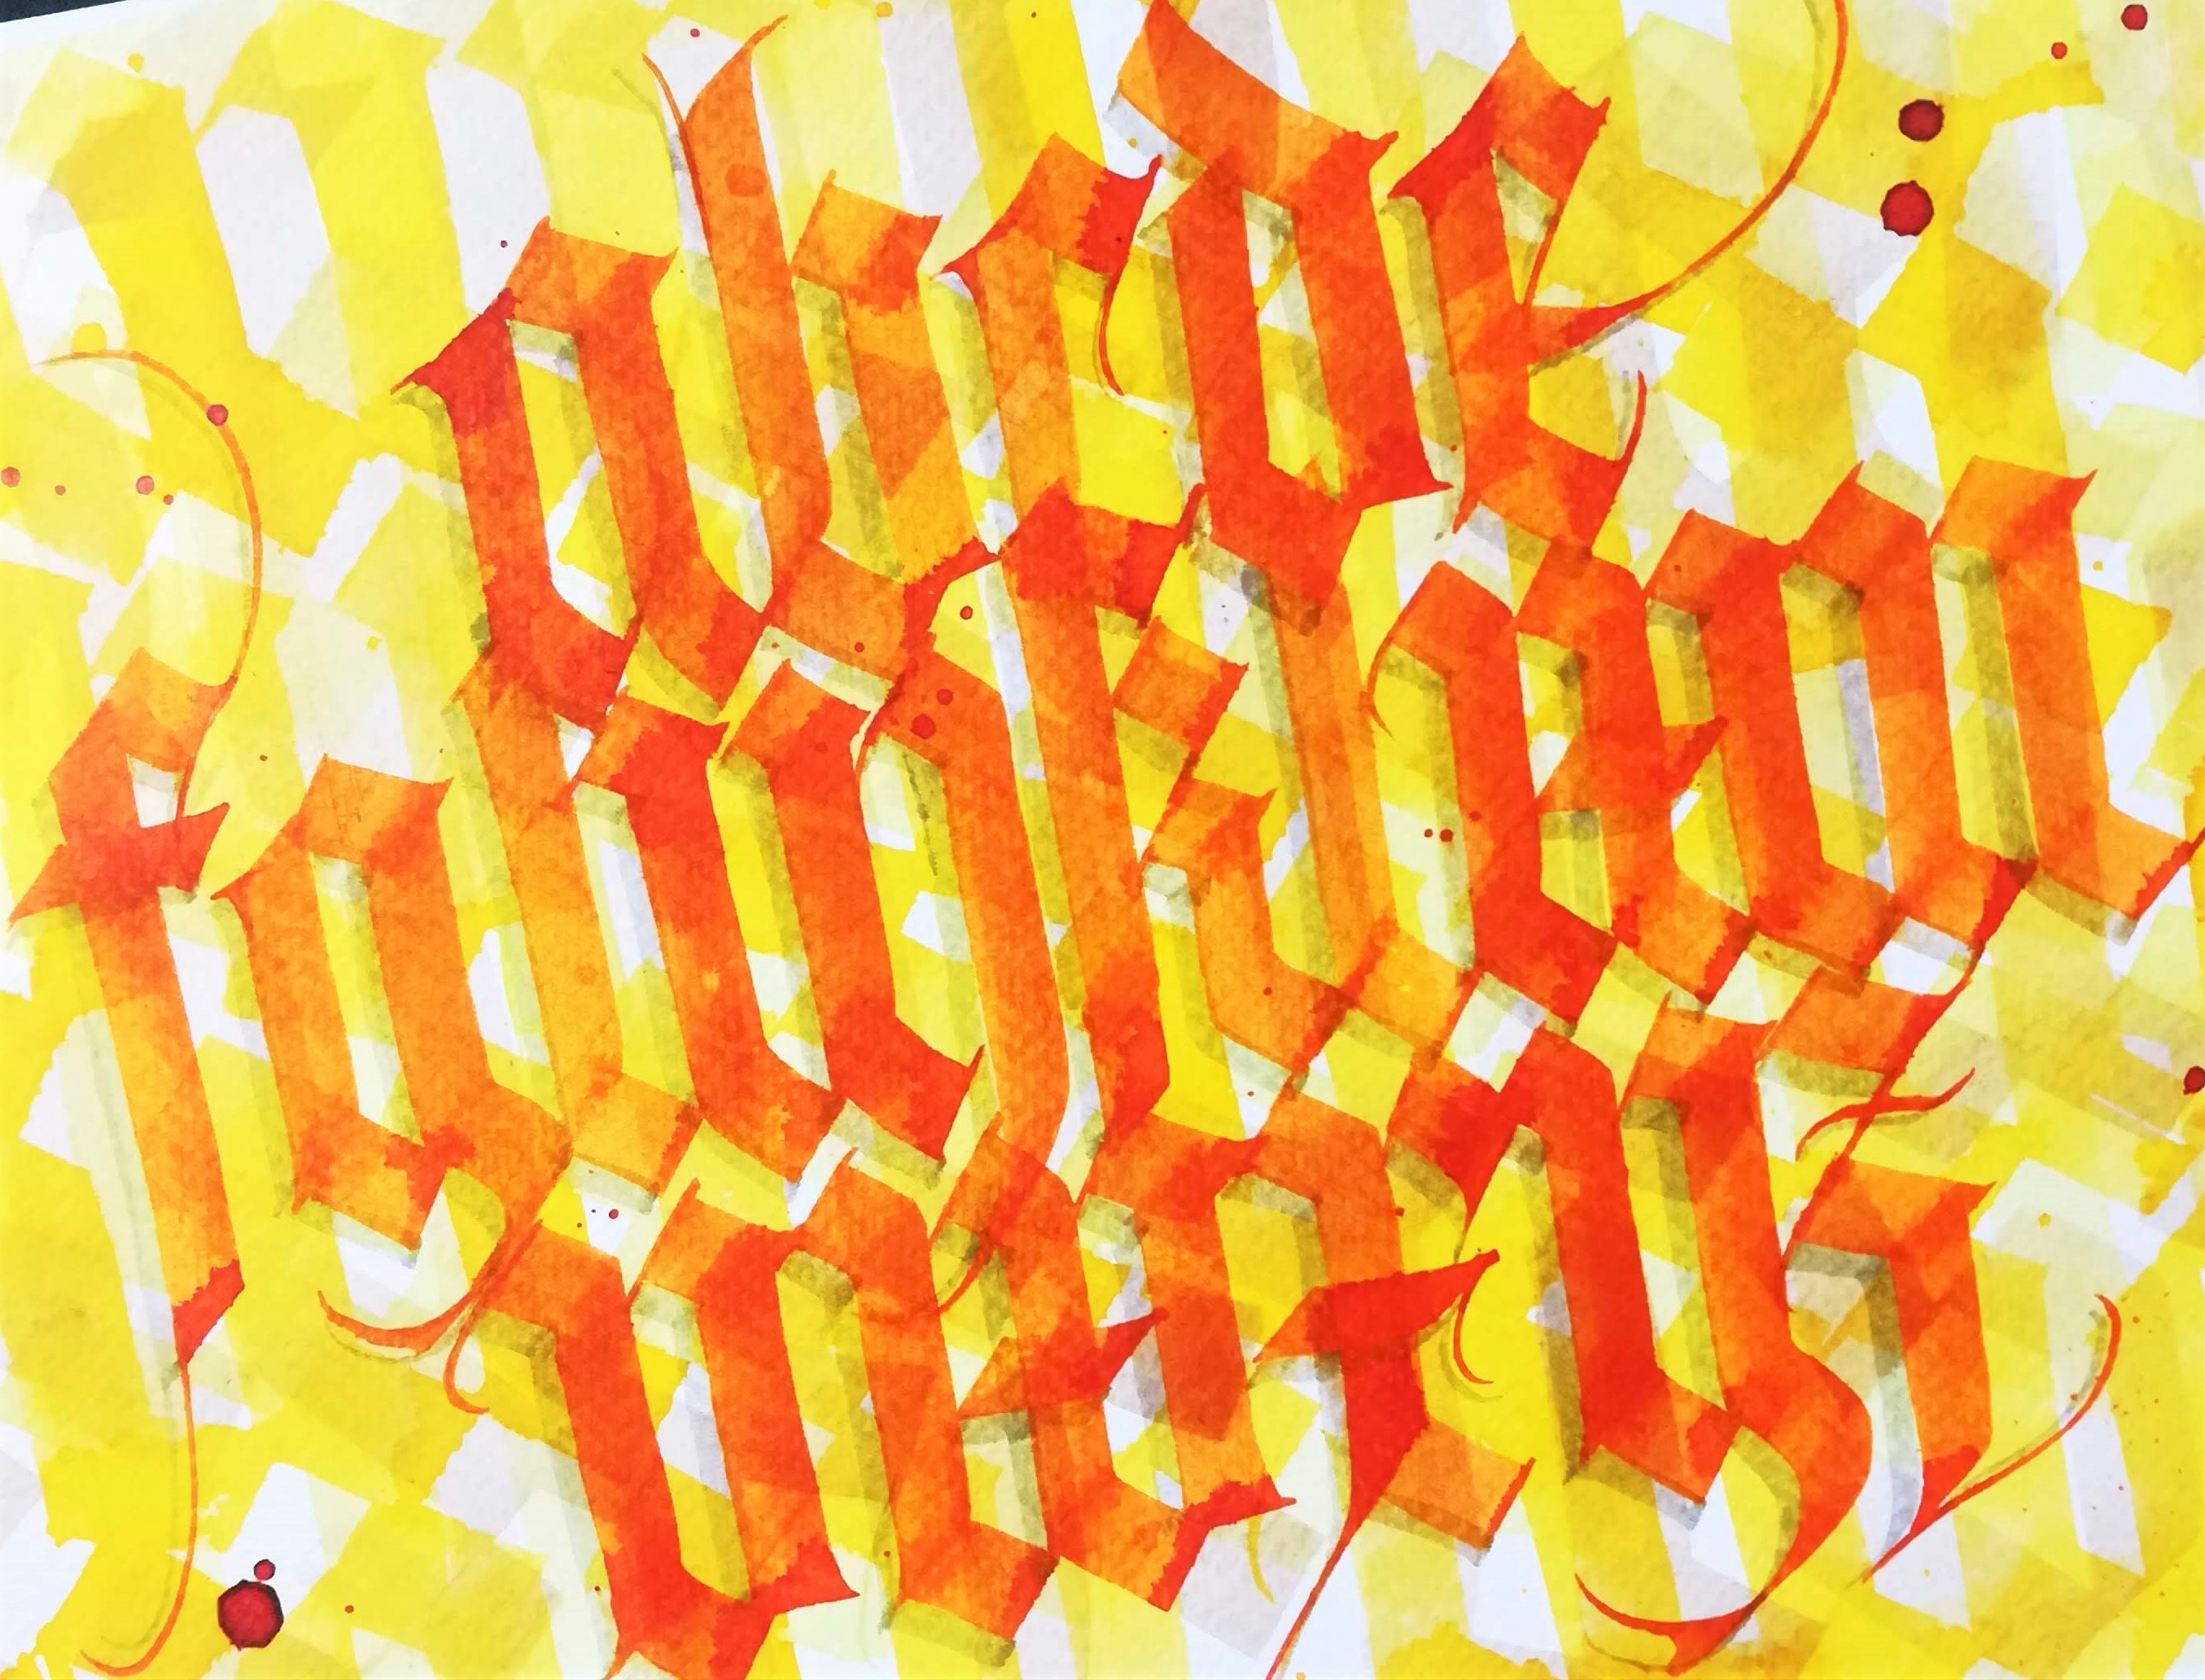
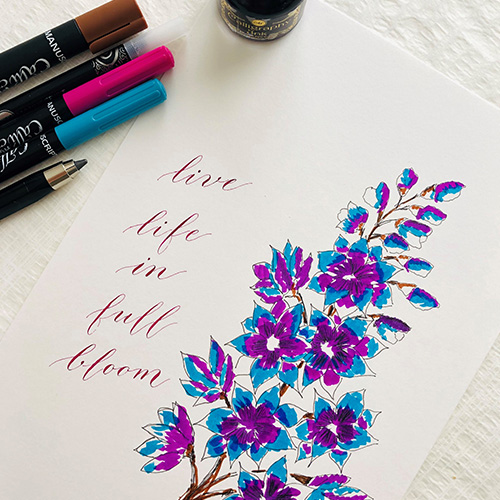
We asked our Artist of the Month Geraldine Salinas to create a new step-by-step tutorial for you all and she did not disappoint! She has put together this great graffiti lettering tutorial using our Aquabrush Markers!
Follow her steps below and create your very own personalised lettering piece which can be used for any occasion!
So, what are you waiting for? Get your pens ready and lets go!
The Tools you need to get started:
- Manuscript Aquabrush Markers
- Manuscript Flexi Marker
- Pencil
- Rubber
- Paper of choice

Step 1 - Create your outline
Using a pencil create your lettering.

Step 2 - Add your detail
Continuing with your pencil, create uneven lines and arrows to create a graffiti style effect to your lettering.

Step 3 - Start adding your colours
Using your Aquabrush Markers start to colour in your letters. Keep this messy as you will use your brush to blend the colours in the next steps.

Step 4 - Start blending!
Using your paint brush, dip it in some water and start blending your colours to create a watercolour effect. Be as free as you want to and create the effect you are happy with. If you start losing some of the colour just get your Aquabrush marker and add more colour as you need.

Step 5 - Let it dry
Let you watercolour effect dry before you move onto the next step.

Step 6 - Add the finishing touches!
Using your Flexi Marker add your finishing touches! Add a black outline around the arrow effect you created. Then take a grey marker and colour around your lettering.

Step 7
And you are done! Remember to erase any pencil outlines before you put your lettering on display!

Be sure to try out this tutorial and tag us in your post. Use #manuscriptpencompany and #manuscriptpens so we can share your posts.
To see more of Geraldine's work you can follow her on Instagram and remember to follow @manuscriptpenco on Social Media where we will be showcasing her work throughout the month.

